


I would bet that everyone has purchased something they just had to have and never got around to using it. For me, it was this filmstrip die by Sizzix & Tim Holtz. It sat in my craft room for years . . . alone . . . just waiting for this month's Cinema kit to come along. A match made in heaven.
I could simply die cut these strips and use them on my page or card, but instead I decided to create something unique and fun -- a homemade embossing plate! Check out this video for more details.
Follow these steps to create a filmstrip plate:
1. Die cut five film strips from sticker paper.


2. Adhere the strips together, stacking them one on top of the other. (Tip: I left the backing on the bottom one until I was ready to adhere to the base plate.)


3. Cut the film strip into three unequal parts.

4. Cut a piece of thin chip board (base plate) to 4x5.25"and adhere the film strip pieces to the board.


5. Create your embossing "sandwich" and run paper through an embossing machine.
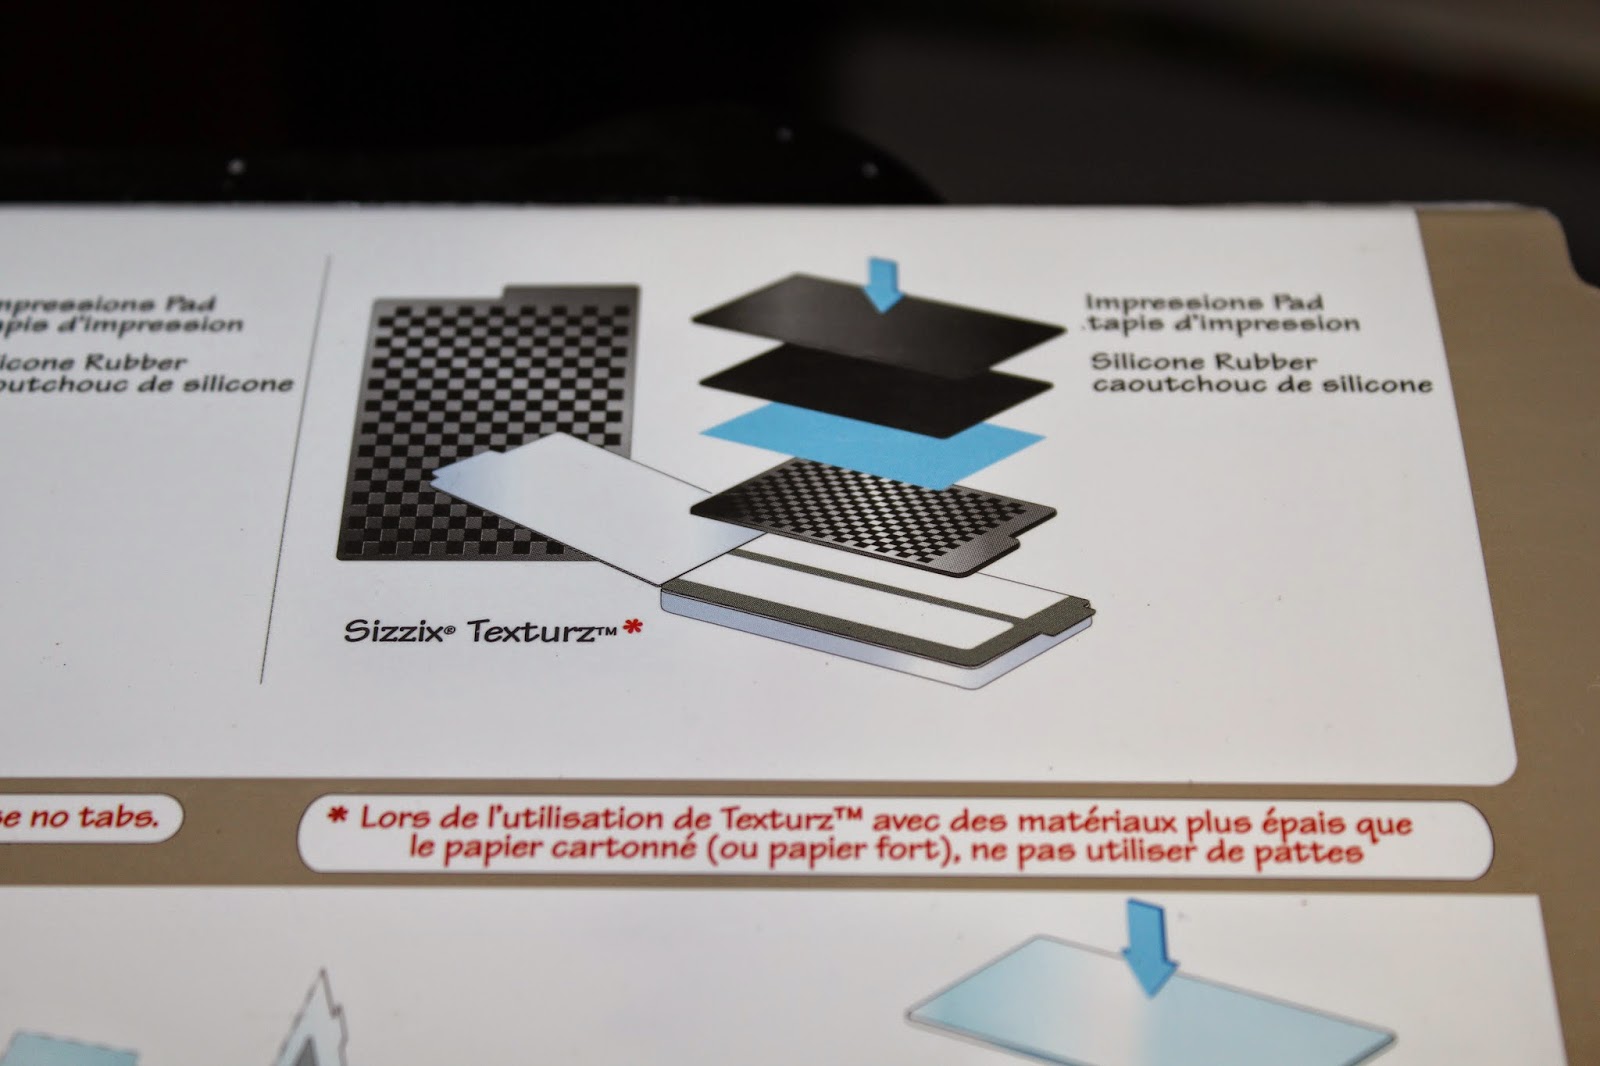 |
| The "sandwich" will vary with different embossing machines. I use the Big Shot by Sizzix. My "sandwich" from bottom to top - clear acrylic base plate, multipurpose platform tab 1, homemade embossing plate, silicone rubber, and impression pad. |
 |
| Oopsie Daisy Gray paper held up nicely to the embossing. |
 |
| The plain White cardstock was a bit thin for this technique and tore. |
Bonus embossing plate:
1. Adhere leftover film strip scraps together in stacks of five.

2. Adhere onto base plate chip board in random pattern.

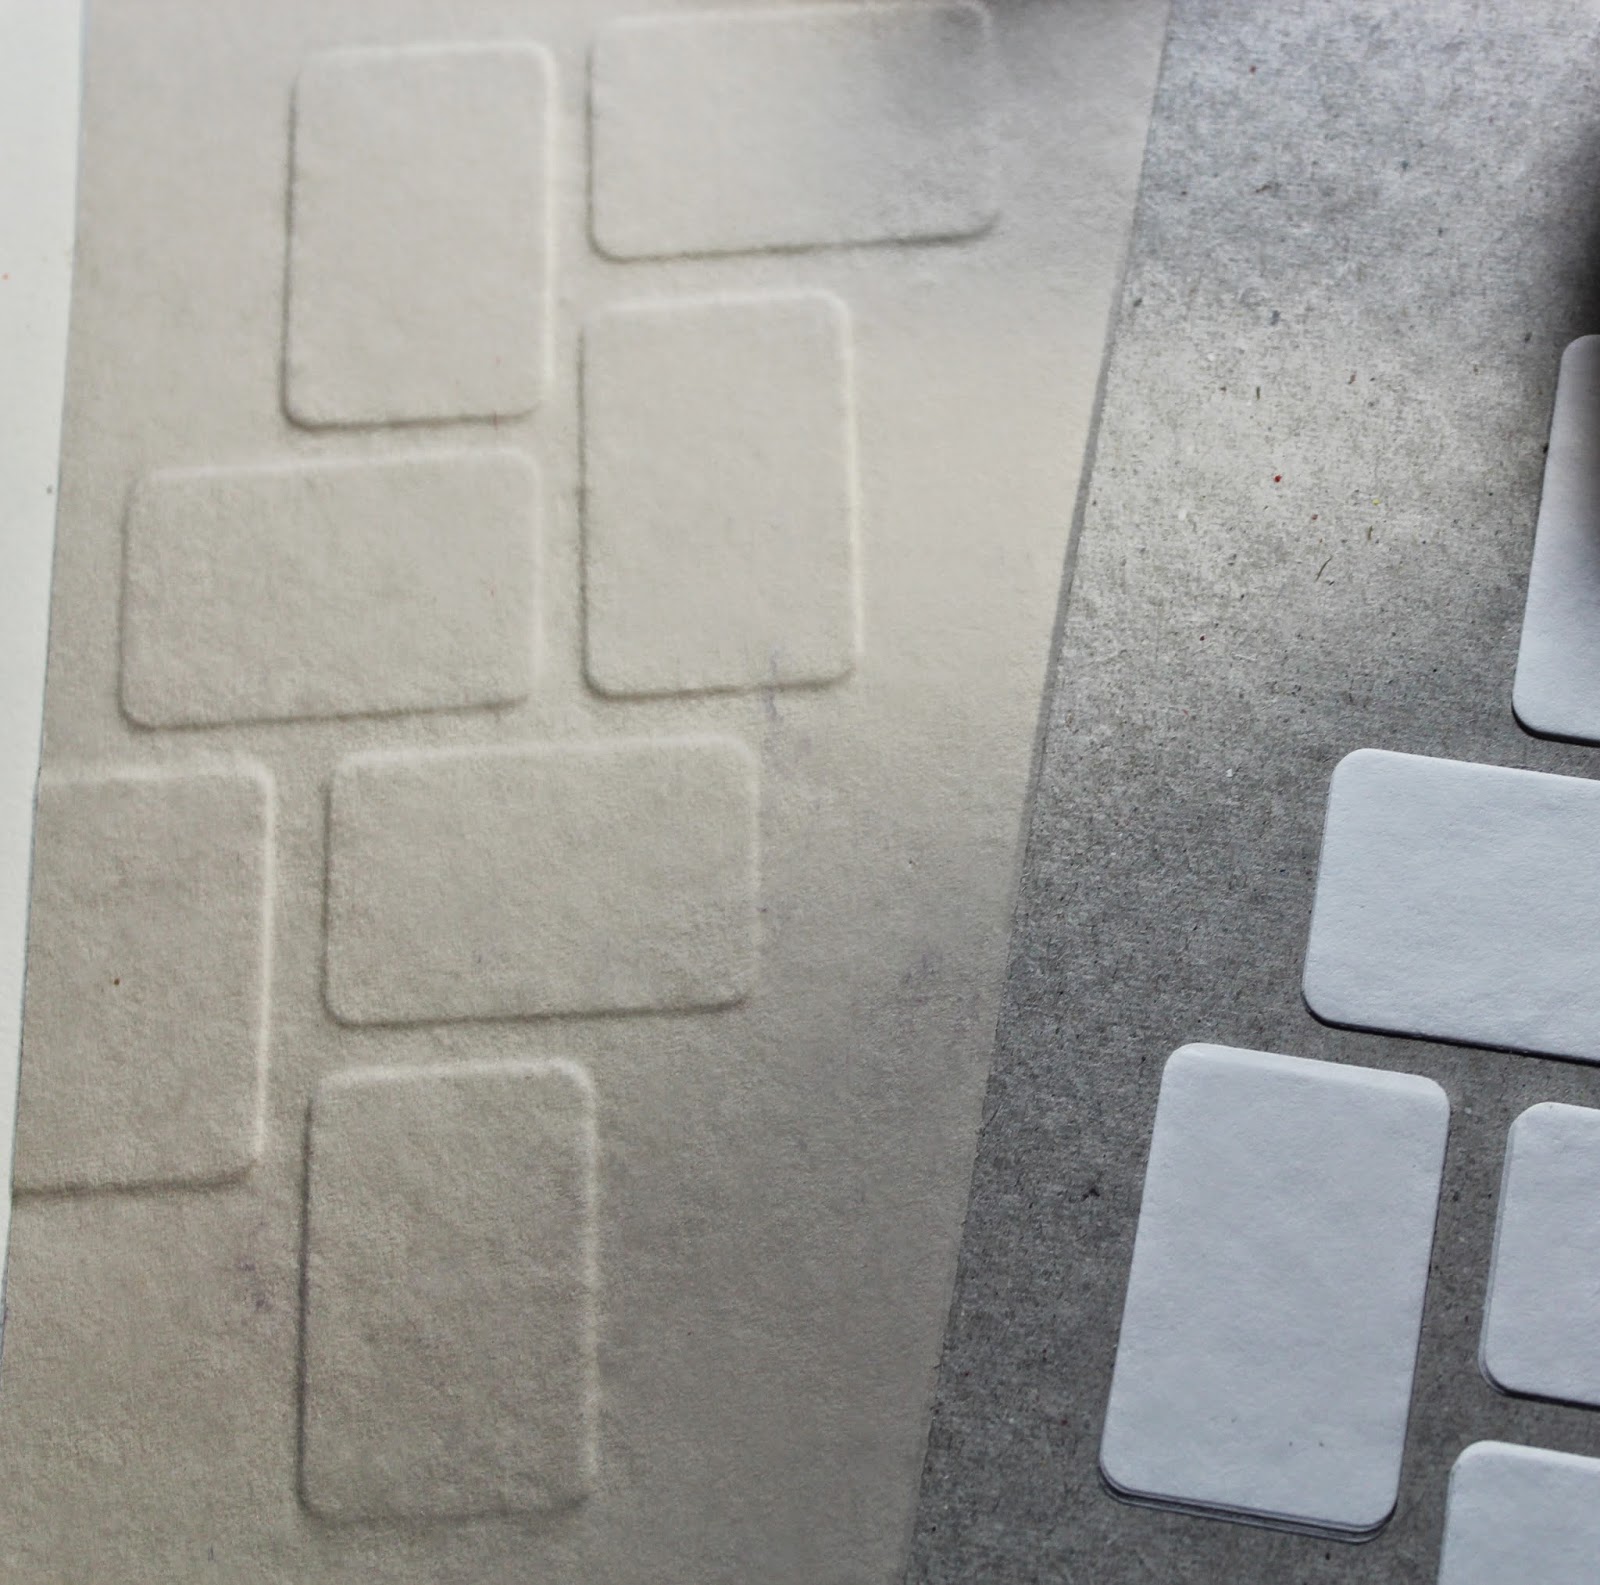 |
| Embossed Oopsie Daisy Gray paper. |
Once you have a nicely embossed piece, it is time to assemble a card.
1. Stamp Borders and Backgrounds images onto de-bossed (indented) side of plain White paper.

2. Continue to add color with a sponge tool in Amethyst, Orchid and Fuchsia hybrid inks over the de-bossed filmstrip image.

3. Nest the panel onto a 4x5.25" Wine matte.

4. Add embellishment (Spring Chorus rhinestone stickers) and the card is complete!

I hope you enjoyed this fun tutorial and will give it a try. Have a show-stopping week!
 Julie
Julie
1. Stamp Borders and Backgrounds images onto de-bossed (indented) side of plain White paper.
2. Continue to add color with a sponge tool in Amethyst, Orchid and Fuchsia hybrid inks over the de-bossed filmstrip image.
3. Nest the panel onto a 4x5.25" Wine matte.
4. Add embellishment (Spring Chorus rhinestone stickers) and the card is complete!
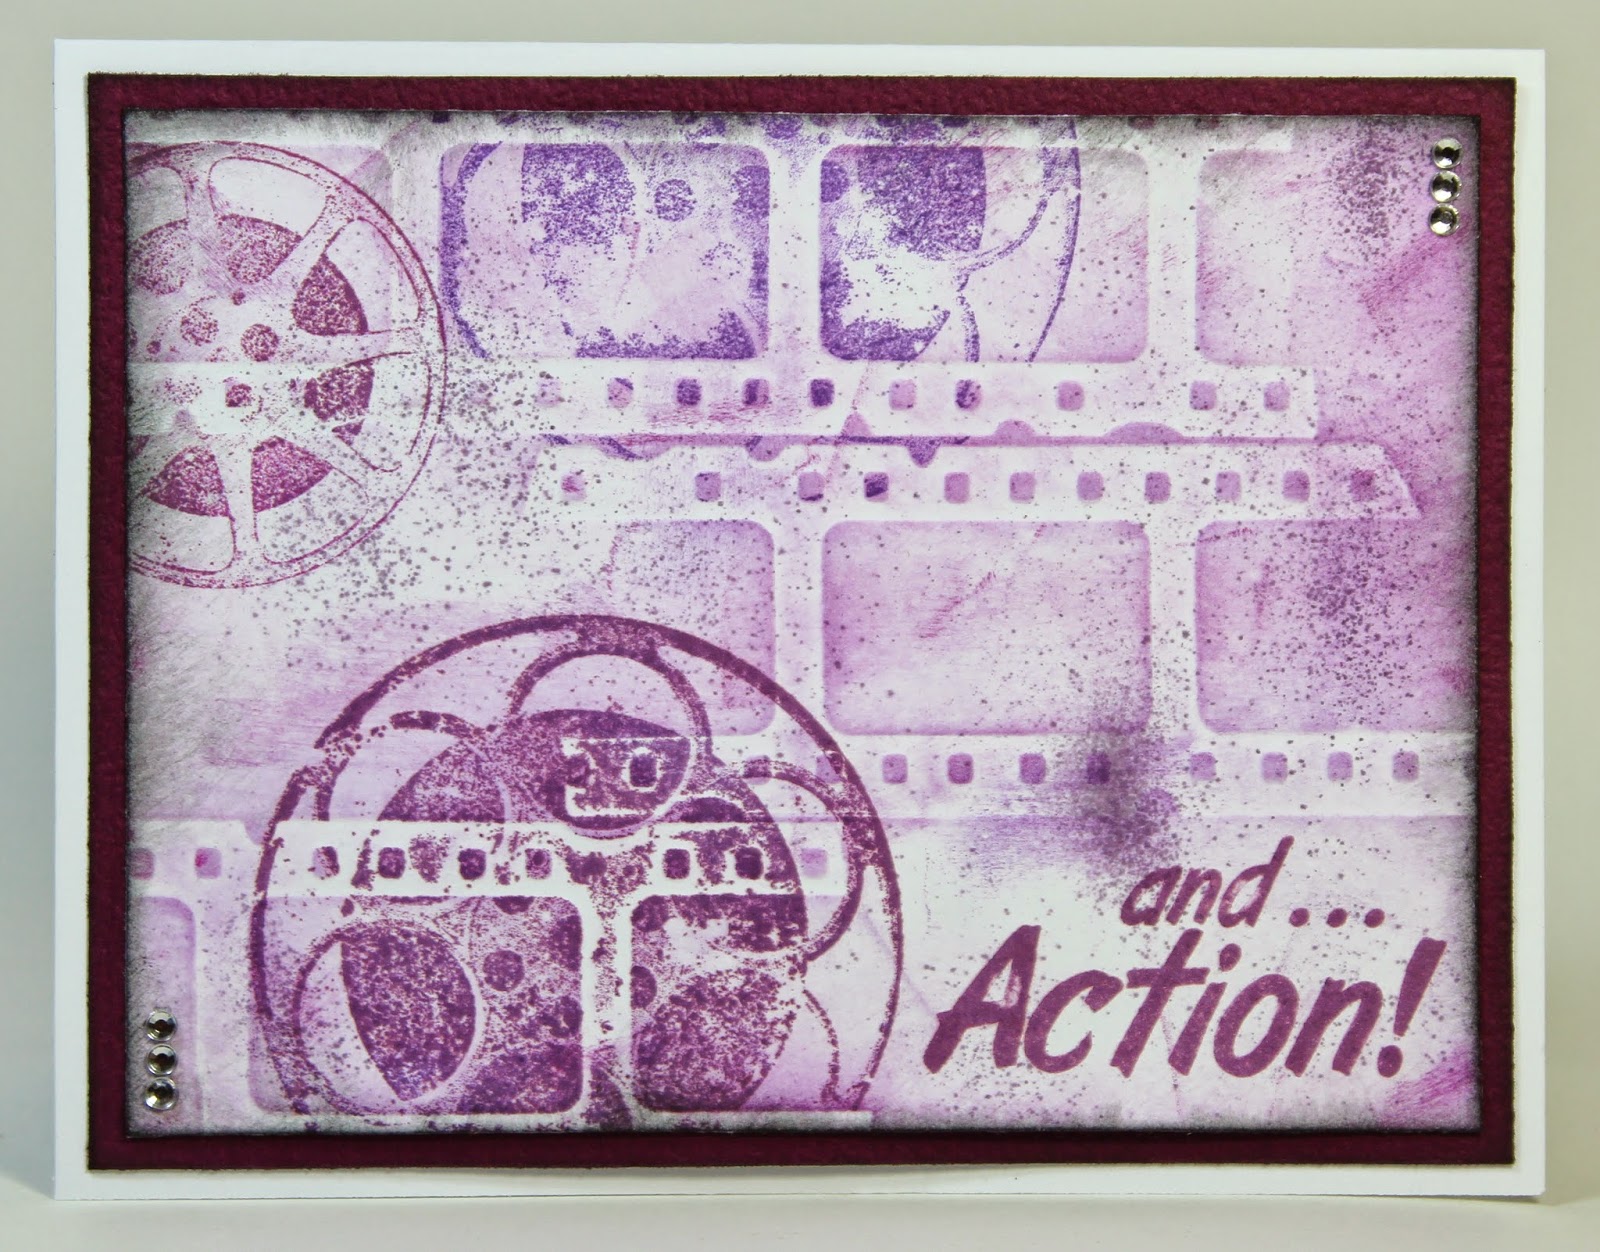 |
| I added a little bit of spritzing with the Tim Holtz spritzer tool and a Dusty Concord Distress marker. |
I hope you enjoyed this fun tutorial and will give it a try. Have a show-stopping week!


