Friday, February 28, 2014

Gelli Plate - Art Orphan Paper Pack

Recently I participated in the Big Deal Blog Hop and shared the details on how to create your own paper pack on my CapeScrapper Blog.  Using Bookbinding, Padding and Laminating Glue and a stack of art orphans, created using my Gelli Plate, I now have a paper pack of artsy goodness.

Today I want to share how I created one of these papers in more detail.

Step 1. Squirt a few dots of red acrylic paint onto your Gelli Plate and roll on with a rubber brayer.

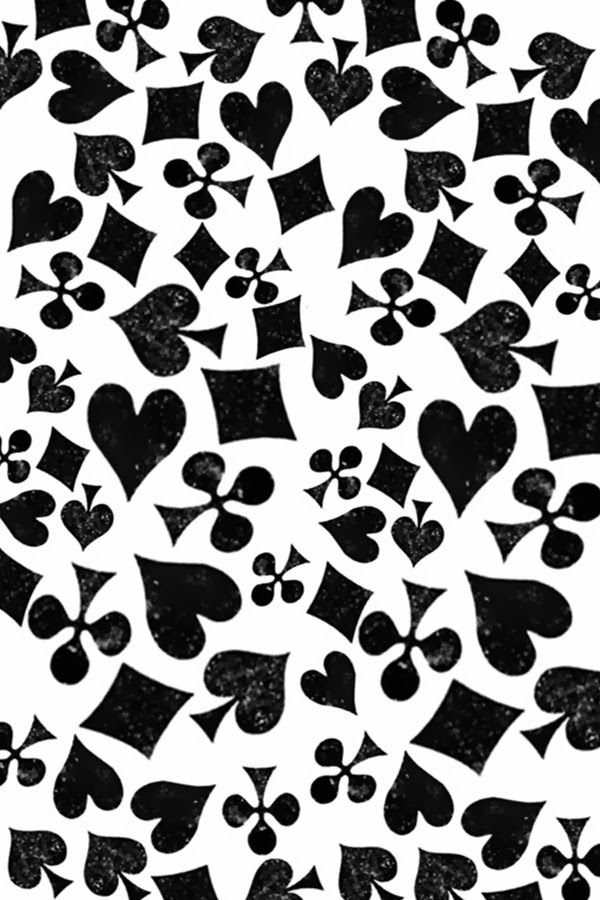
Step 2. Use the Big Deal tiny suits stamp from the Art Nouveau UM sheet to remove some of the red paint by dabbing it randomly over the wet painted surface.

Step 3. Place a sheet of plain white paper down onto the stamped Gelli Plate and remove.

Step 4. Wipe your Gelli plate clean between paint applications. Add dots of gold paint to the plate and roll flat with the brayer.  Lay a stencil (Full Circle 2012) on top of the wet paint and remove to the red painted paper. With another sheet of paper over the top of the wet stencil, burnish down onto red painted paper.


Step 5. Lay down a Masking stencil (Tahiti 2012) directly onto clean Gelli Plate. Add dots of white acrylic paint and roll on over the stencil.


Step 6. Carefully remove the stencil.

Step 7. Lay down the gold and red paper panel onto the wet white acrylic paint and burnish.

Step 8. Remove the paper to reveal the image.

Step 9. Stamp over the finished piece using the same Big Deal tiny suits Art Nouveau stamp and a checked stamp from the Concrete Playground 2010 Crafter Classic stamp set.


You can achieve so many different looks each time.

I made this card using a portion of the art orphan, a Take Wing red panel, Watercolor Blossoms "thinking of you" sentiment, and Big Deal brads.

Here are some of the other papers I created using a variety of stamps, stencils, masks, and paints.

Thanks so much for stopping by and hope you have a creative weekend.


Julie


Other Club Scrap Products used in creating the Gelli Plate art orphans
2003 Poetic feather and diamond wood mount stamp
2006 Collections script wood mount stamp
2012 Sorrento doily mask
2011 Versailles swirl mask
Neon Ink Dabbers Blue, Purple, Pink, and Green

Thursday, February 27, 2014

Make your Own Digital Stencil - It's a Big Deal!


Last week, Kay showed off her amazing talents with some really cool techniques using the Big Deal stencil - if you missed them, click HERE and HERE to see both posts.

I was especially WOWed by this one:

We don't get a stencil in the digital kit, but that didn't stop me from creating my own and riffing on that amazing card! Let me show you how I did it using the Big Deal Digital Kit.

(To make this a bit easier, we'll break this down into a couple of different parts.)

Part 1: CREATE THE STENCIL

1. Create a new document in your program of choice (I'm using Photoshop CC). I made mine about 8 inches square and gave it a white background so that it would be easier to see what I'm doing.

2. Open 0214BigDealCSD_StampImages1.png.

3. Use the lasso tool to select the 'suits' background stamp and drag it onto your new document.

4. Duplicate the layer and drag the new layer over to the left, fitting it close to the first layer without overlapping any of the image.


5. Duplicate the layer again, dragging it to the right - we'll use this to fill in some gaps.


6. Use the lasso tool to select one of the suit graphics and drag it into one of the gaps. Continue until you're satisfied with the look.


Tip: You can also move parts of the graphic on the left to make everything fit together better. Feel free to rotate images as needed, too. Play until you think it looks good.

7. Use the marquee tool to select the unused images on the right. Press 'Delete' to remove them.


8. Merge all the layers except the white background.

9. Select the white background layer in the Layers Palette and delete it.

10. Save your stencil as a PNG (or PSD) file so you can use it as often as you'd like.

Part 2: CREATE THE CARD


1. Create a new document that measures 4.5" wide by 6.5" tall.

2. Open your stencil file and drag the stencil onto your new document.

3. Click-and-drag on a corner handle to make the stencil larger, so that it continues beyond the edge of the document in all directions.


Tip: Hold down the Shift key while you click-and-drag to maintain the proportion of the stencil.

4. Command-Click (Mac) or Ctrl-Click (Windows) on the thumbnail of the stencil layer in the Layer Palette. You'll see 'marching ants' around the graphic.

5. Select Edit -> Fill and choose white. This will turn the stencil white. Deselect the layer.

6. Create a new Layer UNDER the stencil layer and use the paint bucket tool to fill the layer with black.


7. Select the stencil layer and Command-Click (Mac) or Ctrl-Click (Windows) on the thumbnail of the stencil layer in the Layer Palette. You'll see 'marching ants' around the graphic.

8. Create a new layer ABOVE the stencil layer.

9. Select the brush tool and choose a medium-sized brush with fuzzy edges.

10. Select a color from the color Palette and 'paint' a portion of the stencil.

11. Repeat step 10, choose a variety of colors, until you're satisfied with the look.


12. Use the Marquee tool and select the card back graphic from 0214BigDealCSD_StampImages1.png and drag it onto the card top. Click-and-drag on a corner handle to make the stencil larger, so that it continues beyond the edge of the document in all directions. This will add a bit of 'visual texture' to the card.


13. Add a graphic and sentiment to complete the card panel.


14. Command-A (Mac) or Ctrl-A (Windows) to 'select all'; you'll see 'marching ants' around the perimeter of the window. Select Image -> Crop.

14. Select Image -> Canvas Size. Change the size to 5 x 7.

15. Add a layer or two of different colors and/or backgrounds, trimming as needed. Add small drop shadows to create a bit of depth.


That's it!

I hope you'll give this a try. It's really not difficult and you can produce some amazing results!

Until next time, thanks for stopping by!


-Ron

Wednesday, February 26, 2014

Big Deal Blog Hop!

Welcome to the Big Deal Blog Hop, where our bloggers are celebrating the February Club Scrap kit!

My project was inspired by a favorite Big Deal quote from the Borders & Backgrounds UM. I thought it would be fun to feature the quote on an altered 6x6 canvas I could display on my desk at the office.


I trimmed the center from a 6x6" piece of Ivory CS Print and glued it to the back side of the canvas. I added stamped accents, a die cut Bingo chip, mini Scrabble tile stickers and a wooden domino for embellishments. The chipboard "3." is from Let Me Count the Ways.

I decorated both sides, so visitors coming into the office could enjoy the view as well.


This side was created using the Big Deal Lite Stencil and red pigment ink spray, over-sprayed with white pigment ink using Versailles Mask. I added the Short Sleeve Pants Harlequin image stamped with black acrylic paint. The wooden ruler is from a past Workbench project. The dice, wooden disc (stamped with crown from Art Nouveau UM) and domino are from my stash. 

Ready to see what our other bloggers have up their sleeves? Be sure to leave comments if you like what you see!

Hetty at Craft Chaos
Cathy at the Artful Gamut
Anne Marie at Artfully Balanced
Tiare at iClassy Girl
Lisa at Carpe Memoria

Enjoy!

Creatively yours,
Karen

Tuesday, February 25, 2014

Let's Take A Look Ahead - "Trees" Spoiler

It's an exciting time here at Club Scrap--March Trees Spoiler time!

Don't look now if you want to be surprised when you receive the kit! By the way, if you're not a member, it's not too late to become a Club Scrap Member and still receive this great collection.

Below are snapshots showing a small peek of what's to come in the upcoming Trees Collection.


Also, just wait until you get your hands on the Trees stencil! Here is my first card made using this stencil that has so many creative possibilities.


More to come next week!
Kay at Club Scrap


Monday, February 24, 2014

Big Deal's Club Stamp Cards

Your 12-pack of 8.5x11 papers and Red Pearl Bonus Panels included in the Big Deal Club Stamp collection will make fourteen nifty cards. Twelve are standard A2, and two are A7s. Let's begin with the trimming preparations.

1. Trim each 8.5x11 Text Weight Print vertically at 4.5 and 4". Cut each 4x11 horizontally at 5.75 and 5.25".

 2. Cut one 8.5x11 Tan Plain vertically at 7". Trim the 7x11 horizontally at 10". Cut the 1.5x11 horizontally at 10.5 and 5.25". Score and fold the 7x10 horizontally at 5".


3. Trim one 8.5x11 Yellow Plain vertically at 7". Cut the 7x11 at 10". Trim the 1.5x11 horizontally at 9, 7, 4.75 and 2.5". Score and fold the 7x10 horizontally at 5".


4. Score one 8.5x11 Tan Plain, one Grey Plain, two Red Plains and two Tan Prints vertically at 4.25". Cut each paper horizontally at 5.5". Fold each 5.5x8.5 in half to make a card base.


 5. Trim one 8.5x11 Grey Plain horizontally at 10, 7.25 and 5.25". Cut the 5.25x8.5 horizontally at 8 and 4". Trim the 2x8.5 horizontally at 8 and 4". Cut the 2.75x8.5 horizontally at 6.5 and 3.25". Trim the 1x8.5 horizontally at 4.25".


6. Cut one 8.5x11 Yellow Plain horizontally at 8.75 and 5". Trim the 5x8.5 horizontally at 7.5 and 3.75". Cut the 3.75x8.5 horizontally at 5". Trim the 2.25x8.5 horizontally at 8 and 4".


7. Trim one 4.25x6.25 Red Pearl Panel horizontally at 5.75 and 3". Cut the 3x4.25 horizontally at 4 and 2". Trim the 2.75x4.25 horizontally at 3.5 and 1.75".


Now that you have a big 'ole pile of pieces, the fun can begin!

The pre-printed text weight panels were stamped with the large images from the Collection UM sheet. I like how the transparency of the ink allows the pre-printed pattern to show through.

CS Ruby and India Black ink used.

The collection comes with a 5-pack of Red Pearl panels. Here, I stamped onto the dark red side and trimmed out the image. It's a fun combo with the quote.


I think this pair is my favorite. I used the large punch on the Crop-A-Dile to create tiny red circles from a scrap of the Red Pearl panel and attached them to the Bingo image with Bookbinding Glue. These cards appear to have lots of dimension but will mail nice 'n flat!


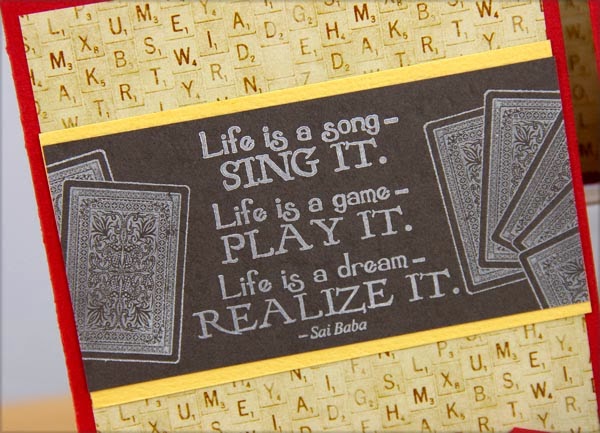
The White Pigment ink from Club Scrap did a splendid job transferring the nice detail on the UM image of the cards featured on the Greeting UM sheet.


This is where things got "dicey." The Tan Print helped these cards fall together in a shake. I used a cute heart-shaped brad to accent the "o" in "love."


There's something about a rounded corner that just makes me feel happy. And I love that neutral scroll image from the UM Borders & Backgrounds sheet. I'll be reaching for that one frequently.


I'm usually running out of steam by this point, but simply had to use that hysterical joker. I think it's the perfect card for my dad. I'll have to set that one aside. Note the pretty gold-laden sheer white ribbon we picked out for the set. Such a nice addition!


Time to get busy. Be sure you're playing with a full deck before you tackle the paper trimming!

Tricia