

Crackle paint adds so much dimension and texture when paired with the Blueprints masking stencil. Check out these amazing results.

Don't you just love how crisp and clean the edges are and all that wonderful crackled goodness?
Grab some Blueprints papers, the mask and some crackle paint, and I will show you how it's done.
1. Lay the masking stencil down onto brown paper. Paint over the stencil with the crackle paint.
 |
| I used a complimentary color of brown - Distress "Vintage Photo" Crackle Paint from Ranger. |
 |
| Note: You don't have to use the entire image when painting on the medium. I chose to highlight certain words. |
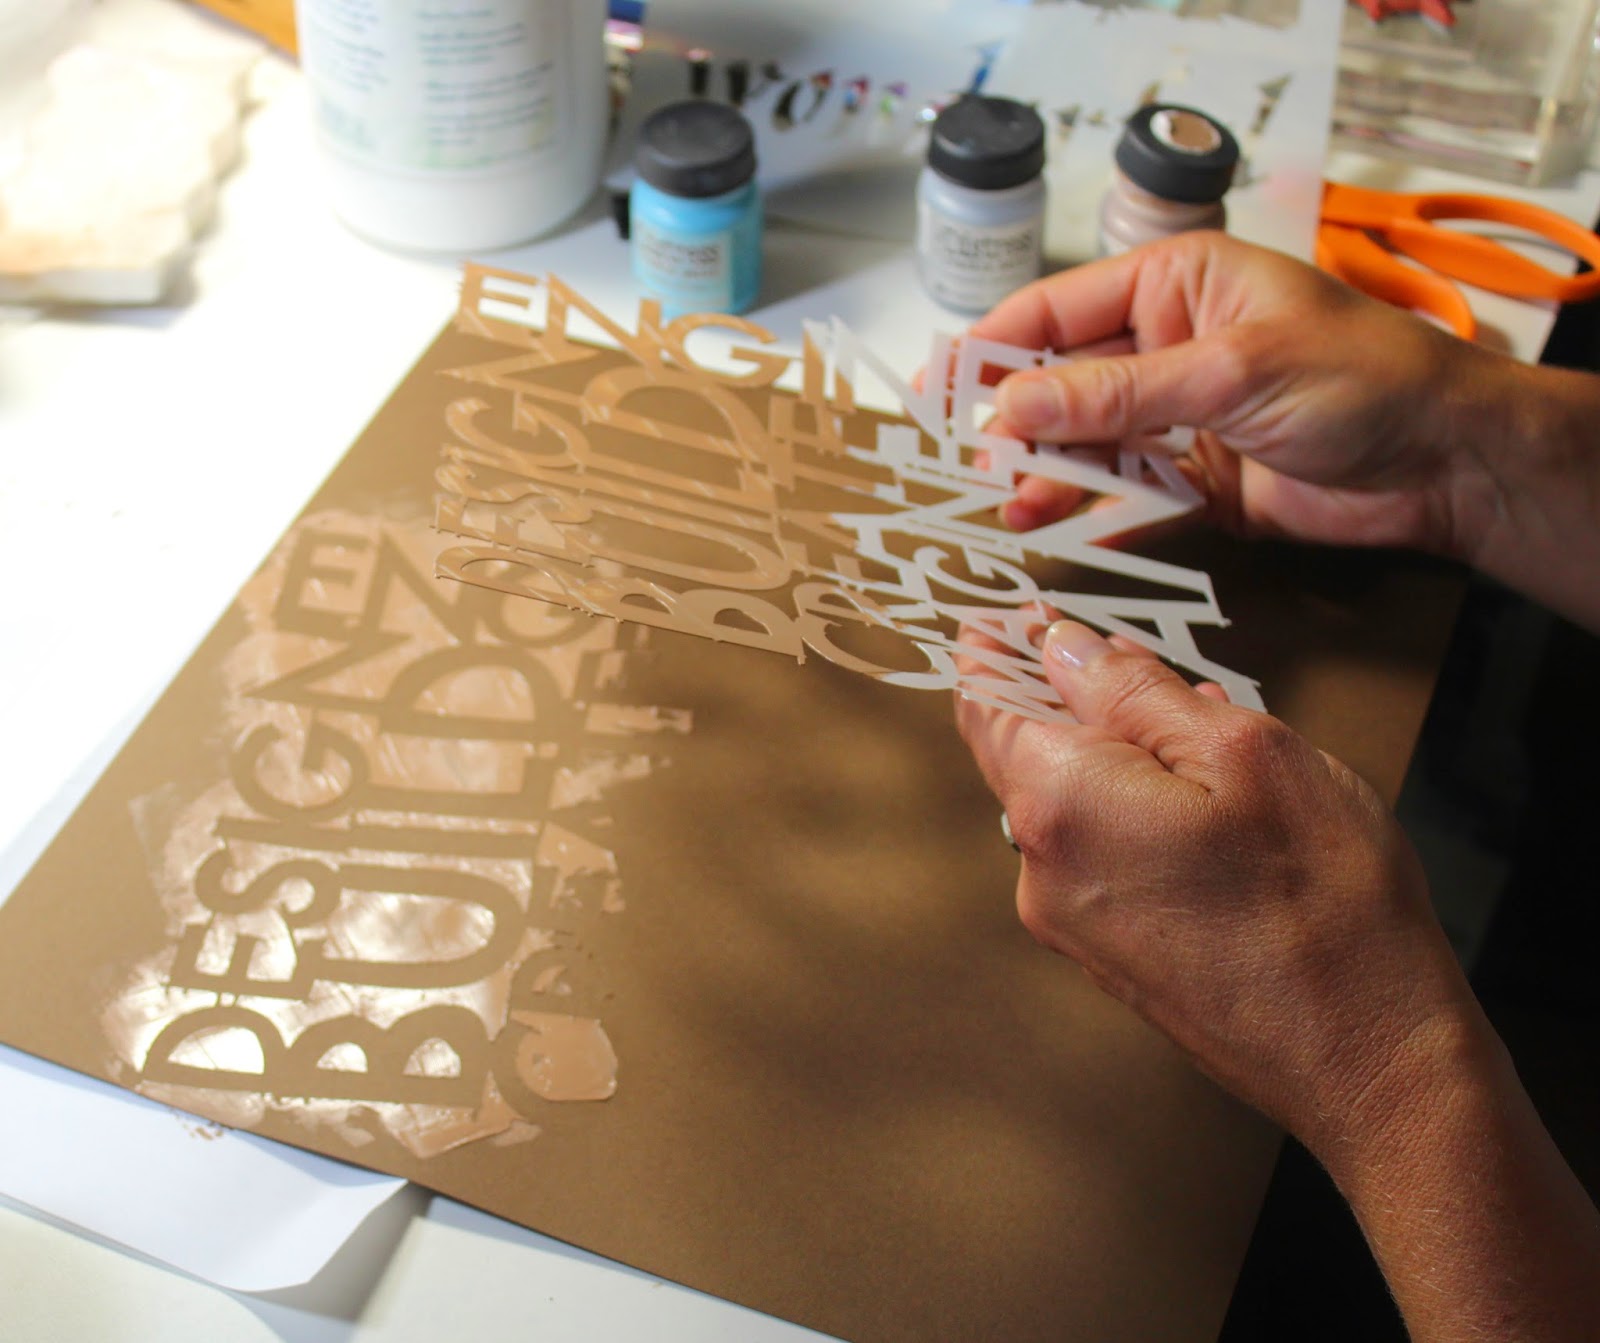 |
| Run the masking stencil under warm soapy water immediately to remove the excess paint. |
Our daughter Shannon had fun helping us build this dribble sandcastle over the Labor Day weekend. Fits the theme quite nicely, don't you think?


Stamp a gold photo mat, Kay Williamson style!


Let's get cracking on those layouts!

Julie, the crackle painting looks great on your layout. I think I have to try this now. Thanks!
ReplyDeleteWow how perfect is that layout all the way around?? P.S. Lookin good in the swimsuit too! =)
ReplyDeleteThanks Janet :)
DeleteCool - do you have any tips on the TH crackle paint, I find it thick and hard to work with but maybe that's just me. The credit card seems like it would help tremendously with my issues.
ReplyDeleteHi Carolyn, I have thinned the brown down with water several times since I first purchased it many many years ago. Add about 1/2 tsp of water at a time depending on how thick it is to start. This brown, at one time, was almost solid, and I used a craft stick to work the water through it. Works like a charm.. but takes a bit of work.
DeleteVery, very cool!
ReplyDeleteLove it Julie, the crackle paint works so great with the Blueprints Stencil! and put together with sand castles, such a great combo all the way around! Fabulous page to have in your scrapbook.
ReplyDeleteJulie, thanks for the idea on how to thin it out. I have some that has gotten thick as well. I was getting reacy to throw it out.. Very cute layout!
ReplyDeleteWonderful layouts and love how everyone is wearing a bathing suit that matches the BluePrint collection too!
ReplyDeleteLove the technique and the layouts! And I agree with Janet - you look fab in the bathing suit!
ReplyDeletecool page
ReplyDeleteQuite beautiful Julie, Can't wait to try this :)
ReplyDeleteJanice from Evansville
Lovely! I have some crackle paint in my stash, time to get busy I think.
ReplyDeleteWonderful page,Julie and fun technique with the stencil.
ReplyDeleteWhat a clever idea Julie! Thanks so much
ReplyDelete