


Hi!
I found this nifty, interactive album and thought it would be fun to add pop-ups to each page with our not-so-fussy-to-cut Picnic stamp images. I developed some time-saving tricks while making the book, and I'm happy to pass them along to you.
Let's begin with the cutting and scoring preparations.
1. Score a 12x12" paper horizontally and vertically at 3 and 9". Trim the 12x12 at 6"; cut each 6x12 horizontally at 6" to create four 6x6" squares. Fold on all score lines. (Scoring prior to trimming saves time.)

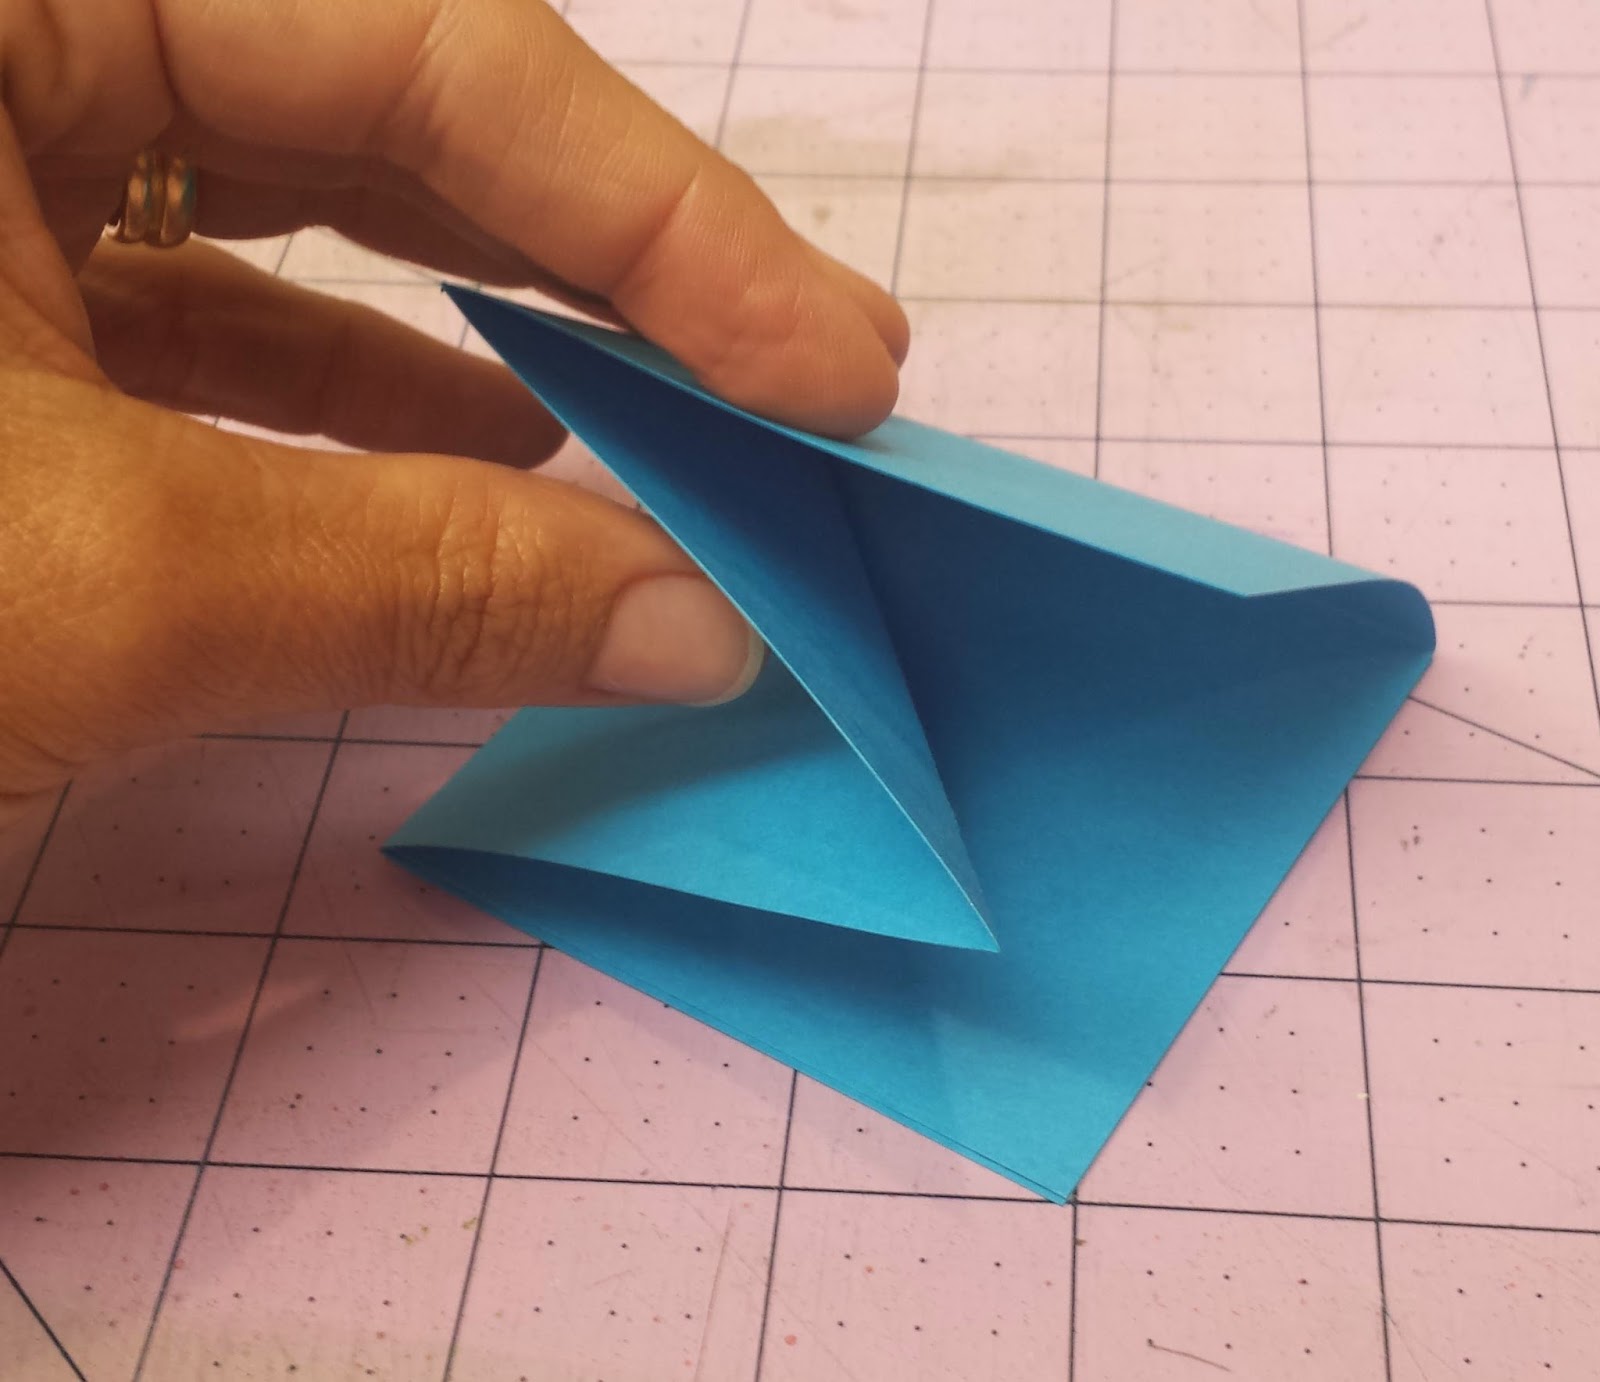
2. Use a scissors or ruler and craft knife to cut along the bottom fold to the center of each 6x6 paper. Add one additional angled mountain fold to the upper left quadrant.


3. Score a 2x4" paper vertically at 1". Cut horizontally at 3, 2, and 1" to create four 1x2" rectangles. Fold along score lines to form squares. Cut two 1/2" slits into the folded edge of each square, about 1/4" from the left and right edges. (Shocker: It's totally fine to eyeball those cuts.)


4. Reverse the fold of the center tab formed by the two slits to form a pop-up mechanism. They look like cute little chairs, don't they?

5. To prepare an outside cover, score a 3-1/8x6-3/4" paper horizontally at 3-1/8 and 3-5/8".

It's album assembly time.
1. Place adhesive onto the lower left quadrant of each 6x6" paper and adhere the lower right quadrant on top to form a three-sided box shape. The angled fold will tuck inward to allow the page to lie flat when closed. Repeat for the remaining three 6x6 papers.

2. Adhere the pop-up mechanism to the crease in the lower right corner of each pop-up page. Do not place adhesive onto the pop-up in the middle, or it won't pop!

3. Stamp and trim images from the Picnic unmounted collection and attach to the pop-up mechanisms with your favorite adhesive. Be sure the size of the stamped image does not extend beyond the outside edge of the page. Add mattes and sentiments to each flat panel.


4. Adhere the pages back to back to form a book. Spread a ribbon across the prepared outside cover and attach the book pages aligned with the top, bottom and outside edges.

5. Hand the little book to Kay Williamson for a photo shoot.
 |
| The cover was finished with a Club Scrap printed cutapart. |

 |
| Oh, my. That photo is perfect! |


There's still time to make one of these and hand it off to Dad with a mason jar full of M&M's.
Have fun making it pop!
Tricia


