Showing posts with label Gesso. Show all posts

Monday, November 11, 2013

Neon Fire & Ice

Good Monday Morning Everyone!


Club Scrap introduced a new line of Neon Dabbers at this year's annual Retreat. These colors are so amazing and I had so much fun experimenting with different ways to use them. I found this fun technique called Stained Glass using Crystal Effects (which I did not have). I decided to substitute Club Scrap's Book Binding Glue and was thrilled that it worked perfectly. I took this technique in a different direction and came up with my own spin on it.

Here are the steps I took in creating my version of the Stained Glass technique.
* NOTE - if you want to save this blog post as a PDF or Print it out for future use click on the icons at the bottom of my post under my photo.  If you don't see them, make sure you are only viewing this post by clicking on the Blog Title.
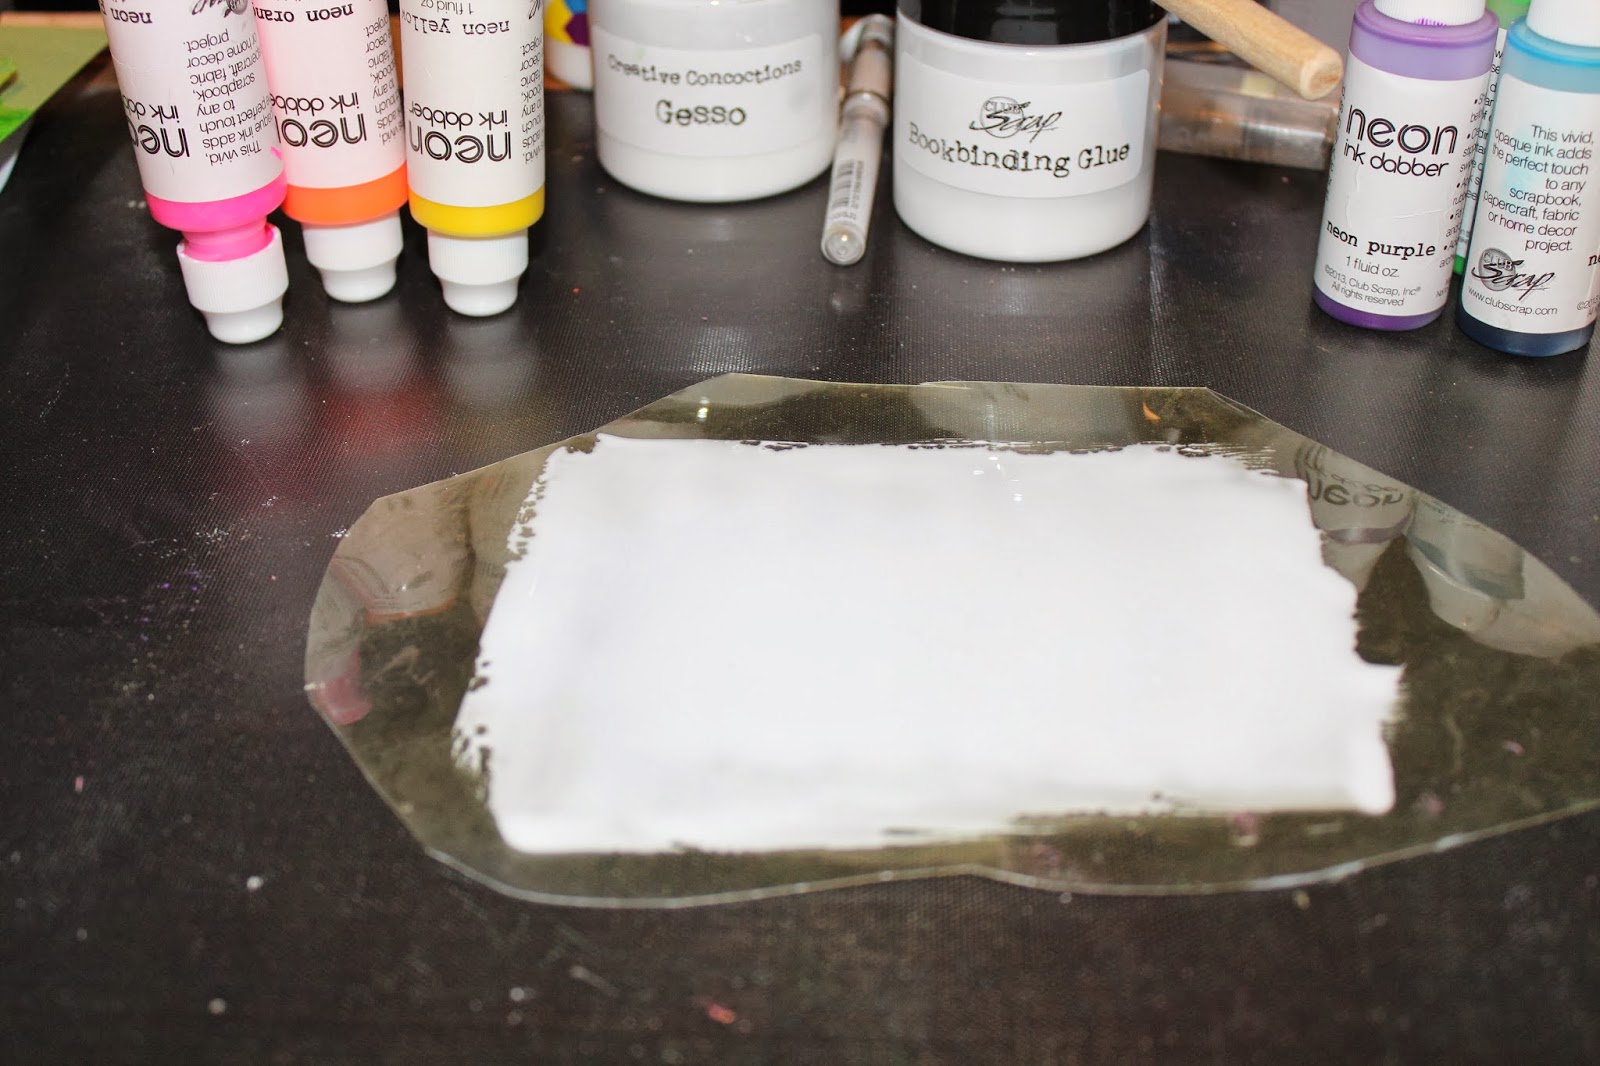
Spread CS® Book Binding Glue onto clear plastic sheet (recycled from packaging).
Squeeze out drops of neon inks onto the glue.
Drip white gesso (Retreat 2012 Creative Concoctions workshop) onto neon inks.
The inks and gesso move and blend together.
Precut four glossy cardstock panels 4 x 5.25" and place each panel one at a time face down onto the plastic.
Carefully peal away and set aside to dry.
Continue the same process with all 4 panels.
Create a new palette using the purple, blue and green neon dabbers.

Each panel is unique and when dry has a glossy shine.
Choose 2 panels, ink the edges using a coordinating neon ink pad.
Create two A2 card bases using the Fire and Ice blue and yellow cardstocks.
Stamp the Fire and Ice quote onto a white panel.  Stamp images onto the Stained Glass panel using a black permanent ink. Add a coordinating fiber from the kit.
The cards followed the November Card Sketch at the Coffeehouse forum.
Thanks so much for stopping by and hope you will give this fun technique a try.
Enjoy your week.

EDITED** I just got word the Pro Shop is now open to the PUBLIC!
And there are even some RIAB's (Retreat in a Box) left!! Don't miss out! 


Julie

Tuesday, April 16, 2013

Stencil Technique with Gesso, Ink and Gelato!

The warehouse was buzzing yesterday with the latest Club Scrap Lite kit heading out the door, and inside those sweet little pizza boxes is another fabulous stencil.


When putting together the ALSB pages for the month, I thought it would be splendid to add some of the fern images to the Dark Blue paper, but figured I'd have to find a way to make the ink pop. Enter: Gesso. It's the gesso we made together in the "Creative Concoctions Workshop" at the 2012 Retreat. Fun stuff!

Honestly, I'm a little wiped out from writing LOTS of instructions lately, so I'm going to take the more visual route to expand upon the technique article included in the latest edition of the Scrap Rap Magazine (see page 11). Kay and I snuck back into the studio again with the camera and let 'er go.

Click here to watch the video on YouTube.


And a look at the finished layout:


If you need some supplies, here are a few quick links:
Club Scrap Lite Kit
Peridot Ink
Ink Applicator
Spring Chorus Unmounted Stamps
Gelatos

Thanks for stopping by . . .
Tricia


Editor's note: links removed for Spring Chorus Stencil due to unavailability 6/13/13 jmh**

Wednesday, November 21, 2012

November technique: GESSO

Happy Wednesday everyone!

Hetty here with a photo tutorial for using the gesso we made in the retreat Creative Concoctions workshop. Or maybe you have gesso on hand but never knew what to do with it!

Over at the Club Scrap forum, I post a technique every month for you all to try. This way you can see what others do with the same medium. You can find the technique of the month HERE.

There are many ways to use the gesso and here is one:

1. Begin with two pieces of cardstock trimmed to the same size. I used a 4-1/4x5-1/2" piece so that I could use it on a card. Put a blog of gesso on each piece of cardstock.

 2. I use an old credit card to spread the gesso on the cardstock. Not a too thin layer, make sure the gesso is everywhere.
 3. When still wet, put the two pieces on top of each other on the gesso side.
4. Rub it in gently and then slowly take them apart.
5. You see now that on both pieces you have structure in the gesso. Let it completely dry before going on. You can use your heatgun or do this before you go to bed and use the pieces the next morning.
 6. There are all kinds of mediums you can use to color the gesso. I love the new metalic stains and combined it with vintage distress ink to color this background.
7. Now stamp on it with black archival ink. You can also add some cut out pictures or photos. It is great for art journaling.
8. And here is the finished card. I added some glitter glue.
 9. Another way to color the gesso is with your watercolor crayons, a brush and water.
10. After you have colored the background, you can use your stamps in black or in colors.
11. This is the finished card.

Want to see some more gesso techniques? Please come and visit the technique challenge at the Club Scrap forum.

Have a creative day!


Tuesday, July 3, 2012

Raku, Paints and Gesso

I was taking a stroll through our creative archives, and I came across this really cool technique originally submitted to us by Hetty Sanders. Kay put it to great use with the Raku stamps. (Check 'em out--we put 'em on sale just for you!) If you weren't a member of Club Stamp at the time, you may have missed this easy technique.

You'll need printed paper or white paper and acrylic paints, embossing ink, embossing powder, heat tool, gesso, damp tissue/baby wipe, an old credit card and stamps.

For printed paper:
1. Stamp onto a trimmed panel and emboss with clear powder. Add gesso to the embossed paper, and scrape the gesso to spread it across the entire panel.

2. Remove excess gesso from the embossed areas with a damp tissue or baby wipe. Allow the panel to dry.

For plain paper:
1. Paint a plain paper panel with assorted acrylic paints.

2. Stamp images and heat emboss with clear powder.

3. Scrape gesso over the panel and wipe away excess.

Once the panels are dry, turn them into a beautiful card or layout. Fun (and easy) stuff! While you have the supplies (and mess?) on hand, make several more panels for your creative stash.