Showing posts with label special edition. Show all posts

Wednesday, August 6, 2014

Tin Tiles Doorway Mini Album

Hello everyone, Debby here. I am so excited to be your guest blogger for today. I've been a member for three years now and I am constantly awestruck with the designs, quality products, and variety in every Club Scrap collection. Recently Club Scrap celebrated its 15 year anniversary by releasing the Tin Tiles Anniversary Collection.

Club Scrap Tin Tiles Collection
The imagery reminds me of ornate historic buildings and antique architecture. The collection comes with directions to make ten beautiful 12 x 12 scrapbook pages, however, I like to make mini albums, so I decided to make a doorway mini album inspired by one of the cutapart quotes. The doorway cover features the dry embossing folder included in the collection. The inside pages feature collection papers, cutaparts and tags decorated with the stencil included in the collection.
Tin Tiles Doorway Album Cover 
The doorway cover is made from chipboard with a cut out window and transom. I painted it with silver acrylic paint as a base for additional embellishment.
  • The "tin" accents are foil sheets embossed with the Tin Tiles embossing folder, antiqued with Distress Paint.
  • Punch Collection papers with the EK Success Scroll Pattern punch and add as accents.
  • The window is an acetate sheet with an antiqued jewelry medallion adhered with Glossy Accents.
  • The door knob is a Tim Holtz Ideology hitch post.
  • Behind the transom is an acetate sheet dry embossed and antiqued with bronze Distress Paint.
  • The door was finished with black marker lines and black inked edges.
Inside cover with the cutapart quote that inspired the project.
Internal pocket pages
The binding is a Stack the Deck Binding designed by Laura Denison. The pockets were made from ivory #10 envelopes cut on the diagonal and slit on the side.
  • Each pocket is attached to the spine tab with Club Scrap Bookbinding Glue, and covered with Tin Tiles collection papers and Gold Foil Handmade paper from the Trees collection.
  • Pockets are further decorated with Tin Tiles Cutaparts, papers, and left over embossed foil accents.
  • Ribbon accents were added to the flaps and some of the pages.
Tags created as inserts for the pockets
The pocket tags are decorated with stencil techniques or papers and accented with ribbons from the collection.
  • Dark blue tag: Emboss with Tin Tiles embossing folder and ink raised areas with Club Scrap white pigment ink
  • Light blue tag: Stencil with watermark ink, emboss with clear EP then antique with Distress Ink
  • Grey tag – Ink Tin Tiles stencil with Club Scrap white pigment ink.
  • Manila tag: Reverse stencil image from grey tag (place over white inked stencil and rub the back to transfer). When dry, antique with Mahogany Distress Ink and rub with a damp cloth to reveal the reverse stencil image. 
I hope this gives you an idea of the possibilities with the Tin Tiles Anniversary Collection. It was so easy to make a delightfully coordinated project, adding just a few optional embellishment from my stash. To see more of my Club Scrap projects see my blog listed below.  
Thank you for reading and happy crafting!

Debby H

Friday, June 13, 2014

Happy Anniversary, Club Scrappers!

Earlier this month, you may have read Tricia's blog post announcing Club Scrap's 15th Anniversary on June 1, 2014. According to tradition, tin is the symbolic material of this milestone and it represents preservation and longevity. While it is technically considered a "common" metal, instead of a "precious" metal like gold or silver, tin is still rare. In fact, it may be the least available of all common metals. We think this is fitting since Club Scrap is also rare and unique! We are blessed to forge ahead into our 16th year of creating one-of-a-kind paper and stamp designs.

To celebrate this milestone, we are releasing a very special 15th anniversary collection, Tin Tiles. Jac really outdid herself with the lovely tin tile artwork arranged in a visually unique 3-dimensional design. It really is a feast for the eyes.

The Tin Tiles collection includes everything you see here.
The Cutaparts make embellishing the pages so easy!

You'll love the 5x7" Embossing folder.
Just look at the stunning effects you can achieve!
Gorgeous!
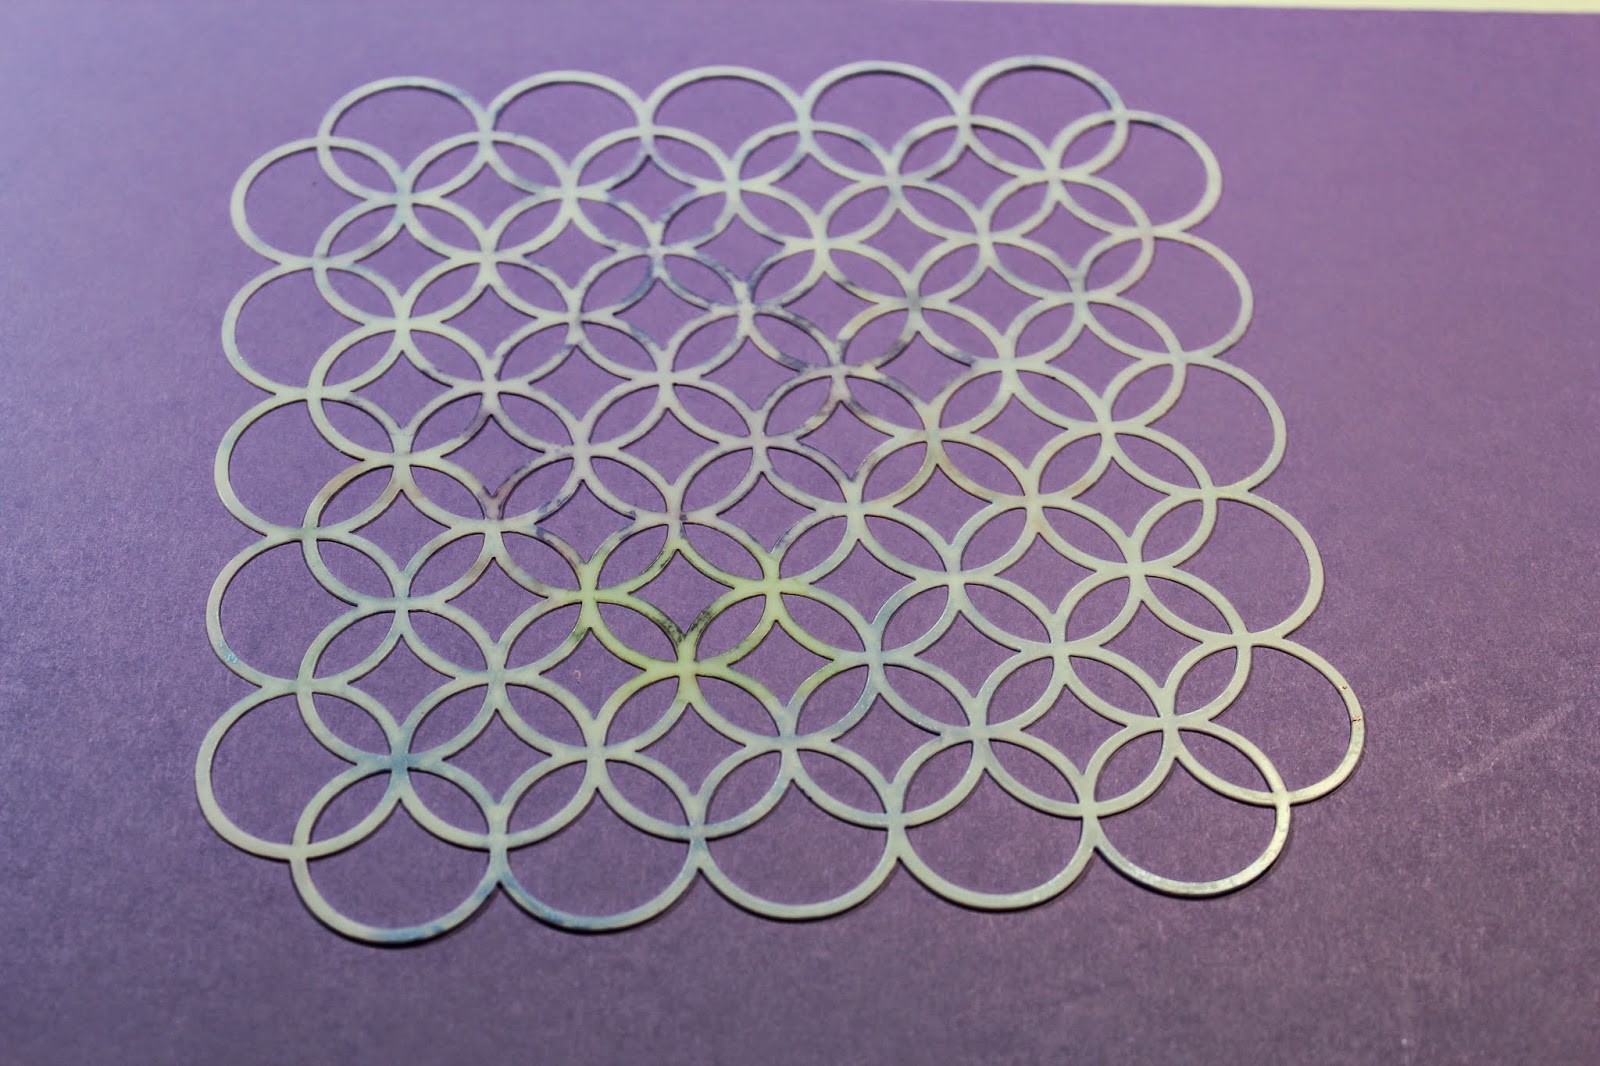
The crowning jewel? This 10x10" masking stencil. It ROCKS!

Isn't that mask spectacular?
Kay's layout featuring the lovely Miss Marilee.
Here are Tricia's finished ALSB pages with photos from Emily's junior prom. Both mother and daughter are just beautiful, aren't they? You'll love the versatility of the paper designs. The quotes and sentiments on the Cutaparts can be used for anything life brings your way.


Emily and Ian make such a cute couple!


Happy Anniversary! Celebrate by getting a versatile and beautiful Tin Tiles collection of your very own.

Creatively yours,
Karen

Friday, April 18, 2014

New Collection: Dots, Stripes and Little Tykes

Please help us welcome our newest "addition", the special edition collection Dots, Stripes and Little Tykes. This collection features a fun color palette perfect for preserving photos of babies, small tots, Easter photos and so much more.

Cutaparts

Cutaparts and Ribbon
This collection creates ten Assembly Line Scrapbooking (ALSB) pages. Want to see a few?

ALSB pages 9 & 10.

ALSB pages 1& 2 and 5 & 6.

ALSB pages 7& 8.

Tricia finished a few of the pages with photos and journaling. Aren't they great?

ALSB pages 1 & 2.

ALSB pages 3 & 4.

There's even a cool layering stencil!


Dots, Stripes and Little Tykes stencil with Hydrangea stamps.

Dots, Stripes and Little Tykes stencil with Hydrangea stamps.
I hope you enjoy this new collection. We'd love to see what you create!


Creatively yours, 
Karen

Monday, April 14, 2014

Fun with Geometrics

Have you seen our newest special edition collection, Geometrics? The patterns on the printed papers are so hip, so NOW, I couldn't wait to try them out.

I've been seeing a lot of clean and simple graphic cards lately, so I thought I'd give the style a try with Geometrics. I hope you like the results as much as I do.

Use your corner rounder on opposing corners for a unique look.
Layer different sizes for interest.
Use a square punch diagonally to create the edge of the banners.
Layer banners for a fun look.
We'd love to see what you've made with the Geometrics collection. Why not share your work in our online Gallery?

Have a creative day!
Karen

Friday, April 11, 2014

Double Stenciling with Geometrics

I was intrigued when I ran across this compilation of stenciling techniques in a video demonstration by May Flaum. Her "Double Stenciling" idea shown at the four-minute mark really grabbed my attention! I knew that my Club Scrap® stencil and mask collection would work perfectly with this technique.

I used an open shape stencil coupled with the brand new Geometrics stencils to create unique combinations of images. Follow these steps to achieve the double stencil technique . . .

1. Choose a stencil from your collection with an open shape.

Common Threads
2. Choose a mask/stencil with a repeating pattern.

Geometrics 
3. Lay the open stencil on top of the repeating pattern mask/stencil and apply color with an ink applicator.


4. Layer the stenciled panel onto a coordinating matte and card.

Stencils: Common Threads + Geometrics in CS® Amethyst Hybrid ink
Take Wing green panel and Great Outdoors sentiment in CS® Peridot Hybrid ink
For a more defined shaped image follow these steps:

1. Keeping the open shape stencil in place, remove the pattern mask/stencil.


2. Ink the outside edges of the open stencil to define the shape.


Let's take a look at some other striking double stencil combinations.

Stencils: Take Wing + Geometrics in CS® Amethyst Hybrid ink
Collections script stamp in Neon Pink CS® Ink and Hydrangeas quote.
Stencils: Spring WOW 2013 + Geometrics and My Funny Valentine 2011 in CS® Amethyst Hybrid ink
Collections
script stamp in Neon Pink CS® Ink and Watercolor Blossoms quote 
Stencils: Graffiti + Geometrics in CS® WOW Red Hybrid ink
Neon purple dabber splats, Random Doorways red panels and Big Deal sentiment
Stencils: Hopes flower + Cape Cod (left) in CS® Ocean Hybrid ink and
Friends (right) in CS® Neon orange and yellow ink
Hopes leaf + Geometrics (left) and Comics (right) both in CS® Spruce and Peridot Hybrid ink
Trees light and dark green card bases with Blossom sentiment
I hope you enjoyed my version of this unique and highly addictive technique!

Feel free to share your stencil combo ideas in the comments section below.


Julie

Tuesday, April 8, 2014

Geometrics Stencil Bonus Pack

Have you checked out the Geometrics Stencil Bonus Pack?

12x12 Layout Featuring Geometrics Bonus Stencils

Greeting Card created with Geometrics Stencils
A fun stencil is included with the Geometrics Paper Collection, however we love stencils so much that we had to release a Bonus Pack!

Geometrics Paper Collection with stencil included.
Geometrics Stencil Bonus Pack
Let's take a closer look at these projects . . .

Greeting Card

1. Cut three panels to cover a 5x7" card. I used sizes 1-3/4x6-3/4, 2-7/8x2-1/2, and 2-7/8x4-1/8".
Use a Foam Ink Applicator and inks to stencil color onto each panel, changing stencil patterns as desired.


2. Spray mists for additional color and a textured look.


3. Remove stencil and set aside to dry.


4. Assemble stenciled panels onto the card and add a sentiment.


Stenciled Scrapbook Page

1. Cut Geometrics Brown Solid into (9) 3-3/4" squares. Randomly brush with tan acrylic paint (or any lighter color that coordinates with your photos), leaving some areas unpainted.


2. Stencil the pattern of your choice onto each square with black or brown acrylic paint.


3. Assemble the stenciled squares onto an 11.75" square Geometrics Brown Plain, and matte onto a sheet of 12x12 black from your stash. (I didn't end up using all nine stenciled squares since my 5x7" photo will cover the middle. I selected my eight favorites to use for the layout.)


4. Complete the page with a photo, Geometrics cutaparts, and ribbon.


I really like the mosaic look of this stenciled layout. The square frame that holds the journaling block is from the Hydrangeas Die Cut Tags. I painted it with the remaining brown paint on my brush so it would coordinate.

By the way, I also featured the Friends Stencil on my layout! I think it compliments the other Geometrics patterns, don't you?


I'm looking forward to seeing the canvases, cards and pages that you create . . .

Happy Stenciling!
Kay at Club Scrap