
I know I have my own ways to stretch my monthly kits, and here are just a few of them. (Not a monthly member yet? Click HERE to sign up!)
I love the ALSB instructions that are provided so generously by Club Scrap every month. Who wouldn't love someone taking all the guess work out of what to do with all those wonderful papers and supplies we receive!
I thought it would helpful for you to see the instructions and layout style I was working with today. This is layout 11 & 12 from the Spring Chorus Collection:

I am a Club Scrap kit member, which ships on the 1st of the month, and this kit has it all.
Many of the layouts incorporate 8.5x11 papers in conjunction with the 12x12 base pages. They act as anchors for the pages.
To salvage the base paper underneath the 8.5x11 paper, I begin by flipping over the 12 x 12 sheet and tracing the 8.5 x 11 paper (upside so not to get any pencil on that paper) onto it.

Using my rotary trimmer (a craft knife and self healing mat would be perfect for this cutting procedure too), I cut 1/2 inch inside the traced image of the paper. This gives the 8.5x11 sheet a place to be attached onto the base paper.


Then I flipped over the base paper, added ATG adhesive to the back of my 8.5x11 sheet and attached to my base page. *Special note: I also stick clear tape to the back side of my layout just to ensure the pieces stay together correctly and to keep them from hooking onto my page protectors as I am sliding in my finished pages.

The right side of this layout used another trick. Typically the instructions direct us to lay the white print over top of the blue base paper. I didn't want to hide

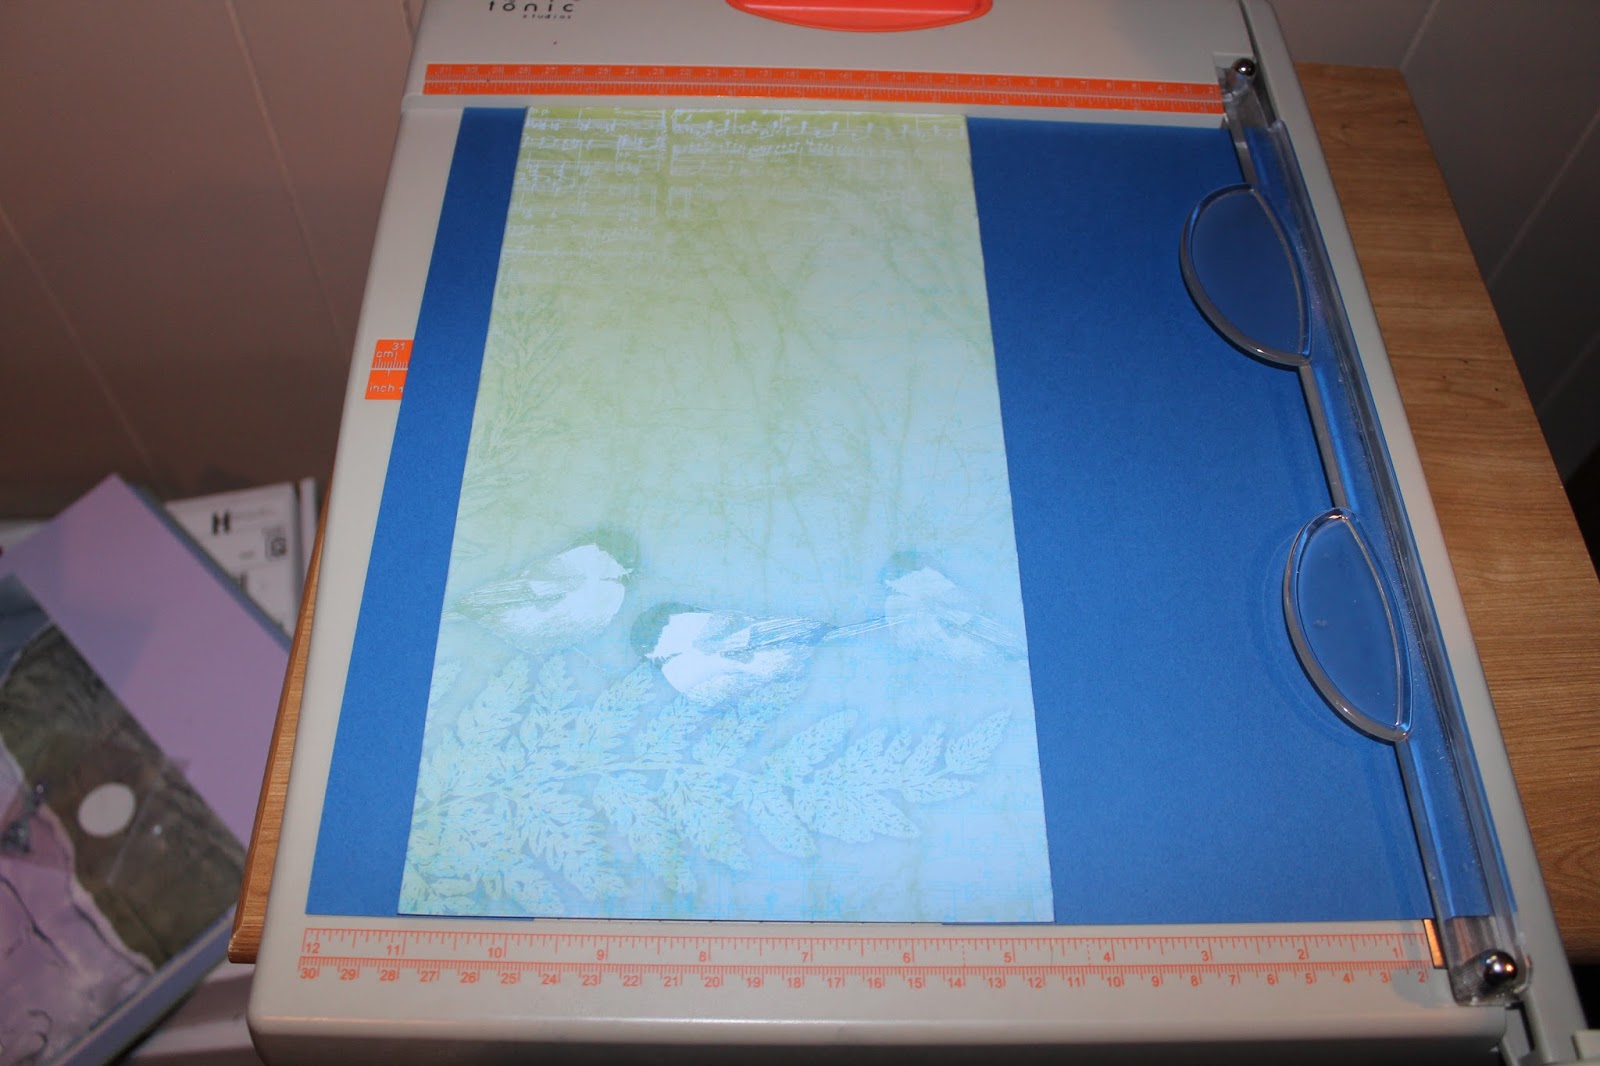
I trimmed the small section out of the large base paper.

I positioned the paper on my Tonic trimmer so they are all lined up with the 12x12 mark, I ran ATG tape on the base paper pieces and then adhered the 7x12 white print paper on top. Having the papers on the trimmer keeps all of them lined up and squared at 12 x 12 inches.

I used the extra blue paper I saved from this layout to create some of the flowers and mini album mattes from my Spring Chorus Blog Hop project. If you missed it you can see it HERE.
Here are the bases just waiting for completion. :)

I really hope you found these paper-saving shortcuts helpful.
Thanks so much for stopping by!
I do exactly the same thing Julie - thank you for the reminder about this.
ReplyDeletegreat ideas! thanks HopeR.
ReplyDeleteAwesome tips Julie, I gotta do this more!
ReplyDeleteJulie, I'm not grasping this concept. Do you cut out an 8.5x11 section of the blue base then adhere the print to the base from the back to cover the hole then flip it back? Thanks, Cher
ReplyDeleteHi Cher! Sorry for the confusion Cher. I trace the silhouette of the 8.5 x 11 on the back of my base paper and then cut a smaller sized (8 x 10.5 inches approximate piece) out of the base paper. Then flipping the sheet back over I cover up that hole with the 8.5 x 11 print. I hope that helps.
DeleteGot it!! Thanks, Julie. I thought I was reading it wrong. Great idea! I've often thought of cutting the base out but never thought of your clever plan! Thanks!
DeleteCher
My favorite shortcut tip is to use the plain sides of your ALSB layouts as layout pages too! I take full advantage of stencils, stamps, POPs, leftover trimmed strips and coordinating paper left from other kits to embellish the plain sides. I also often have more photos per layout than the ALSB suggestions, so there are leftover embellies from the fronts. I just have to be extra careful to get my page flipped over in the right direction, but I get double use from my paper and save a bit of weight in my albums.
ReplyDeleteBeth M.
That is fantastic Beth!! Way to think outside the box!!
DeleteI do the same thing, except, I frequently mount the whole thing on a piece of white cardstock (or a colour I don't like), particularly when you are cutting strips, I think it makes it less floppy ...
ReplyDeleteI just hate covering up so much pretty paper
I have done this and am even more likely to do it when we are covering up patterned paper, I do it less now because of the time and because I have enough paper for a few lifetimes!!
ReplyDeleteExcellent way to conserve paper! Thanks very much for the ideas!
ReplyDeletePhoto Mats: use any punch that leaves 1/4"+ margin; i.e., circles, squares, photo corners, tags, arrows, etc.
ReplyDeleteBee