Showing posts with label card making. Show all posts

Monday, August 25, 2014

Stencil Shadow

Picnic - "I love you so much I could squish you."

Make your stencil images pop with this clever shadow technique!

Here is how it's done . . .

1. Stencil the Tin Tiles image at an angle onto white paper using Ash Ink.


2. Move the stencil slightly to offset the image.


3. Fill in the stencil with turquoise chalk ink.

The ink was a goodie in the Artifacts Lite kit.

4. Remove the stencil to reveal the shadowed art.


5. Cut the art into four 4x5.25" panels.


6. Attach the panels to four Salsa Blue 5.5x8.5" folded cards.


7. Time to add your sentiments. Don't be afraid to mix up your kits. I chose stamps from PSL Bugs and Picnic.


8. Too much white space? Stamp a sentiment onto white paper and layer with a coordinating mat.


Picnic sentiment
Take Wing - "Make today ridiculously amazing."
There have been many amazing stencils created by Club Scrap during the past fifteen years. Which one is your favorite?

Julie


Tuesday, August 19, 2014

Inspiration Three Ways


We all know that inspiration can come from any number of places. Today's batch of cards were inspired by three sources . . . Karen's cool background technique, Kay's clever cutapart tutorial, and Marya and Ann Marie's super simple August Card Sketch Challenge.

Let's get started!

1. Create the background. I used Gelato as suggested by Karen in her tutorial.


Oops!  I stamped the sentiment on my background upside down... stay tuned to see how I fixed my boo boo. 
2. Stamp sentiment onto card base.

Second try at a background with sentiment stamped right side up ;)
Tribal sentiment
3. Select a cutapart that coordinates with the Gelato background.

Artifacts cutaparts, Feb 2009


Distress the edges of the cutapart for added interest.
4. Create the card using the August Card Sketch as your inspiration.


5. Admire the finished card!


Remember my upside down sentiment?

Turn card base on its side, layer with another cutapart (to cover up said boo boo), and stamp with the Picnic sentiment. I stamped the Artifacts sunburst image on the background using the Gelatos misted with a bit of water.
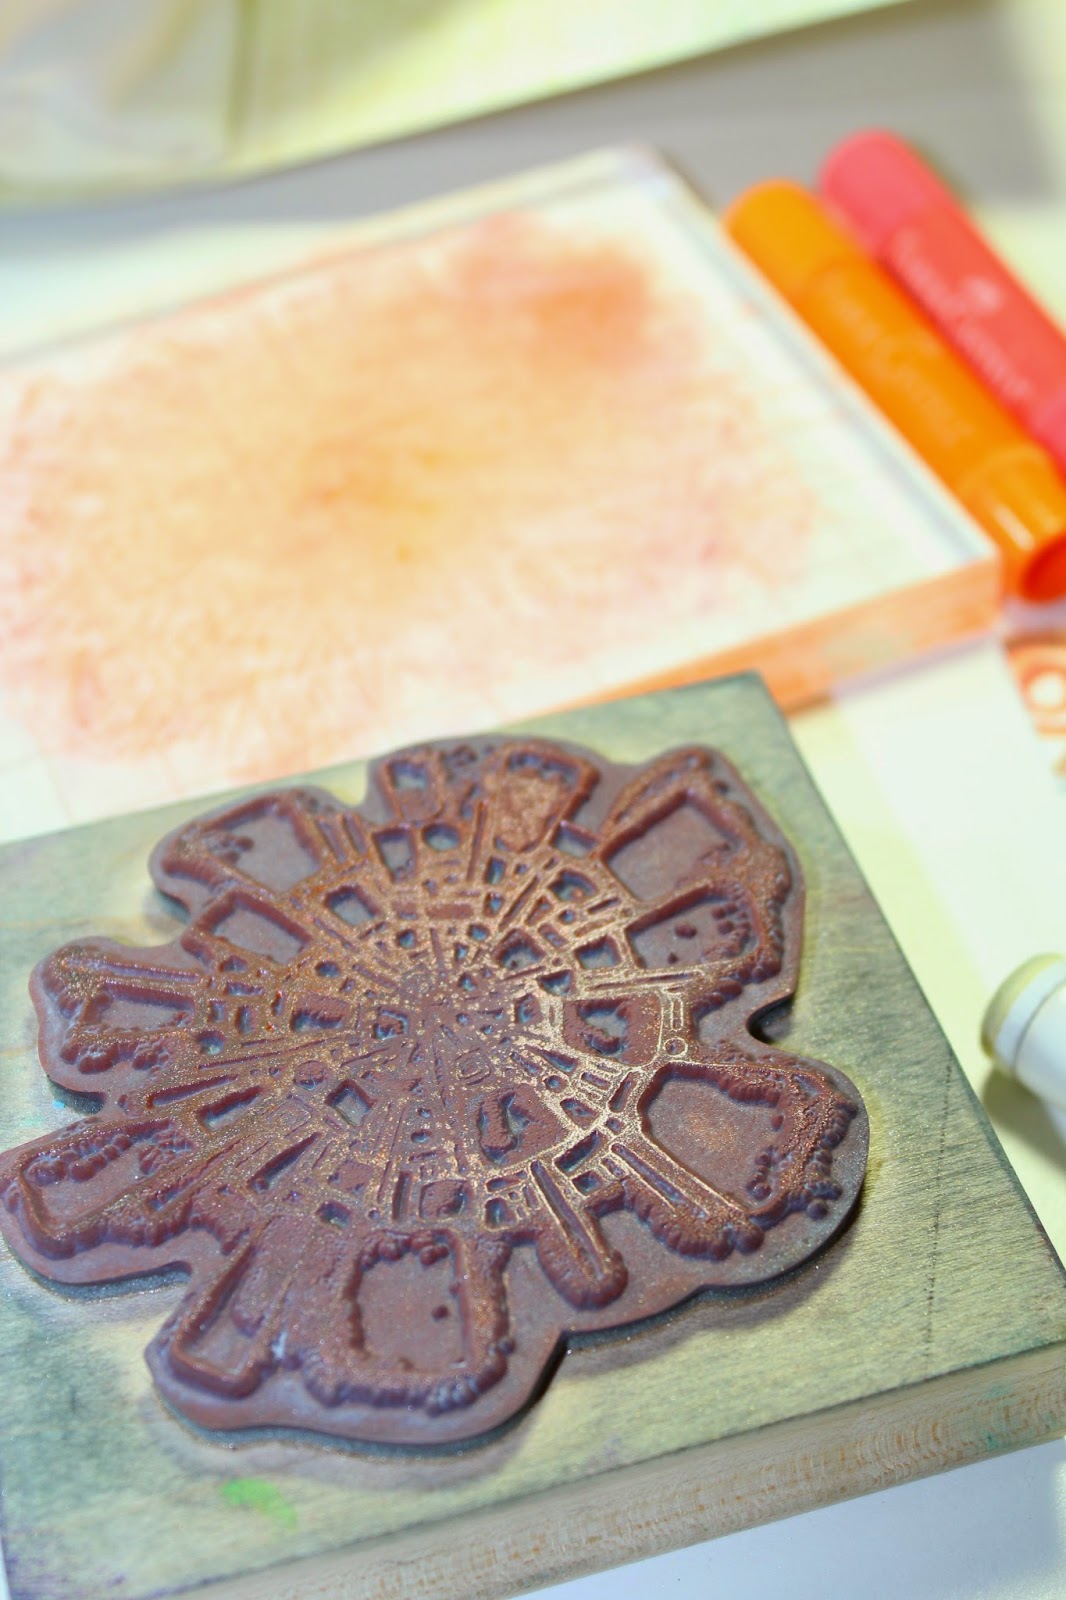
Scribble Gelatos on an acrylic block and mist with water.  Press the stamp onto the block to load with color. 

BONUS: In the process of creating this card, I discovered another background technique!

I noticed the acrylic block had a neat pattern on it after I loaded my stamp.


I took a piece of plain white paper and pressed it into the colors.


Voila, another background!


Don't you love the simplicity of this month's sketch? The "white" space allows the background technique to take center stage.

Have fun with this technique triple-play!

Julie

Tuesday, August 5, 2014

Homemade Embossing Plate


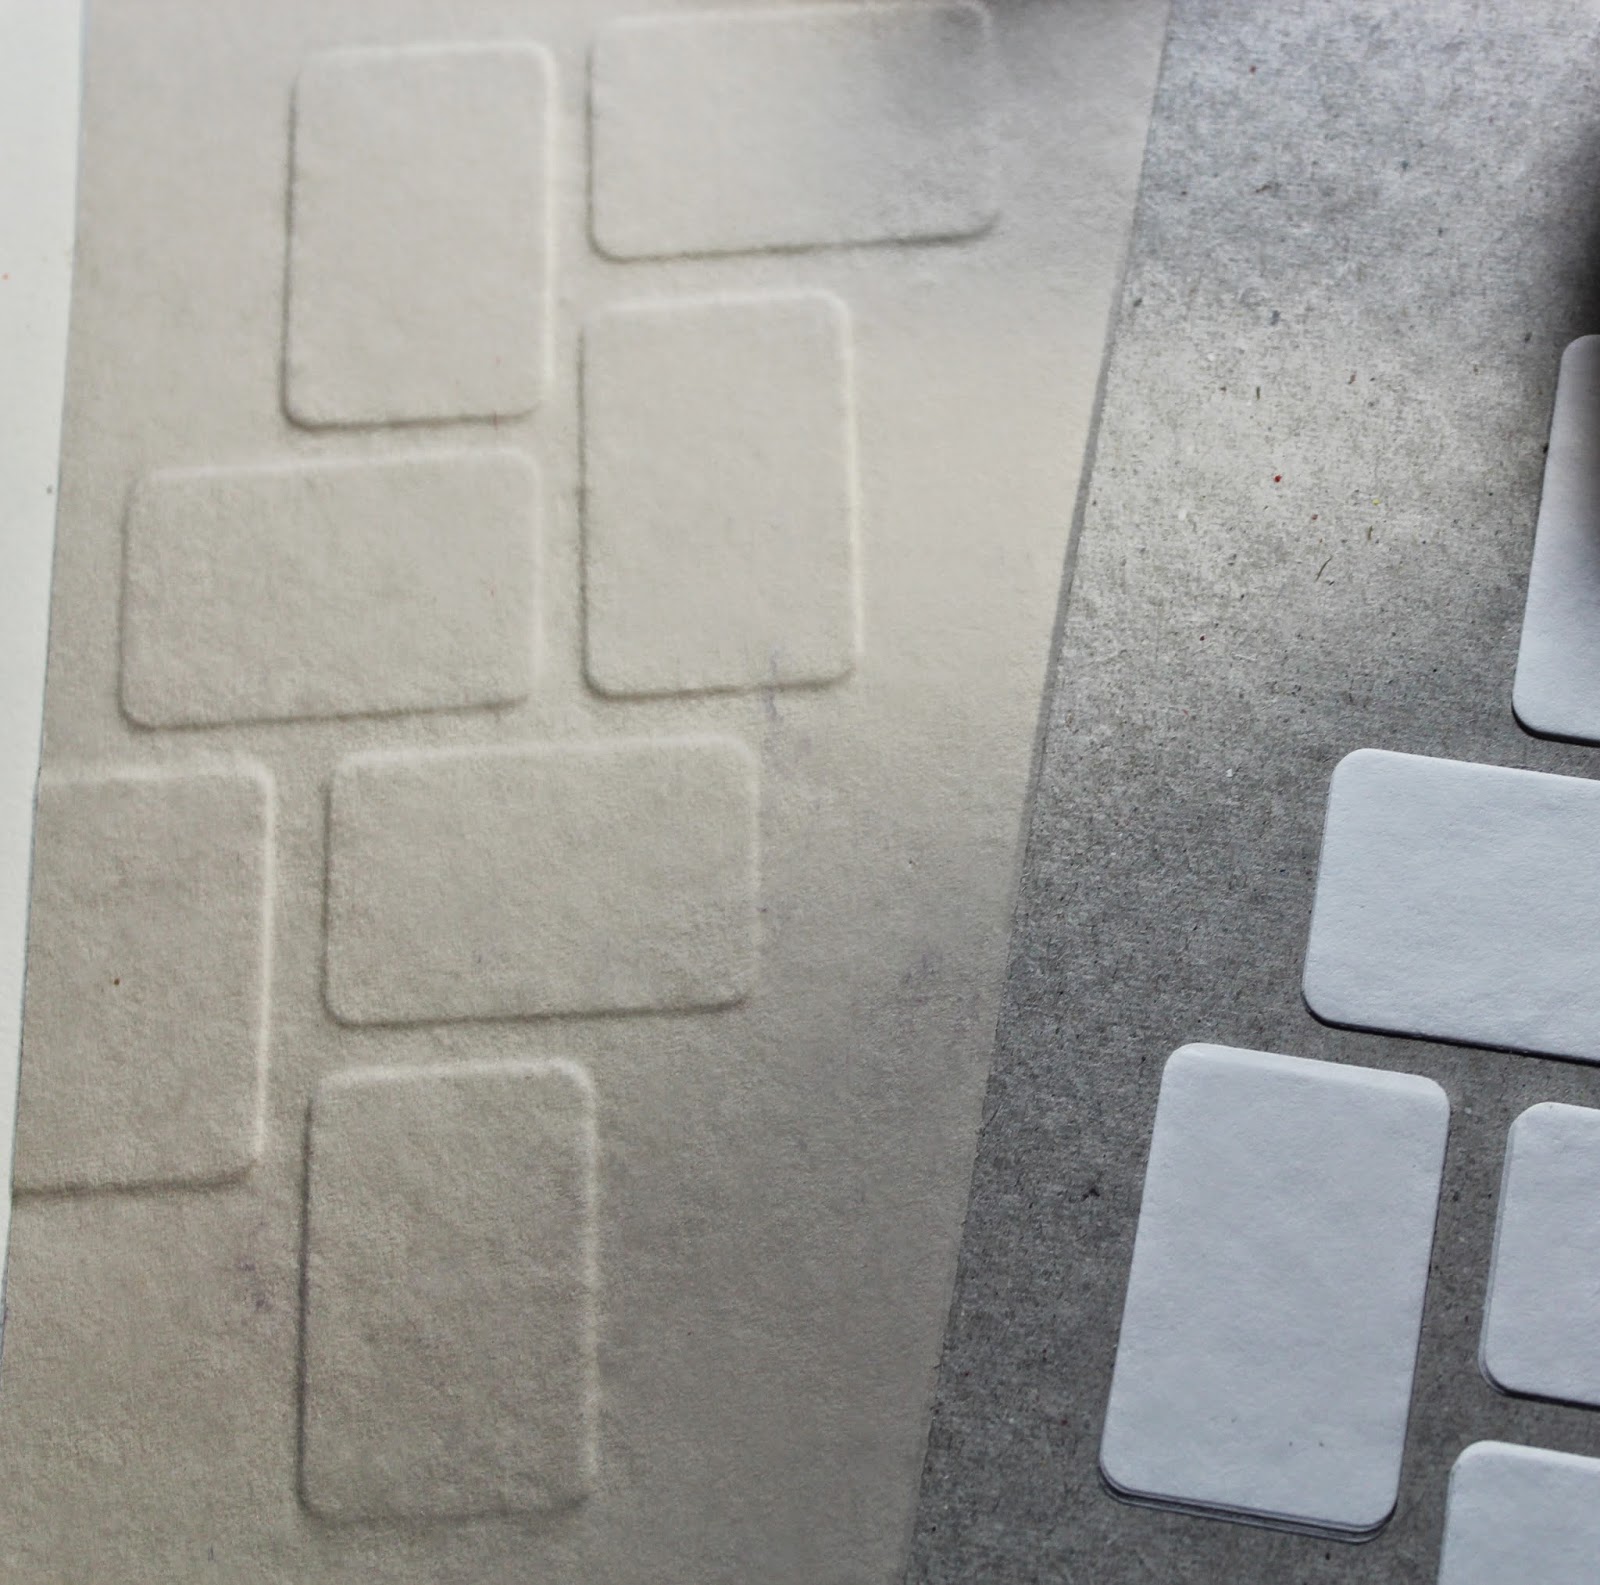
I would bet that everyone has purchased something they just had to have and never got around to using it. For me, it was this filmstrip die by Sizzix & Tim Holtz. It sat in my craft room for years . . . alone . . . just waiting for this month's Cinema kit to come along. A match made in heaven.
I could simply die cut these strips and use them on my page or card, but instead I decided to create something unique and fun -- a homemade embossing plate! Check out this video for more details. 

Follow these steps to create a filmstrip plate:

1. Die cut five film strips from sticker paper.


2. Adhere the strips together, stacking them one on top of the other. (Tip: I left the backing on the bottom one until I was ready to adhere to the base plate.)


3. Cut the film strip into three unequal parts.


4. Cut a piece of thin chip board (base plate) to 4x5.25"and adhere the film strip pieces to the board.


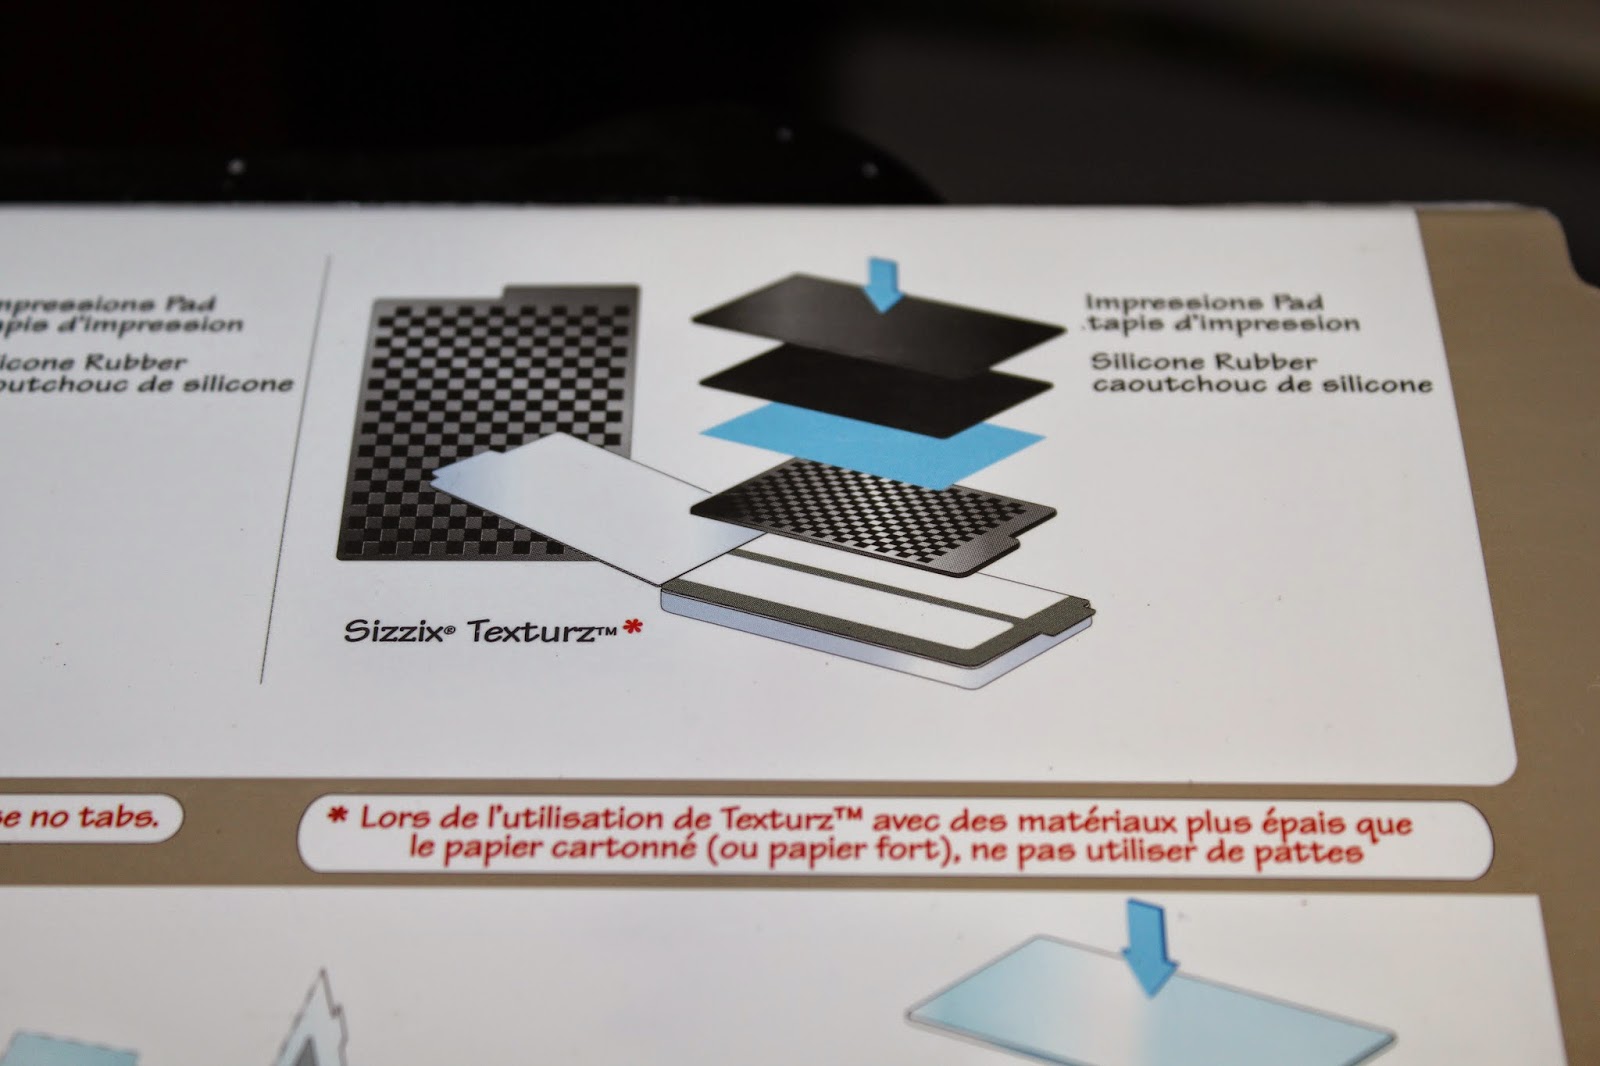
5. Create your embossing "sandwich" and run paper through an embossing machine.

The "sandwich" will vary with different embossing machines. I use the Big Shot by Sizzix.
My "sandwich" from bottom to top - clear acrylic base plate, multipurpose platform tab 1, homemade embossing plate, silicone rubber, and impression pad.
Oopsie Daisy Gray paper held up nicely to the embossing.
The plain White cardstock was a bit thin for this technique and tore.
Bonus embossing plate: 

1. Adhere leftover film strip scraps together in stacks of five. 


2. Adhere onto base plate chip board in random pattern.


Embossed Oopsie Daisy Gray paper.
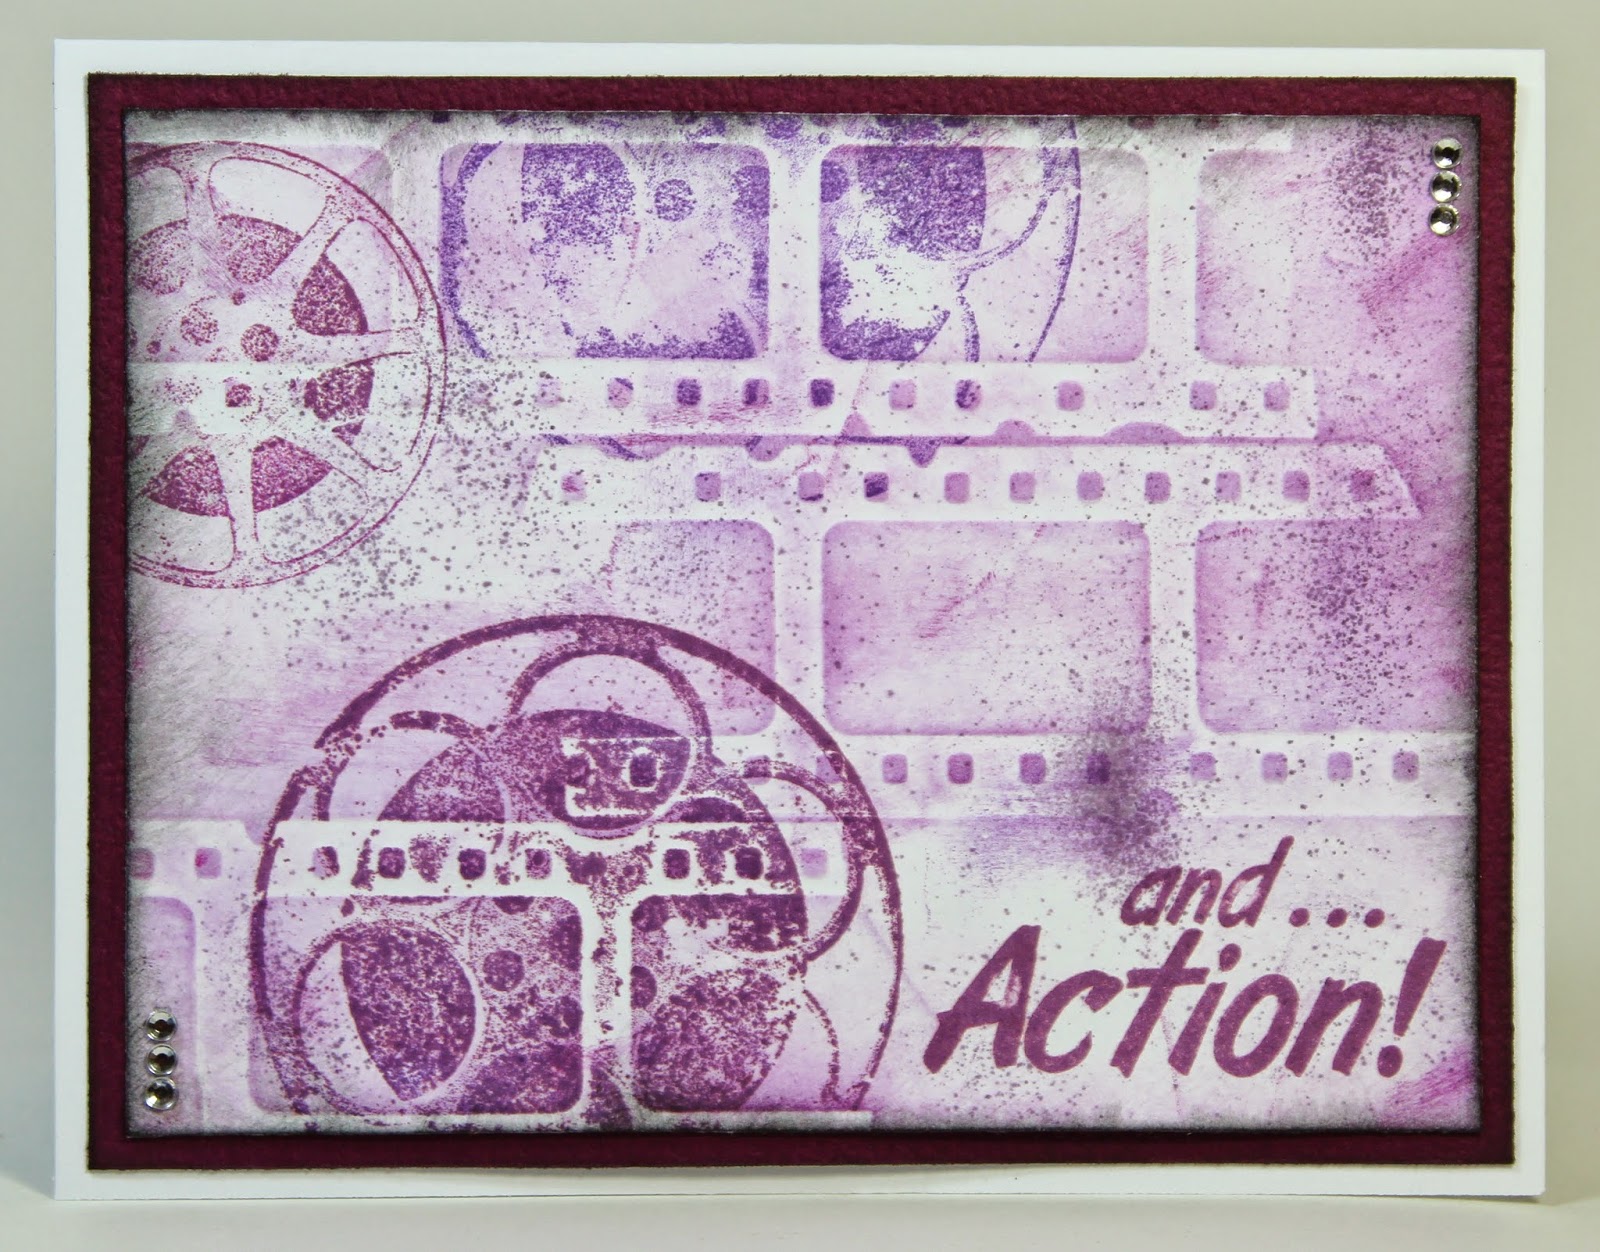
Once you have a nicely embossed piece, it is time to assemble a card.

1. Stamp Borders and Backgrounds images onto de-bossed (indented) side of plain White paper.


2. Continue to add color with a sponge tool in Amethyst, Orchid and Fuchsia hybrid inks over the de-bossed filmstrip image.


3. Nest the panel onto a 4x5.25" Wine matte.


4. Add embellishment (Spring Chorus rhinestone stickers) and the card is complete!


I added a little bit of spritzing with the Tim Holtz spritzer tool and a Dusty Concord Distress marker.

I hope you enjoyed this fun tutorial and will give it a try. Have a show-stopping week!

Julie