Showing posts with label e-zine. Show all posts

Thursday, September 4, 2014

Stencil Crackle Paint Technique


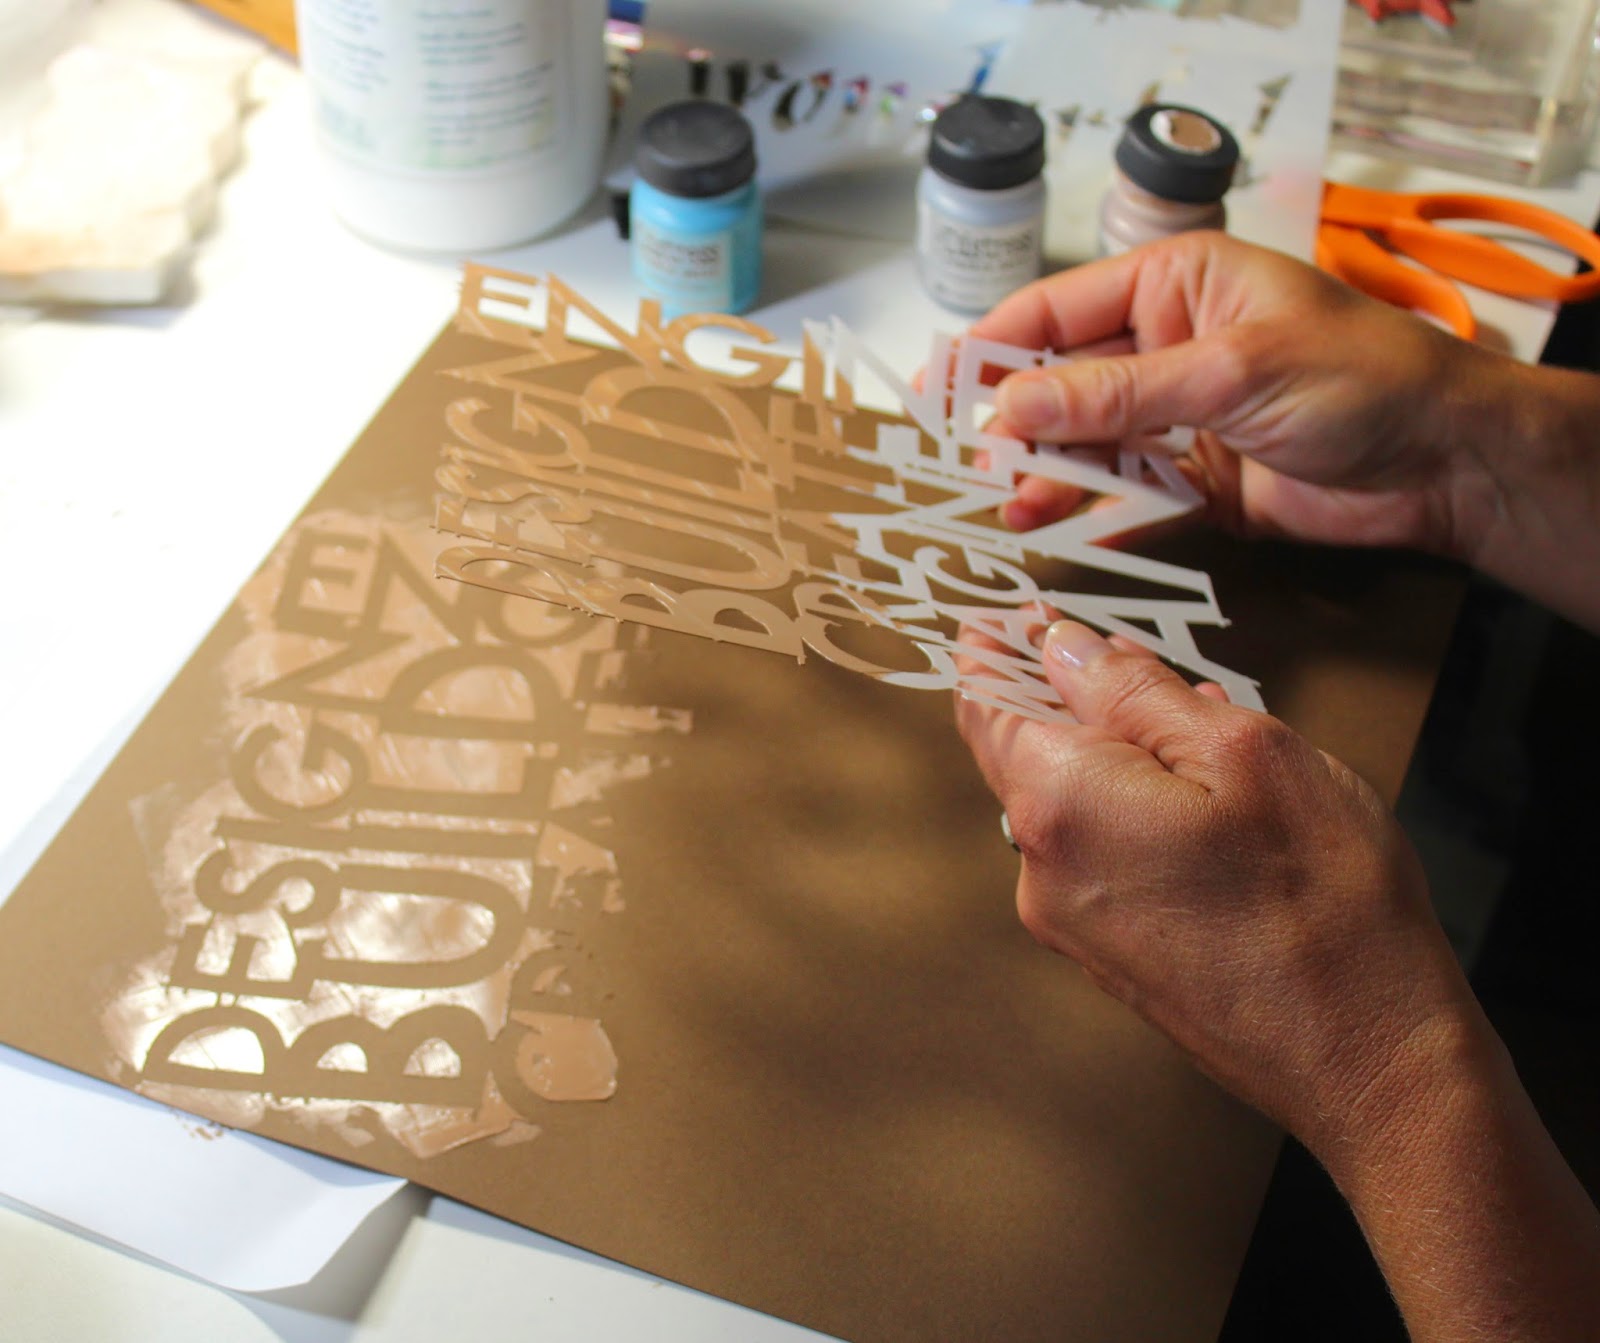
Crackle paint adds so much dimension and texture when paired with the Blueprints masking stencil. Check out these amazing results.


Don't you just love how crisp and clean the edges are and all that wonderful crackled goodness?

Grab some Blueprints papers, the mask and some crackle paint, and I will show you how it's done.

1. Lay the masking stencil down onto brown paper. Paint over the stencil with the crackle paint.

I used a complimentary color of brown - Distress "Vintage Photo" Crackle Paint from Ranger.
2. Swipe over the paint using firm pressure and a scraping motion with an old credit card. This will spread the paint across the stencil and ensure proper coverage.

Note: You don't have to use the entire image when painting on the medium. I chose to highlight certain words.
3. Carefully remove the mask. Allow the crackle paint to dry and reveal the texture.

Run the masking stencil under warm soapy water immediately to remove the excess paint.
Now it's time to use this carefully crafted paper in a layout.

Our daughter Shannon had fun helping us build this dribble sandcastle over the Labor Day weekend. Fits the theme quite nicely, don't you think?


Stamp a gold photo mat, Kay Williamson style!


Add crackle paint to the gold anchor strip, stamp a compass image border, and mat a clever quote to tie the two layouts together.


Let's get cracking on those layouts!

Julie

Wednesday, August 13, 2014

Filmstrip Fun


Okay, I am even surprising myself here! I used my filmstrip die twice in one month, WOW. Check out this blog post where I made a homemade embossing plate.


Next I will use it to create an embellishment for layouts 7&8 from the Cinema ALSB.

1. Create an 8.5x11 print using Time of Your Life and Cinema digital kits.


2. Print image onto plain white paper.


3. Trim a 1.75x11" strip and attach to one sticky side of a piece of double sided sticker paper (goodie included in the Fire and Ice kit).


4. Die cut the filmstrip from hybrid paper + sticker sheet.


5. Remove backing paper and attach to your layout. TIP: I reattached my filmstrip "sticker" to the uncut backing sheet and inked the edges to create more dimension.


6. Adhere die cut embellishments to scrapbook pages.

Cinema ALSB layout 7
Cinema ALSB layout 8
7. Add photos to the completed layouts.


Have you ever found die cut shapes that work perfectly with your Club Scrap kits?
Share your favorite pairings in the comments section below.

Enjoy the rest of your week!

Julie

Tuesday, August 5, 2014

Homemade Embossing Plate


I would bet that everyone has purchased something they just had to have and never got around to using it. For me, it was this filmstrip die by Sizzix & Tim Holtz. It sat in my craft room for years . . . alone . . . just waiting for this month's Cinema kit to come along. A match made in heaven.

I could simply die cut these strips and use them on my page or card, but instead I decided to create something unique and fun -- a homemade embossing plate! Check out this video for more details. 

Follow these steps to create a filmstrip plate:

1. Die cut five film strips from sticker paper.


2. Adhere the strips together, stacking them one on top of the other. (Tip: I left the backing on the bottom one until I was ready to adhere to the base plate.)


3. Cut the film strip into three unequal parts.


4. Cut a piece of thin chip board (base plate) to 4x5.25"and adhere the film strip pieces to the board.


5. Create your embossing "sandwich" and run paper through an embossing machine.

The "sandwich" will vary with different embossing machines. I use the Big Shot by Sizzix.
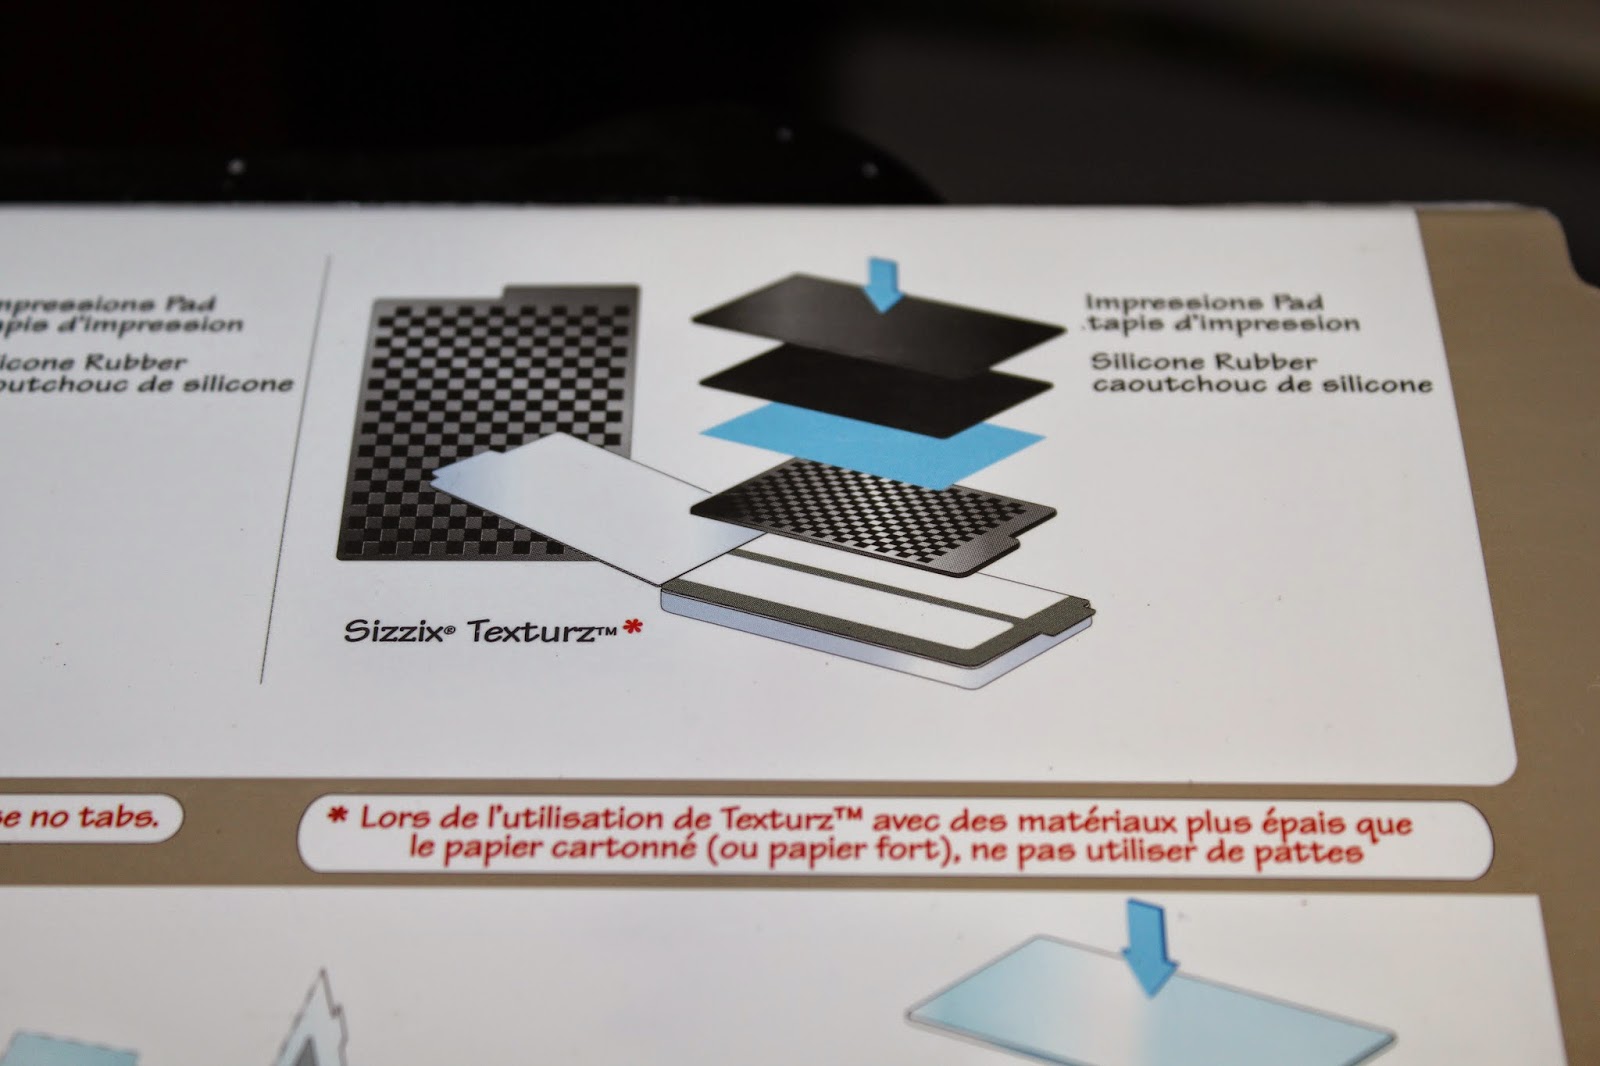
My "sandwich" from bottom to top - clear acrylic base plate, multipurpose platform tab 1, homemade embossing plate, silicone rubber, and impression pad.
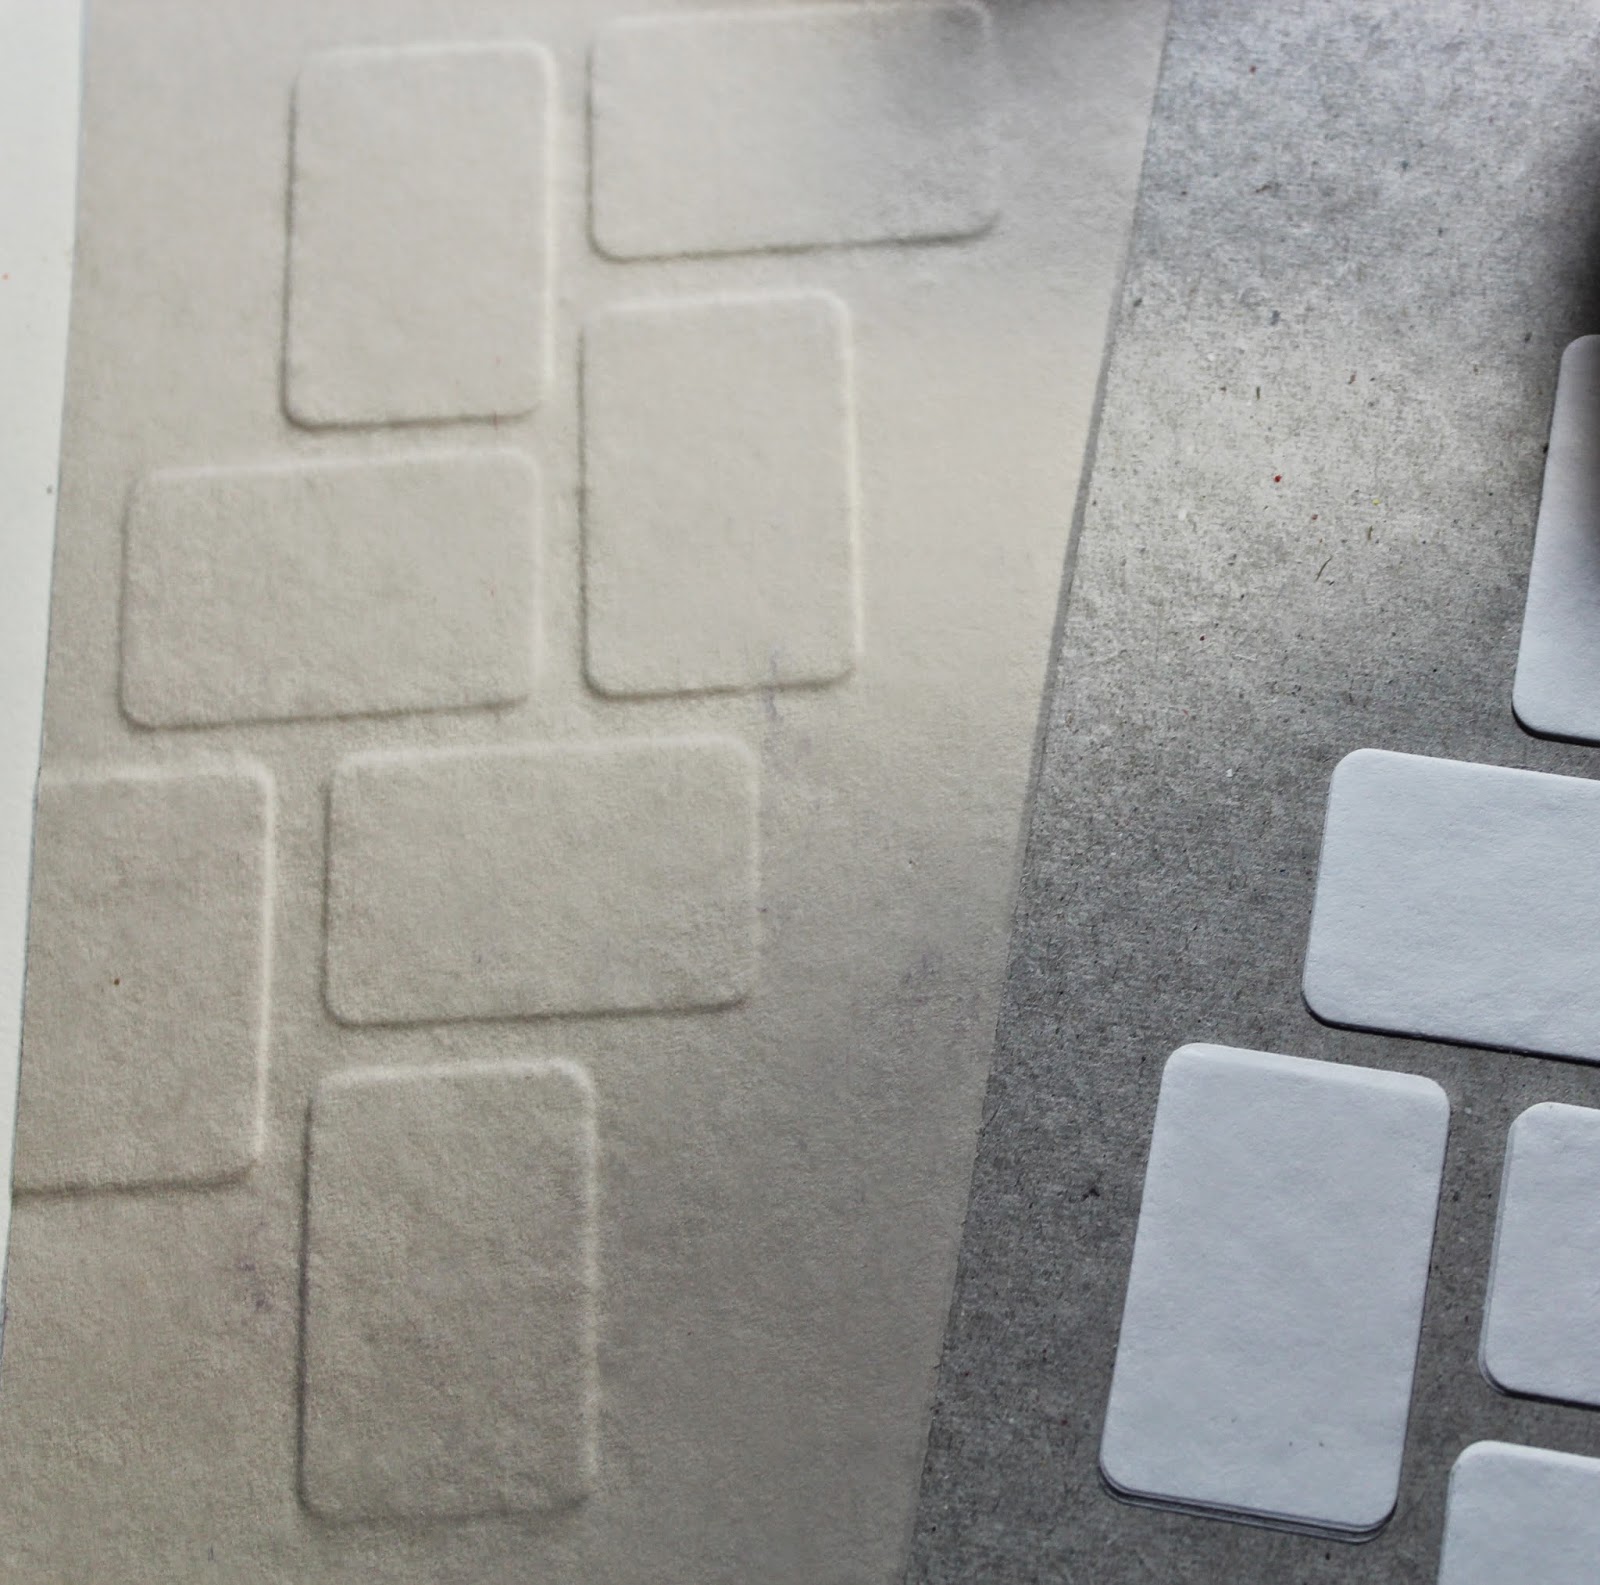
Oopsie Daisy Gray paper held up nicely to the embossing.
The plain White cardstock was a bit thin for this technique and tore.
Bonus embossing plate: 

1. Adhere leftover film strip scraps together in stacks of five. 


2. Adhere onto base plate chip board in random pattern.


Embossed Oopsie Daisy Gray paper.
Once you have a nicely embossed piece, it is time to assemble a card.

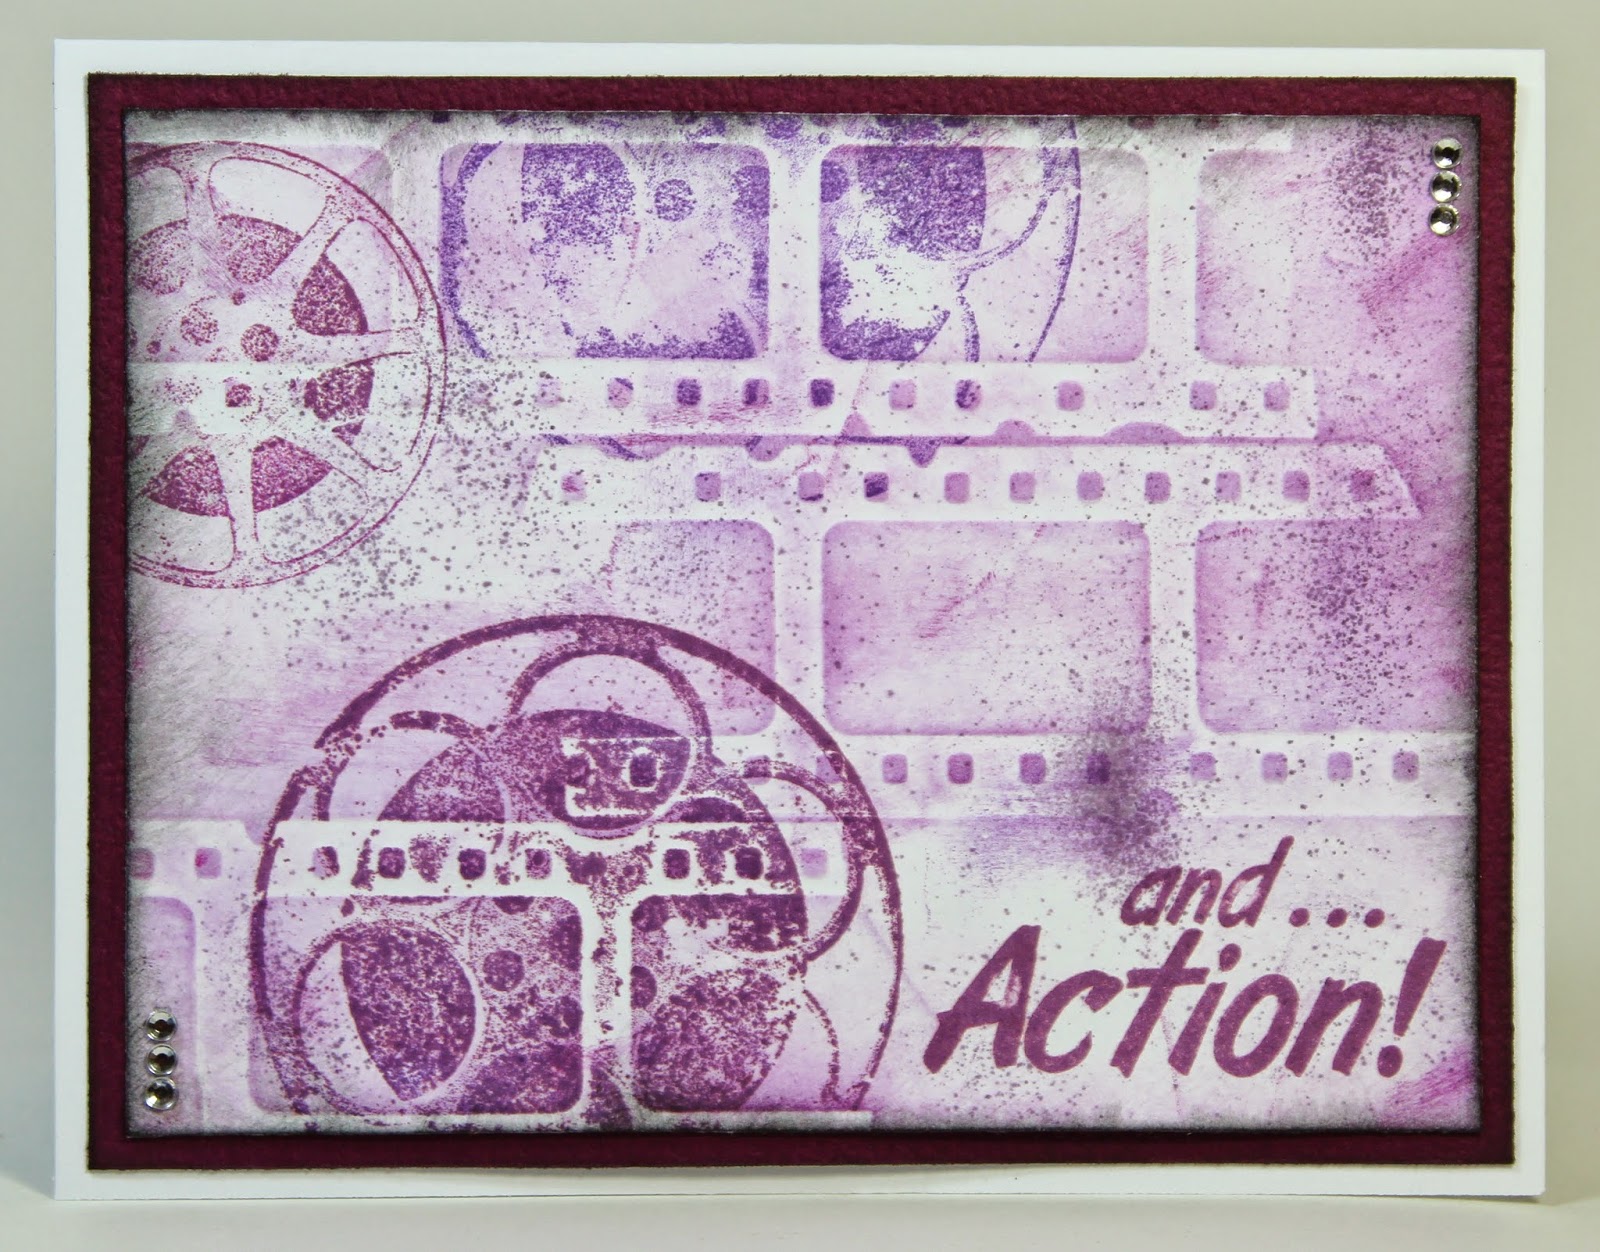
1. Stamp Borders and Backgrounds images onto de-bossed (indented) side of plain White paper.


2. Continue to add color with a sponge tool in Amethyst, Orchid and Fuchsia hybrid inks over the de-bossed filmstrip image.


3. Nest the panel onto a 4x5.25" Wine matte.


4. Add embellishment (Spring Chorus rhinestone stickers) and the card is complete!


I added a little bit of spritzing with the Tim Holtz spritzer tool and a Dusty Concord Distress marker.

I hope you enjoyed this fun tutorial and will give it a try. Have a show-stopping week!

Julie

Monday, July 21, 2014

Club Stamp Ships Today


Hurray, hurray, Club Stamp ships today!

I'm so glad there are more Oopsie Daisy papers and designs to share with the release of Club Stamp! I'm a big fan of the text weight print included in the kit, so I've crafted a gift box and bracelet using this paper.

Club Stamp Oopsie Daisy Papers
It's a great presentation when the gift and gift box match, right?

To make the bracelet . . .

1. Cut the 8.5x11 Text Weight Print into fourths and then into strips. Roll paper strips around anything that's approximately 1/8" thick to create beads. Fasten with Book Binding Glue brushed onto the last inch of the strip.


2. Thread paper beads onto elastic cord.


3. Tie a knot to secure and tuck ends into the beads.


To make the gift box . . .

1. Cut box base and lid from Book Board. The following dimensions were used for my box:

(1) 2-3/8x1-1/2" Box Base
(2) 2-3/8x2-1/2" Front & Back Walls
(2) 1-1/4x2-1/2" Side Walls
(1) 1-7/8x2-3/4" Lid Top
(2) 1/2x2-3/4" Front and Back Lid Walls
(2) 1/2x1-5/8" Side Lid Walls


2. Use Bookbinding Glue to attach Book Board pieces.


3. Refer to past Club Scrap projects and workshops for wrapping box with text weight paper. Use any method you like as long as the box is covered.


The four mini prints on one 8.5x11" make it so easy to give this little handmade box some character!


Club Stamp Oopsie Daisy Papers
I look forward to seeing what you'll do with your Club Stamp papers!

Kay at Club Scrap