Hey, Stampers!
The Club Stamp
Cinema collection (shipping today) contains a dozen 8.5x11" papers, a super-sized unmounted stamp sheet, five silver charms and some beautiful metallic ribbon. Follow the cutting instructions to create a fun batch of thirteen cards leaving only a teenie tiny pile o' scraps!
(Double click on the images to enlarge.)
 |
| Thirteen cinematic-themed cards. |
 |
| Papers trimmed to look like a film strip. |
 |
| Save your bubble wrap for a card embellishment. |
 |
| Clapboards adhered with foam adhesive add dimension. |
 |
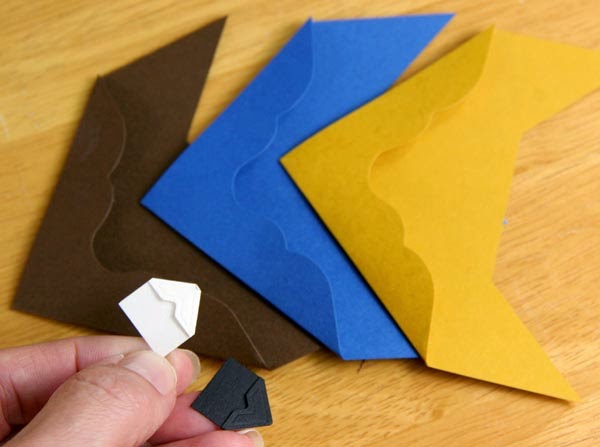
| Little "winged" origami envelopes hold stamped tickets. |
Paper trimmers ready!
1. Trim one 8.5x11 Aqua Plain, Wine Plain and Stone Print horizontally at 5.5". Cut one 5.5x8.5 horizontally at 8 and 4". Trim one 4x5.5 horizontally at 5.25". Cut the other 4x5.5 horizontally at 3.75 and 2". Trim one 1.75x4 horizontally at 3.75, 3 and 1.5". Score and fold the remaining 5.5x8.5 horizontally at 4.25".
2. Cut one 8.5x11 White Text Print vertically at 4.5 and 4". Trim each 4x11 horizontally at 5.75 and 5.25".
3. Trim the other 8.5x11 White Text Print vertically at 4.25". Cut each 4.25x11 horizontally at 6.75, 5.5 and 4.25". Save the four 4.25" squares for the envelope origami technique shown below.
4. Score one 8.5x11 White Plain, Wine Plain, Aqua Plain and (2) 8.5x11 Black Plains vertically at 4.25". Trim horizontally at 5.5". Fold each 5.5x8.5 in half along the scoreline.
5. Trim the 8.5x11 Stone Print vertically at 7.5 and 4". Cut the 4x11 horizontally at 10.5 and 5.25". Trim the 3.5x11 horizontally at 9.5 and 4.75". Stamp the unmounted "G" image four times onto the plain side of the 1x11" strip with India Black ink.
6. Stamp four UM clapboard images and four UM ticket images onto one 8.5x11 White Plain with India Black ink.
TIP: Be sure to work on a well-cushioned stamping surface to achieve the best image. Try a test image on scrap paper prior to stamping on the White paper. Allow the ink to dry and trim each image from the paper with a craft knife or scissors.
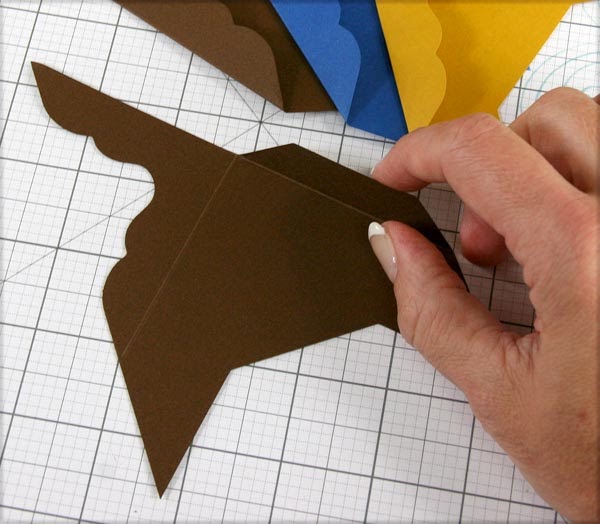
Fold the four 4.25" White Text Print squares into these adorable mini envelopes by following the steps provided in the
video below. The tickets stamped and trimmed from the 8.5x11 White paper will fit perfectly within the envelopes.
With all of your papers trimmed, you're ready to stamp and complete your cards! Let's take a closer look at a few of them . . .
 |
| Stamp the "3," "2," "1" images with Ash ink, and the quote with India Black. |
 |
| Use silver or white pigment ink to stamp onto the Wine panel, or emboss with white powder. |
 |
| The small square of bubble wrap is attached with ATG tape. Stamp onto the plain side of the Stone panel. |
 |
| There's plenty of silver metallic ribbon to wrap around the panels twice. |
 |
| Stamp any greeting(s) within the clapboard image. |
 |
| The metal wing charms paired with the origami envelopes make a cute combination! |
Pop in a movie and get started on your cards the moment your Club Stamp kit arrives. It'll make your day!
Tricia