Showing posts with label Masking Stencil. Show all posts

Thursday, September 4, 2014

Stencil Crackle Paint Technique


Crackle paint adds so much dimension and texture when paired with the Blueprints masking stencil. Check out these amazing results.


Don't you just love how crisp and clean the edges are and all that wonderful crackled goodness?

Grab some Blueprints papers, the mask and some crackle paint, and I will show you how it's done.

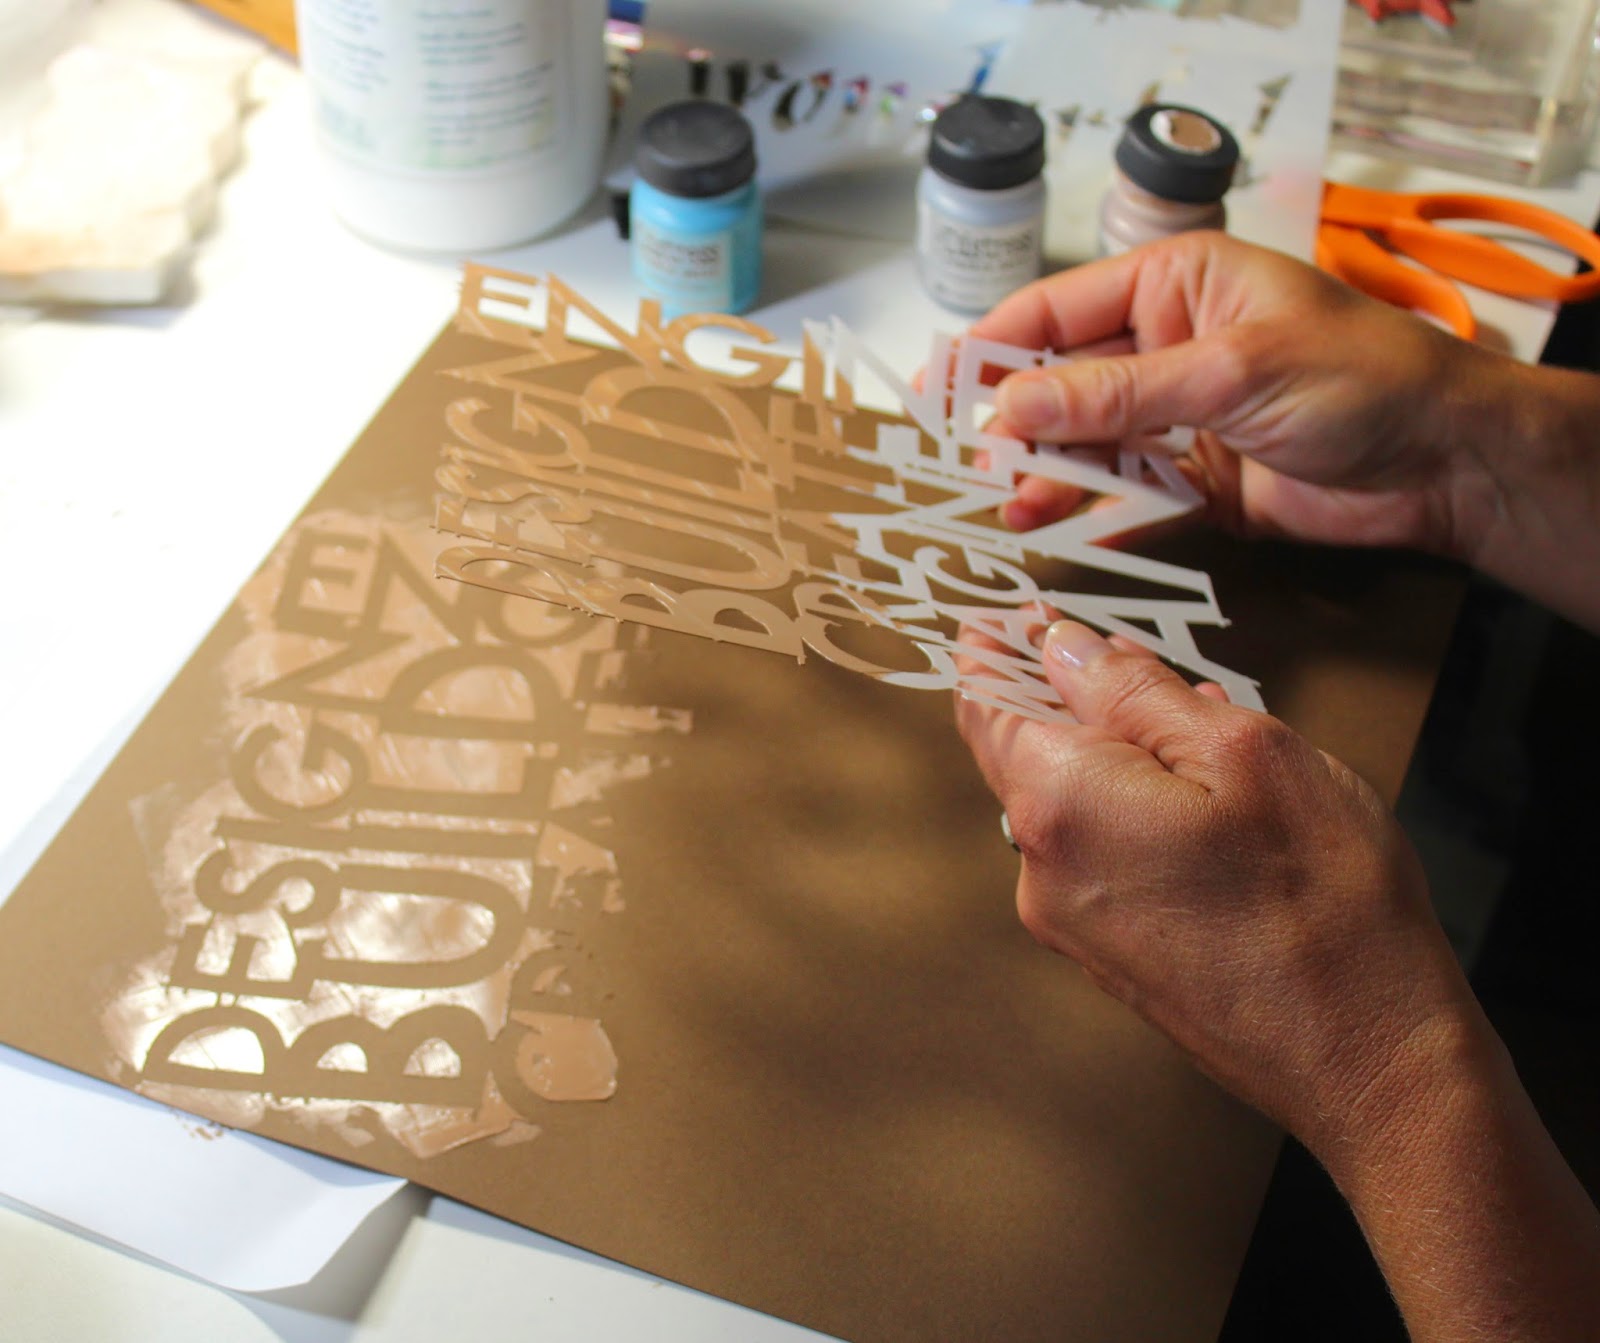
1. Lay the masking stencil down onto brown paper. Paint over the stencil with the crackle paint.

I used a complimentary color of brown - Distress "Vintage Photo" Crackle Paint from Ranger.
2. Swipe over the paint using firm pressure and a scraping motion with an old credit card. This will spread the paint across the stencil and ensure proper coverage.

Note: You don't have to use the entire image when painting on the medium. I chose to highlight certain words.
3. Carefully remove the mask. Allow the crackle paint to dry and reveal the texture.

Run the masking stencil under warm soapy water immediately to remove the excess paint.
Now it's time to use this carefully crafted paper in a layout.

Our daughter Shannon had fun helping us build this dribble sandcastle over the Labor Day weekend. Fits the theme quite nicely, don't you think?


Stamp a gold photo mat, Kay Williamson style!


Add crackle paint to the gold anchor strip, stamp a compass image border, and mat a clever quote to tie the two layouts together.


Let's get cracking on those layouts!

Julie

Thursday, April 17, 2014

Hydrangeas Stencil, Gelatos, and Go!


We're all having fun with the Hydrangeas Lite Stencil! Tricia's beautifully stenciled layout from yesterday is a tough act to follow, but this page has a different look.

Background design created with the Hydrangeas Lite Stencil


Hydrangeas Stencil and Gelatos

1. Spray Stencil with water (my stencil has been used a few times so it's a little stained).


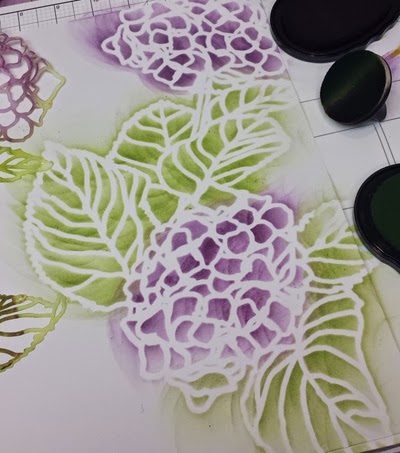
2. Apply color from Faber-Castell Gelatos directly to the stencil.


3. Mist stencil with more water.


4. Press paper onto the stencil to transfer color.


5. Lift to reveal stencil image. Set aside to dry or use heat a tool to speed up the process.


6. Align the stencil over the image created with the gelatos. Fill in the image with an ink applicator and CS inks.


7. Conceal any imperfections by adding color splatters with Gelatos and a water brush. It's one of those "perfect imperfection" things that adds so much!


8. Add a single matted photo to the page and finish with a stamped sentiment and ribbon. (Hah. Tricia's project from yesterday required ten steps. I snuck through with only eight!)


For those of you lucky enough to be receiving the Lite collection, enjoy!
Thanks for crafting with me . . .
Kay at Club Scrap


Wednesday, April 16, 2014

Stenciled Hydrangea Decorative Paper Technique


A sheet of 12x12 White Plain paper can be a little daunting, don't you agree? This project finally developed some momentum after I donned my headphones, played a few tunes on Spotify, and stenciled the beautiful Hydrangeas image.

Let's do a replay of how this went down . . .

1. Use CS Leaf and Orchid inks and an ink applicator to stencil onto the 12x12 White Plain.


2. Add a soft border to the opposing edge of the page with the stencil featured in the Friends kit.


3. As long as we're at it . . . add the stencil image from the Geometrics kit, too!


4. And while the inks are out, you might as well do some stamping. I used images from the Hydrangeas and Trees collections with the same two ink colors.


5. Splatter the whole works with a gelato and extremely wet water brush.


6. Plan where you will add a photo. I chose to place the right edge of the image beneath the stenciled leaf. Use a pencil to mark the location where the edges of the matted photo meet the edge of the image.


7. Use a craft knife to cut from one marked area to the other.


8. Slide the photo into place beneath the cut edge of the leaf.


9. Add a simple page title, if you wish. The unmounted number stamps from a past Retreat kit were the perfect height.


10. Tah-dah! (Step ten is my favorite.)


Now that you've seen how it's done . . . your turn!

Oh, and Emily is not allowed to leave the house until she's thirty.

Happy Stenciling!
Tricia

Friday, April 11, 2014

Double Stenciling with Geometrics

I was intrigued when I ran across this compilation of stenciling techniques in a video demonstration by May Flaum. Her "Double Stenciling" idea shown at the four-minute mark really grabbed my attention! I knew that my Club Scrap® stencil and mask collection would work perfectly with this technique.

I used an open shape stencil coupled with the brand new Geometrics stencils to create unique combinations of images. Follow these steps to achieve the double stencil technique . . .

1. Choose a stencil from your collection with an open shape.

Common Threads
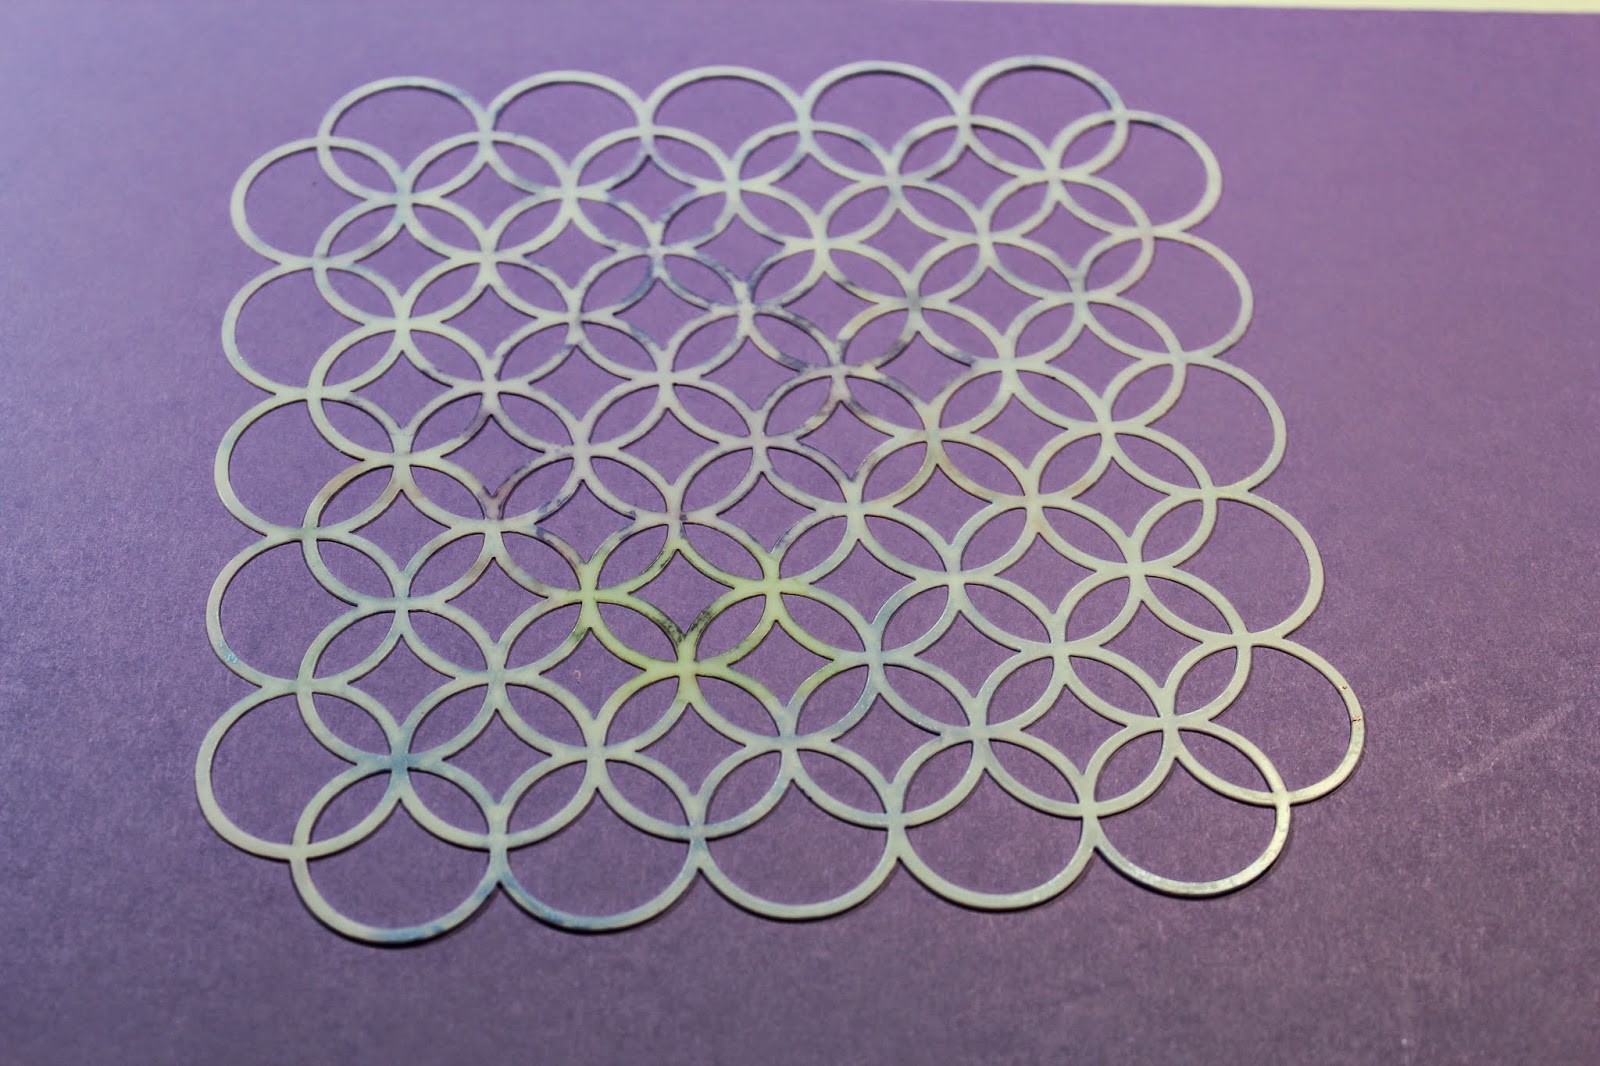
2. Choose a mask/stencil with a repeating pattern.

Geometrics 
3. Lay the open stencil on top of the repeating pattern mask/stencil and apply color with an ink applicator.


4. Layer the stenciled panel onto a coordinating matte and card.

Stencils: Common Threads + Geometrics in CS® Amethyst Hybrid ink
Take Wing green panel and Great Outdoors sentiment in CS® Peridot Hybrid ink
For a more defined shaped image follow these steps:

1. Keeping the open shape stencil in place, remove the pattern mask/stencil.


2. Ink the outside edges of the open stencil to define the shape.


Let's take a look at some other striking double stencil combinations.

Stencils: Take Wing + Geometrics in CS® Amethyst Hybrid ink
Collections script stamp in Neon Pink CS® Ink and Hydrangeas quote.
Stencils: Spring WOW 2013 + Geometrics and My Funny Valentine 2011 in CS® Amethyst Hybrid ink
Collections
script stamp in Neon Pink CS® Ink and Watercolor Blossoms quote 
Stencils: Graffiti + Geometrics in CS® WOW Red Hybrid ink
Neon purple dabber splats, Random Doorways red panels and Big Deal sentiment
Stencils: Hopes flower + Cape Cod (left) in CS® Ocean Hybrid ink and
Friends (right) in CS® Neon orange and yellow ink
Hopes leaf + Geometrics (left) and Comics (right) both in CS® Spruce and Peridot Hybrid ink
Trees light and dark green card bases with Blossom sentiment
I hope you enjoyed my version of this unique and highly addictive technique!

Feel free to share your stencil combo ideas in the comments section below.


Julie