Showing posts with label Stamping Techniques. Show all posts

Thursday, August 21, 2014

Cinema Spinning Card How-to


Get ready to take this interactive card for a spin!


1. Stamp the Cinema Collection UM movie projector image onto a 4.5x6.5" Black panel with White Pigment ink.


2. Cut a 4.5" circle from White Plain; punch a hole into the center.


3. Stamp quotes and sentiments around outside edge of the circle with coordinating inks. (I used Lagoon, Orchid and India Black.)


4. Punch a hole near the lens of the stamped movie projector to create a pivot point.


5. Use a ruler and craft knife to cut a 2.25" angled line extending from the projector lens.


6. Add a second 2.25" angled cut, as shown.


7. Use a craft knife to cut along the edge of the projector lens. This will create a triangular flap.


8. Insert a brad into the pierced hole.


9. Slide the White stamped circle into place, positioning the circle on top of the angled cuts, and push the mini brad prongs through the corresponding pierced hole. 


10. Flatten the brad spray on the back.


11. Place adhesive on the back of the Black panel. Do not apply adhesive to the White circle.


12. Nest the panel onto a matte and layer onto a folded 5x7" card base. 


Spin the circle to feature the stamped quotes. Fun, right?

I wish you a creative day!
Kay at Club Scrap

Tuesday, August 19, 2014

Inspiration Three Ways


We all know that inspiration can come from any number of places. Today's batch of cards were inspired by three sources . . . Karen's cool background technique, Kay's clever cutapart tutorial, and Marya and Ann Marie's super simple August Card Sketch Challenge.

Let's get started!

1. Create the background. I used Gelato as suggested by Karen in her tutorial.


Oops!  I stamped the sentiment on my background upside down... stay tuned to see how I fixed my boo boo. 
2. Stamp sentiment onto card base.

Second try at a background with sentiment stamped right side up ;)
Tribal sentiment
3. Select a cutapart that coordinates with the Gelato background.

Artifacts cutaparts, Feb 2009


Distress the edges of the cutapart for added interest.
4. Create the card using the August Card Sketch as your inspiration.


5. Admire the finished card!


Remember my upside down sentiment?

Turn card base on its side, layer with another cutapart (to cover up said boo boo), and stamp with the Picnic sentiment. I stamped the Artifacts sunburst image on the background using the Gelatos misted with a bit of water.

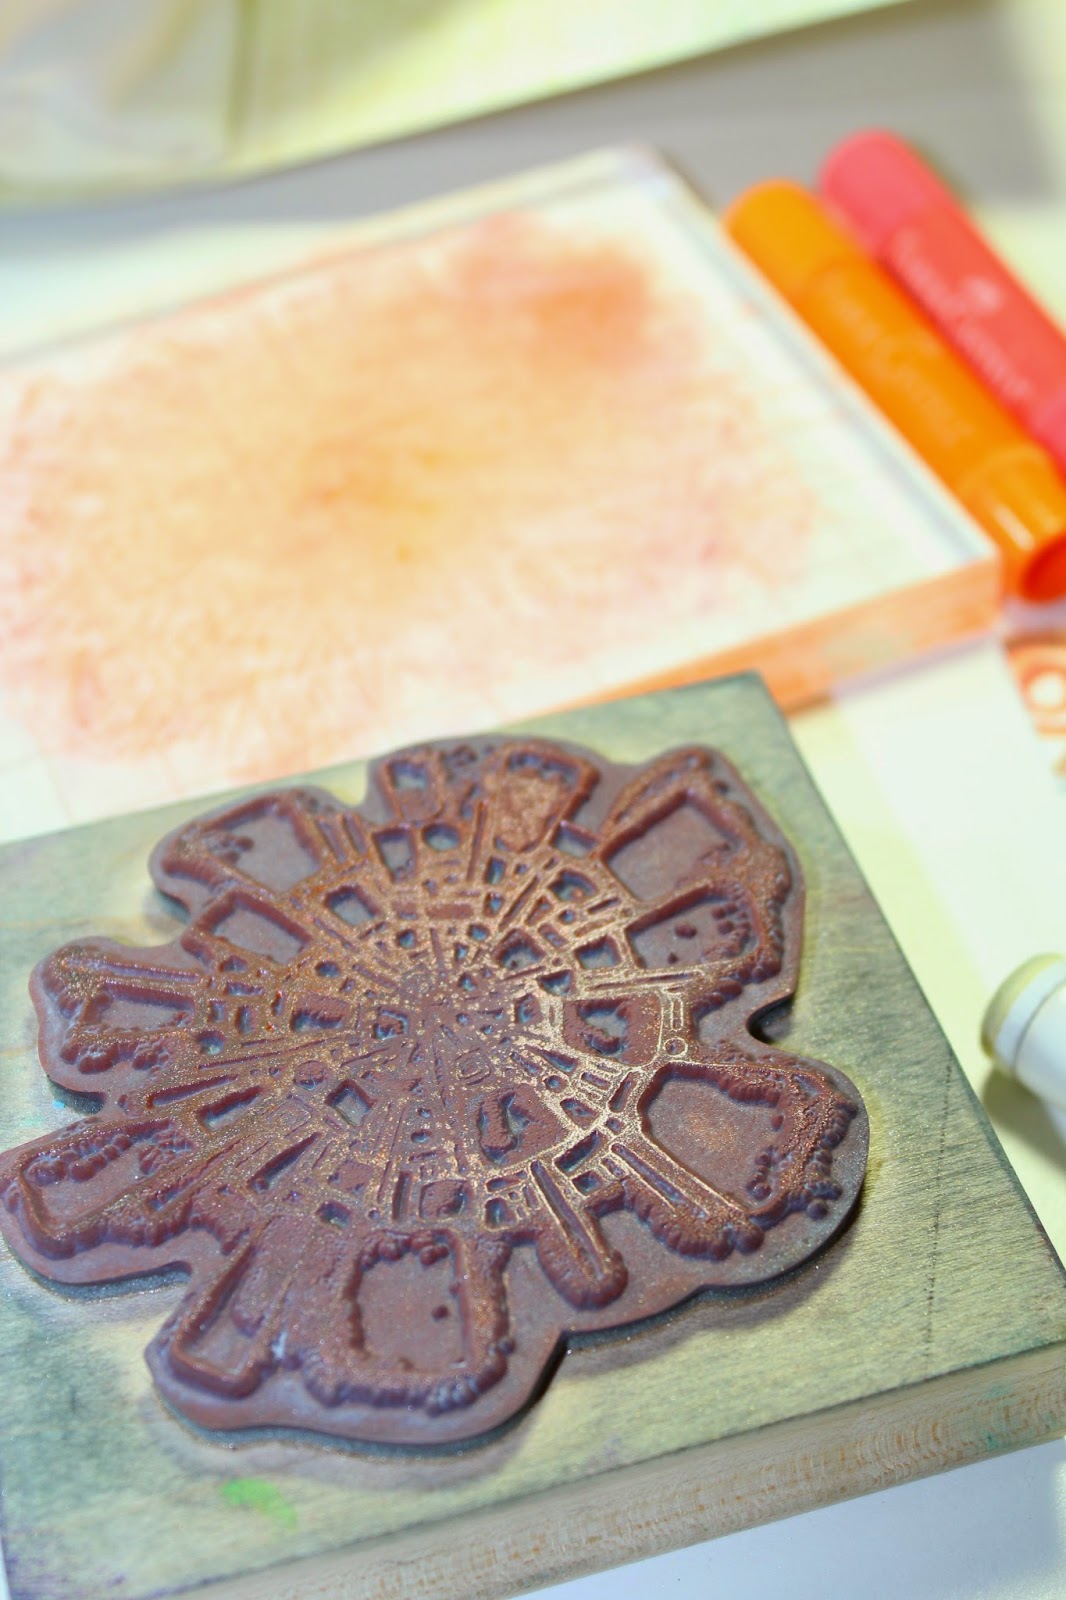
Scribble Gelatos on an acrylic block and mist with water.  Press the stamp onto the block to load with color. 

BONUS: In the process of creating this card, I discovered another background technique!

I noticed the acrylic block had a neat pattern on it after I loaded my stamp.


I took a piece of plain white paper and pressed it into the colors.


Voila, another background!


Don't you love the simplicity of this month's sketch? The "white" space allows the background technique to take center stage.

Have fun with this technique triple-play!

Julie

Thursday, July 31, 2014

Stamping on Stencils


I found a "new-to-me" technique video while browsing Pinterest the other day and couldn't wait to give it a go and then share the results with all of you.

I grabbed some simple supplies and got to work.

1. Geometrics stencil and a stiff bristled paint brush (hardware store find)


2. Time of your Life Borders and Backgrounds stamps


3. Hybrid Ink Pads: Lagoon, Leaf, and Amethyst


4. Wild Flowers distressed script stamp.


5. Follow the video instructions and admire the amazing results!

Tip: Select a stencil with large open areas.
6. Create a card with a layout design by Gloria found here.

Versailles blue, Wisteria purple and Ornamental shimmer green circles
Gear stamp from Time of your Life Part Deux UM set
I hope you like this fun technique and will give it a try.

Julie

Monday, July 28, 2014

Acrylic Block Stamping and Oopsie Daisy

I found this link a while ago, before Oopsie Daisy was released. While the post really isn't about the technique shared below, I liked the overall look of the soft inked "frame" and floral image together. Since I didn't really know quite what the Oopsie Daisy art would look like at the time, I bookmarked the post anyway, thinking it might be something to try.

I don't have a rectangular stamp like the blog author does, so I thought I'd try getting a similar "look" with my 3x4" acrylic stamp block. I was pretty pleased with the results.

The key to using the acrylic block (in lieu of a rubber stamp) is good cushioning underneath. My CS desk blotter is nice and thick so that worked for me, but if you don't have one you could try stamping on top of an old catalog or magazine--or even a mouse pad.

Start with a clean acrylic block. I assure you my block doesn't normally look like this . . . it's usually an inky mess . . . but some rubbing alcohol on a cotton ball took care of that, easy peasy.


Ink the edges of the acrylic block (make sure to ink the smooth side, if your block has a grid like mine). Starting from the outside, sweep ink toward the center. For added dimension, start with a light color and add a darker color around the outer-most edges, if desired.

Press the acrylic block onto paper. You will get different looks depending on the texture or finish of the paper. Experiment, have fun with it.


Since I love the look of watercolors paired with the Oopsie Daisy images, I tried the same technique with Gelatos.


Start by lightly misting the acrylic block with water, then add color. Use a light color first with a darker shade around the outer edges, if desired.


Press onto paper. If you're lucky, you might get a second impression.


Be sure to thoroughly clean your acrylic block after each use.

One advantage to using the same block to add rubber stamps is that positioning is a no-brainer!

Topaz CS Hybrid ink "frame"

Topaz CS Hybrid ink "frame"
Gray Gelatos "frame"
Yellow Gelatos edged with orange
Who knew you could use your acrylic block AS a stamp? Well, now ya know!

Creatively yours,
Karen