


Let's do a replay of how this went down . . .

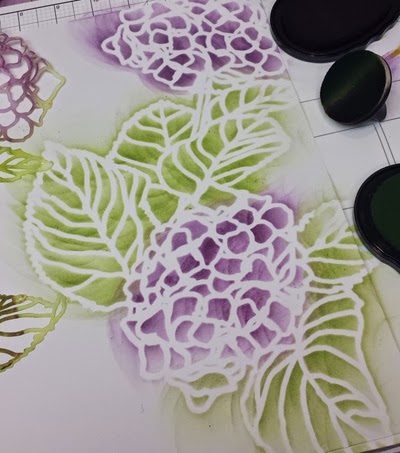
2. Add a soft border to the opposing edge of the page with the stencil featured in the Friends kit.

3. As long as we're at it . . . add the stencil image from the Geometrics kit, too!

4. And while the inks are out, you might as well do some stamping. I used images from the Hydrangeas and Trees collections with the same two ink colors.

5. Splatter the whole works with a gelato and extremely wet water brush.

6. Plan where you will add a photo. I chose to place the right edge of the image beneath the stenciled leaf. Use a pencil to mark the location where the edges of the matted photo meet the edge of the image.

7. Use a craft knife to cut from one marked area to the other.

8. Slide the photo into place beneath the cut edge of the leaf.

9. Add a simple page title, if you wish. The unmounted number stamps from a past Retreat kit were the perfect height.

10. Tah-dah! (Step ten is my favorite.)

Now that you've seen how it's done . . . your turn!
Oh, and Emily is not allowed to leave the house until she's thirty.
Happy Stenciling!
Tricia


