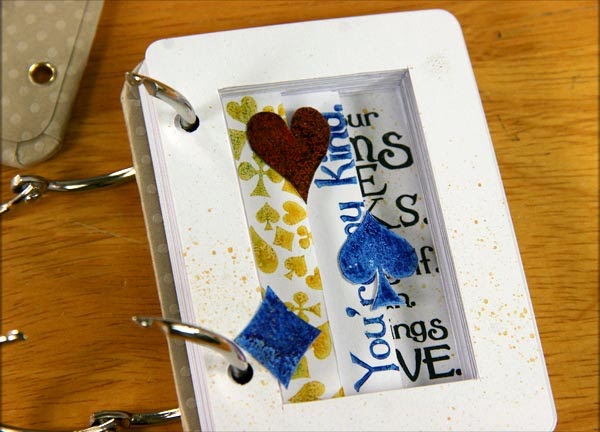
The easiest part of this project is the simple book assembly. Filling it with 52 of
something is where the real work begins! Follow along, and we'll lead you to mini bookmaking success!
Supplies Needed:
Big Deal Custom Card Deck Project Kit
Big Deal Stickers
Big Deal Ivory Cutaparts
(4) Gold Eyelets (Included in
Big Deal Embellishment Pack)
Scissors, Ruler, Craft Knife, Cutting Mat
Ruler
Foam Brush, Bookbinding Glue and Bone Folder
Crop-A-Dile and Corner Chomper
1. Round the corners of the two matte board covers with the 1/4" setting of the Corner Chomper.
2. Use a pencil and ruler to measure and mark 3/4" from the short edges, and 1/4" from the long edge of the matte boards.
3. Punch the marked area with the largest hole of a Crop-A-Dile.
4. Glue the matte boards to the Tan outside covers. Round the corners of the covers with the 1/2" setting on the Corner Chomper.
5. The rounded corners pose a unique challenge for wrapping the cover. (No
big deal!) Cut two v-shaped darts into the corners, as shown. Do not cut directly to the edge of the matte board.
6. Cut two additional darts to remove additional excess paper.
7. Brush glue onto the corner flaps and wrap around the corners. (Now would be a good time to mark the location of the punched holes in the cover wrap. We did not remember to do this.)
8. Repeat the process for the remaining corners on both covers.
9. Use the tip of the bone folder to shape the paper around the corner.
10. Glue the long and short flaps onto the inside of the cover. Burnish with a bone folder.
12. Round the corners of the Tan inside cover papers with the 1/4" setting on the Corner Chomper.
13. Glue the inside covers onto the wrapped matte boards.
14. Punch holes through the inside/outside covers with the Crop-A-Dile in the same location. Or, if you lost the original hole location, simply re-measure, mark, and punch. (Not that we'd know anything about that.)
15. Set a gold eyelet into each punched hole.
16. Trim the outside edges from the "Play On" and "The End" Ivory cutaparts with a ruler, craft knife and cutting mat. Round the corners with the 1/4" setting. These two cutaparts were not used in the ALSB layout instructions.
17. Adhere the "Play On" cutapart to the outside front cover. Punch holes in the deck of cards to match the location of the holes in the cover.
Note: We were able to punch six cards at a time with the Crop-A-Dile. Thread the cards and covers onto the binding rings.
18. Adhere the "The End" cutapart to the inside back cover.
19. Align the printed guideline on the numeric stickers onto the upper right edge of each card. Wrap the sticker around to the back of the card.
20. Enjoy the potential! Fill the book with photos, lists, reminders, reasons, ideas, etc.
Stay tuned for some of our deck-finishing ideas, and be sure to share yours, too! What will you put inside?
Have fun . . .
Tricia