https://www.flickr.com/photos/14133807@N04/2324139609/in/photostream/

I brainstormed several ways I could create this look and settled on heat embossing. My niece came over for a crafty playdate and we gave my technique a workout. Here is how you can create this faux stained glass look in your stamping.
1. Stamp image on white cardstock using Club Scrap® Onyx Hybrid Ink. Sprinkle the stamped image with clear embossing powder and melt with a heat tool.

4. Use a Marvy Uchida Wet Looks Embossing Marker to color in the leaves and the surrounding areas. Sprinkle with clear embossing powder and melt with a heat gun. Tip: Heat emboss after each color application. For example, color in the yellow and orange leaves first, sprinkle with embossing powder and heat set. Then repeat with all the colors until the image is finished.

5. Stamp the gear border from the Time of Your Life Unmounted Stamp sheet.

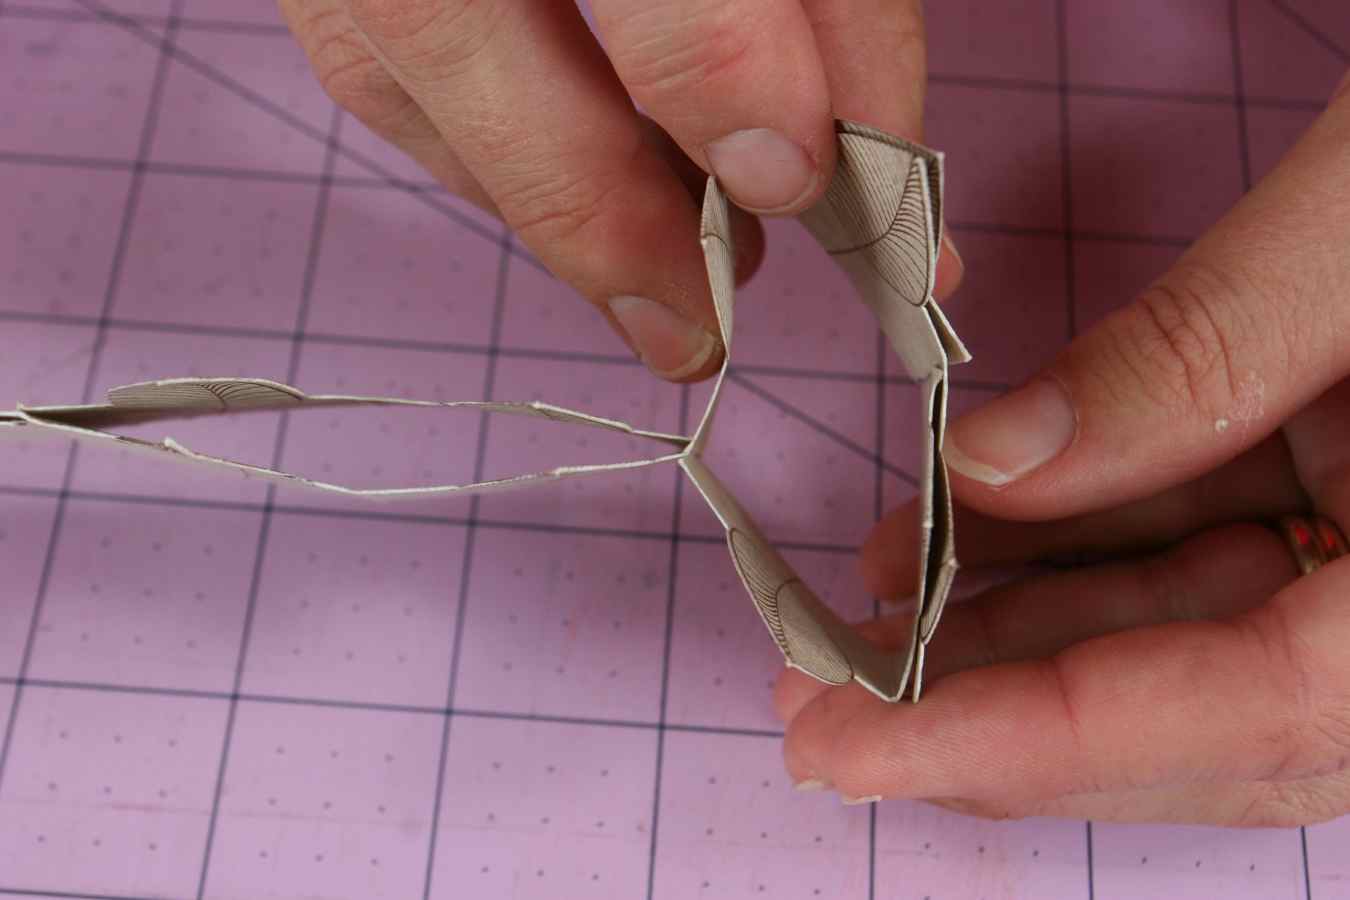
6. Cut along the straight edge to create two border strips.

7. Cover the raw edge of the embossed panel with the stamped strips and attach to a folded Dark Pink card base.


 |
| Sentiment - Share the Love UM sheet |

. . . and the finished Hydrangeas card I created using the stained glass technique.

 |
| The stamping, coloring, and heat embossing process for the Hydrangeas card. |
I hope you are enjoying your week and find a little time to get crafty.

Julie