Showing posts with label Bookbinding glue. Show all posts

Wednesday, August 6, 2014

Tin Tiles Doorway Mini Album

Hello everyone, Debby here. I am so excited to be your guest blogger for today. I've been a member for three years now and I am constantly awestruck with the designs, quality products, and variety in every Club Scrap collection. Recently Club Scrap celebrated its 15 year anniversary by releasing the Tin Tiles Anniversary Collection.

Club Scrap Tin Tiles Collection
The imagery reminds me of ornate historic buildings and antique architecture. The collection comes with directions to make ten beautiful 12 x 12 scrapbook pages, however, I like to make mini albums, so I decided to make a doorway mini album inspired by one of the cutapart quotes. The doorway cover features the dry embossing folder included in the collection. The inside pages feature collection papers, cutaparts and tags decorated with the stencil included in the collection.
Tin Tiles Doorway Album Cover 
The doorway cover is made from chipboard with a cut out window and transom. I painted it with silver acrylic paint as a base for additional embellishment.
  • The "tin" accents are foil sheets embossed with the Tin Tiles embossing folder, antiqued with Distress Paint.
  • Punch Collection papers with the EK Success Scroll Pattern punch and add as accents.
  • The window is an acetate sheet with an antiqued jewelry medallion adhered with Glossy Accents.
  • The door knob is a Tim Holtz Ideology hitch post.
  • Behind the transom is an acetate sheet dry embossed and antiqued with bronze Distress Paint.
  • The door was finished with black marker lines and black inked edges.
Inside cover with the cutapart quote that inspired the project.
Internal pocket pages
The binding is a Stack the Deck Binding designed by Laura Denison. The pockets were made from ivory #10 envelopes cut on the diagonal and slit on the side.
  • Each pocket is attached to the spine tab with Club Scrap Bookbinding Glue, and covered with Tin Tiles collection papers and Gold Foil Handmade paper from the Trees collection.
  • Pockets are further decorated with Tin Tiles Cutaparts, papers, and left over embossed foil accents.
  • Ribbon accents were added to the flaps and some of the pages.
Tags created as inserts for the pockets
The pocket tags are decorated with stencil techniques or papers and accented with ribbons from the collection.
  • Dark blue tag: Emboss with Tin Tiles embossing folder and ink raised areas with Club Scrap white pigment ink
  • Light blue tag: Stencil with watermark ink, emboss with clear EP then antique with Distress Ink
  • Grey tag – Ink Tin Tiles stencil with Club Scrap white pigment ink.
  • Manila tag: Reverse stencil image from grey tag (place over white inked stencil and rub the back to transfer). When dry, antique with Mahogany Distress Ink and rub with a damp cloth to reveal the reverse stencil image. 
I hope this gives you an idea of the possibilities with the Tin Tiles Anniversary Collection. It was so easy to make a delightfully coordinated project, adding just a few optional embellishment from my stash. To see more of my Club Scrap projects see my blog listed below.  
Thank you for reading and happy crafting!

Debby H

Friday, February 28, 2014

Gelli Plate - Art Orphan Paper Pack

Recently I participated in the Big Deal Blog Hop and shared the details on how to create your own paper pack on my CapeScrapper Blog.  Using Bookbinding, Padding and Laminating Glue and a stack of art orphans, created using my Gelli Plate, I now have a paper pack of artsy goodness.

Today I want to share how I created one of these papers in more detail.

Step 1. Squirt a few dots of red acrylic paint onto your Gelli Plate and roll on with a rubber brayer.

Step 2. Use the Big Deal tiny suits stamp from the Art Nouveau UM sheet to remove some of the red paint by dabbing it randomly over the wet painted surface.

Step 3. Place a sheet of plain white paper down onto the stamped Gelli Plate and remove.

Step 4. Wipe your Gelli plate clean between paint applications. Add dots of gold paint to the plate and roll flat with the brayer.  Lay a stencil (Full Circle 2012) on top of the wet paint and remove to the red painted paper. With another sheet of paper over the top of the wet stencil, burnish down onto red painted paper.


Step 5. Lay down a Masking stencil (Tahiti 2012) directly onto clean Gelli Plate. Add dots of white acrylic paint and roll on over the stencil.


Step 6. Carefully remove the stencil.

Step 7. Lay down the gold and red paper panel onto the wet white acrylic paint and burnish.

Step 8. Remove the paper to reveal the image.

Step 9. Stamp over the finished piece using the same Big Deal tiny suits Art Nouveau stamp and a checked stamp from the Concrete Playground 2010 Crafter Classic stamp set.


You can achieve so many different looks each time.

I made this card using a portion of the art orphan, a Take Wing red panel, Watercolor Blossoms "thinking of you" sentiment, and Big Deal brads.

Here are some of the other papers I created using a variety of stamps, stencils, masks, and paints.

Thanks so much for stopping by and hope you have a creative weekend.


Julie


Other Club Scrap Products used in creating the Gelli Plate art orphans
2003 Poetic feather and diamond wood mount stamp
2006 Collections script wood mount stamp
2012 Sorrento doily mask
2011 Versailles swirl mask
Neon Ink Dabbers Blue, Purple, Pink, and Green

Monday, November 11, 2013

Neon Fire & Ice

Good Monday Morning Everyone!


Club Scrap introduced a new line of Neon Dabbers at this year's annual Retreat. These colors are so amazing and I had so much fun experimenting with different ways to use them. I found this fun technique called Stained Glass using Crystal Effects (which I did not have). I decided to substitute Club Scrap's Book Binding Glue and was thrilled that it worked perfectly. I took this technique in a different direction and came up with my own spin on it.

Here are the steps I took in creating my version of the Stained Glass technique.
* NOTE - if you want to save this blog post as a PDF or Print it out for future use click on the icons at the bottom of my post under my photo.  If you don't see them, make sure you are only viewing this post by clicking on the Blog Title.
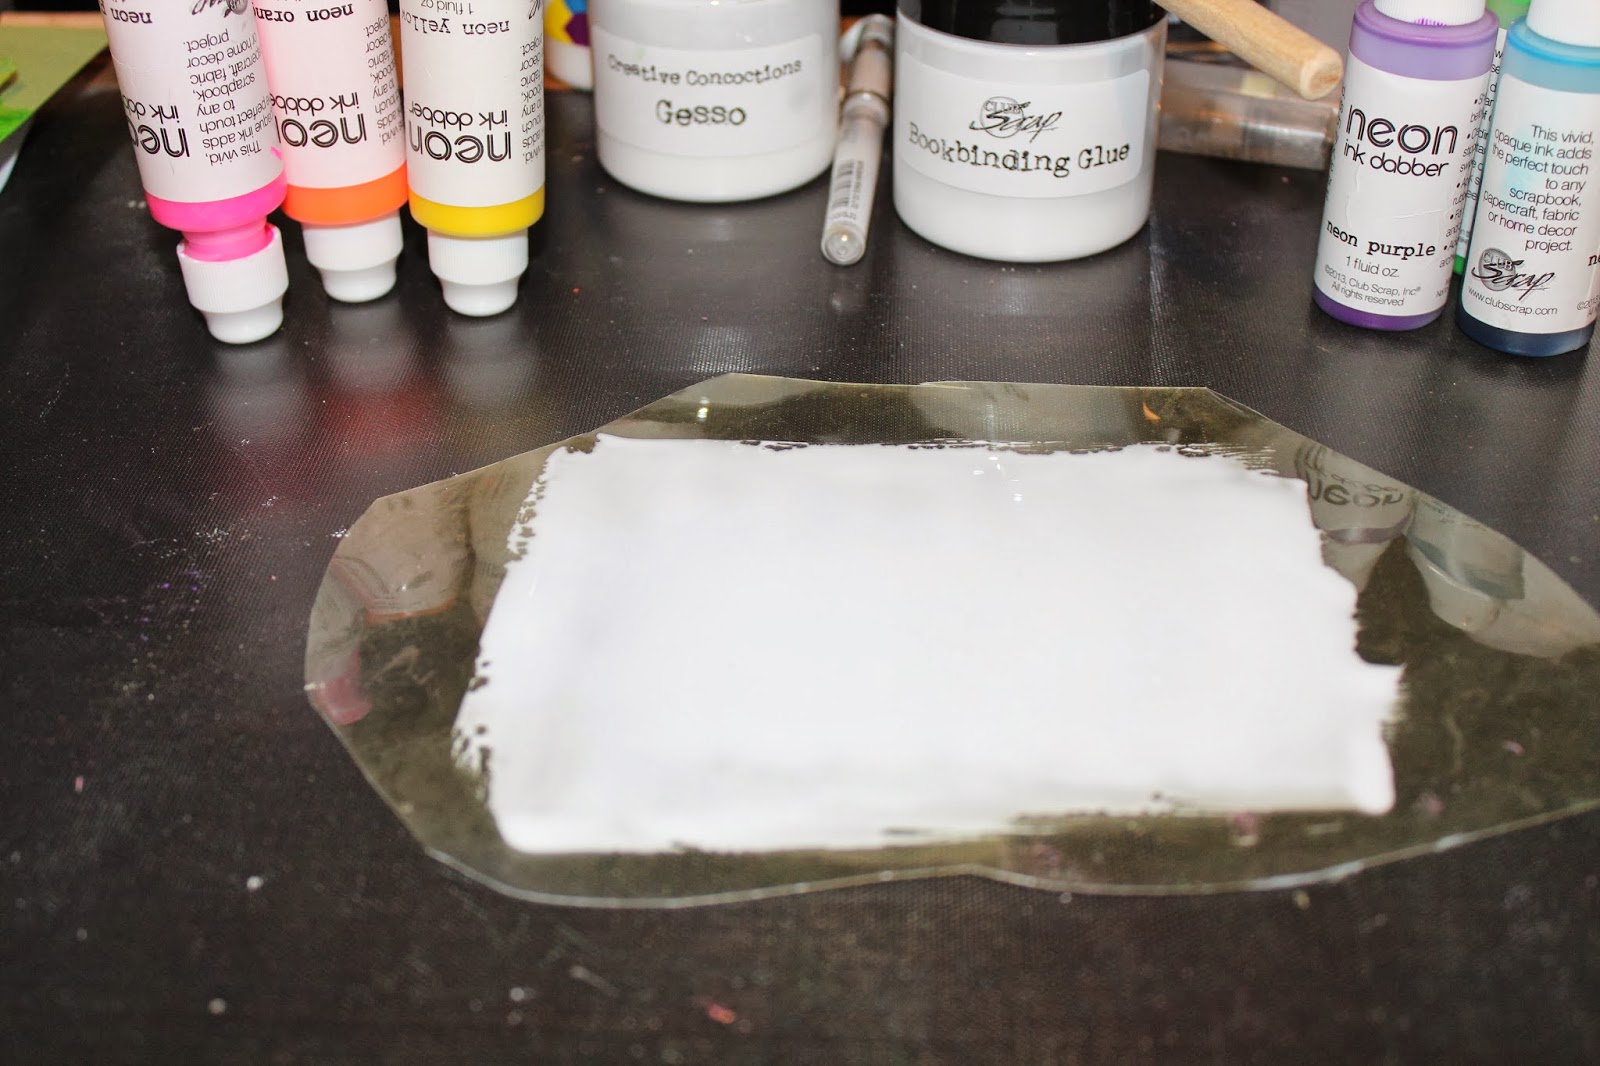
Spread CS® Book Binding Glue onto clear plastic sheet (recycled from packaging).
Squeeze out drops of neon inks onto the glue.
Drip white gesso (Retreat 2012 Creative Concoctions workshop) onto neon inks.
The inks and gesso move and blend together.
Precut four glossy cardstock panels 4 x 5.25" and place each panel one at a time face down onto the plastic.
Carefully peal away and set aside to dry.
Continue the same process with all 4 panels.
Create a new palette using the purple, blue and green neon dabbers.

Each panel is unique and when dry has a glossy shine.
Choose 2 panels, ink the edges using a coordinating neon ink pad.
Create two A2 card bases using the Fire and Ice blue and yellow cardstocks.
Stamp the Fire and Ice quote onto a white panel.  Stamp images onto the Stained Glass panel using a black permanent ink. Add a coordinating fiber from the kit.
The cards followed the November Card Sketch at the Coffeehouse forum.
Thanks so much for stopping by and hope you will give this fun technique a try.
Enjoy your week.

EDITED** I just got word the Pro Shop is now open to the PUBLIC!
And there are even some RIAB's (Retreat in a Box) left!! Don't miss out! 


Julie