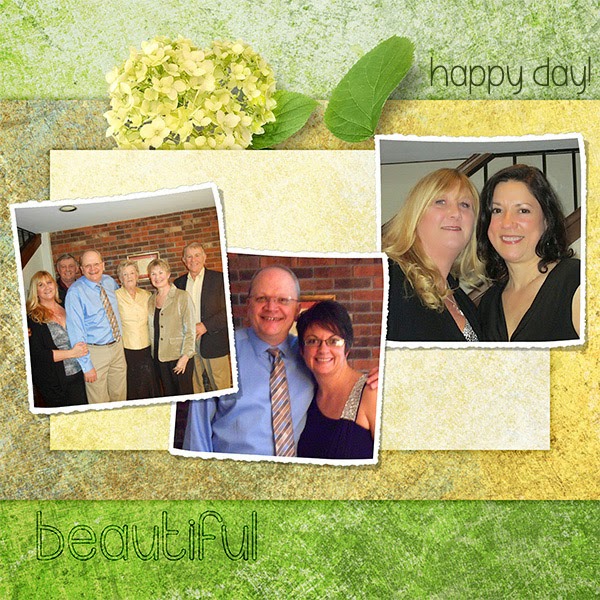
As I was playing with this month's Oopsie Daisy Digital Kit, I looked at one of the backgrounds and thought it would make a nice looking embellishment, so I had to give it a try!
1. Open a new document with a transparent background.
2. Create a 3x3" square in a new layer using the Marquee tool. Color the square white. Tip: to make the square exactly 3", use the settings panel for the Marquee tool to specify a 3" square.


3. Open Background03 and drag it onto the new document.
4. Resize it to fit in the square, leaving about 1/8" border of white showing all the way around.
Tip: to constrain the shape so it remains a square while resizing, hold the Shift key.
5. Add a small bevel to the white layer using this setting:


 |
| The bevel effect is subtle, but really helps give the item depth. |

 |
| Repeating the embellishment in different sizes and using the same image in the background helps tie it all together! |
Next, I tried the same technique with parts of a few of the other backgrounds and overlays. Here's what I came up with . . .

The next time you're looking for an embellishment or two, look no further than your digital kit backgrounds and overlays. There's no limit to what you can do!
Until next time, thanks for stopping by!

-Ron