Showing posts with label Frame. Show all posts

Tuesday, April 29, 2014

Stamped Spring Wreath Framed Project


Spring is in the air and my gardens are finally looking green and more lush after a very long cold winter. Let's celebrate the season with a framed project. It will make a nice Mother's day present, don't ya think?!

Here are the steps for creating this project.

1. Choose a selection of blue Gelatos to stamp your Hydrangeas blossoms.


2. Scribble some Gelatos onto an acrylic block and "ink" the Hydrangeas bud stamp by pressing randomly onto the colored acrylic block. Stamp onto plain white paper. Form the semblance of a wreath shape, alternating the direction of the Hydrangeas blossoms as you stamp. Leave spaces for the second stamped layer of flowers.


4. Mask the Hydrangeas blossoms and stamp the Wildflowers blossom inked with Neon Pink dabber.


5. Create a similar mask for the Wildflowers blossom and stamp the Hydrangeas leaves with Neon Green dabber.


6. Color the pink flowers with a combo of white Gelato and Neon Pink dabber ink. Add adhesive pearls from Bookshelves to the center of the pink flowers.


7. Use the same technique to color the leaves. *Note: Use blue metallic Gelatos (not combined with white) to color the Hydrangeas blossoms. Fussy cut the wreath from the card stock.


8. Cut a piece of dark pink paper to fit the size of the frame you plan to use.


9. Use dimensional medium and the Tiny Treasures stencil to create faux stitching along the sides of the cardstock. Note: Do this in stages, allowing the medium to dry between applications.


10. Stamp the Textiles and Notions sentiment within the center of the wreath using Sapphire Ink. Adhere the wreath to a paper doily with foam squares.


11. Die cut stems and butterflies from Take Wing Lime Green paper. Attach the doily and die cuts to the dark pink background paper with bookbinding glue and a fine detail paint brush.


12. Complete the project by placing it in a frame.


I hope this project inspires you to create something to celebrate spring. Enjoy the week!

Julie

Monday, December 30, 2013

Aspen Canvas Frame

Good Monday Morning everyone!

Aspen Hop Badge photo AspenHopBadge_rev_zpsbf13f7fe.jpg

I was so disappointed to have missed out on completing my Aspen Blog Hop project because I became ill this past week. It certainly taught me a lesson about waiting until the last minute when beginning my project. I decided that I would share it with you today.


Here are the steps I took in making my project.

Step 1. Begin with an 8x10" blank canvas flipped to the back side.
Step 1.
Step 2. Create a frame using the wood veneer paper. Cut the paper at a 45 degree angle using the Club Scrap acrylic ruler creating perfect mitered corners.
Step 2.
Step 3. Attach these pieces to the back side of the canvas using ATG adhesive or Bookbinding Glue. Cut strips of the wood veneer paper to cover the inside edges of the wood frame of the canvas. This gives your piece a finished clean look.
Step 3.
Step 4. Wrap a piece of the large grosgrain ribbon around the frame and attach with your choice of adhesive. Attach leaves and quote using hot glue.
Step 4.
Step 5. Complete the project with a favorite photo matted with Aspen cardstocks.
Step 5.

Thanks so much for letting me share my project with you today. Have a fantastic week!


Julie

Wednesday, May 29, 2013

Cape Cod Blog Hop Time!


Today's hop is all about May's Cape Cod collection. This kit couldn't be MORE perfect for the project I wanted to make my dad for Father's Day. Dad and Mom LOVE lighthouses. Their family room is lighthouse-themed, and whenever they travel, they visit as many lighthouses as they can. This altered mirror will be a great addition to their home!

I started out with a MALMA Framed Mirror from Ikea. (Don't you just love Ikea? So many fun things at such good prices! Each visit results in a few "extra" items in my cart that I just KNOW will come in handy "some day".) The patchwork design covering the raw wood frame was created using the same technique I used to make the photo album cover in a previous post. Before gluing the pieces to the frame with Bookbinding Glue, I inked the edges with India ink. Finally, a few final touches: a handful of mini seashells, a small corked bottle (love those!) and a few other doo-dads from my stash.

(Sorry for the not-so-great picture...have you ever tried to photograph a mirror? It ain't easy.)

The "Father" quote from the Cape Cod Greeting UM stamp sheet is the perfect sentiment for Father's Day. Do you think he'll like it?

So, that's enough about me, because there's a whole lot more creativity for you to explore! Here's a list of all today's hoppers, just in case you get lost:

Club Scrap Creates (you are here)
Pat Huntoon: The Technique Trail
Julie Heyer: Cape Cod Scrapper
Roni Johnson: Ink Stains with Roni
Deb Charlesworth Lift Bridge Cards andCrafts
Deb Weller: Deb Duz Scrappin
Jill Pechauer: Jill P's Place
Tricia Morris The Efficient Crafter
Hetty Sanders: Craft Chaos
Kay Williamson: Kay's Keepsakes
Cathy Gray: The Artful Gamut
Anne Marie Healey: Artfully Balanced
Anne Hunter: Crzymom's Tidbits
Jen Rodgers: Scrap Happy Sisters
Debby Hernandez: Masculine Inspirations
Janet Moran: Dishing with Janet

Your first stop is Pat Huntoon's blog. I just know she'll have something awesome to show us...enjoy!

Creatively yours,
Karen

Friday, May 24, 2013

Re-purposed Frame

Happy Friday, Bloggers!

While doing some cleaning a while back (yes, that occasionally happens in my house), I came across an old 5x7 black frame with nothing inside. I placed it on my "projects that need to happen sometime" shelf in my basement. Then sure enough, I ended up filling it with inchies.


I took the frame apart and filled up the 5x7 space with rubber stamped, inked and embellished 1x1" inches. Then I put the frame back together.


I found that many of my past doodads from the Club Scrap embellishment cups worked well for embellishing.


To display, putting this frame on a little easel or hanging it on the wall would have worked just fine, but then I got the idea to make a stand out of a wooded candle holder from my local craft store. It just needed a little black paint before attaching the frame with bookbinding glue.


Although there was some assembly required, this was pretty easy and fun to make!


Creating inchies is such a fun "little" craft, and it's exciting to see what creative people do with those tiny works of art. Check out this Pinterest link if you care to do more of that.

Have a wonderful holiday weekend, and thanks for stopping by Club Scrap Creates!

Kay at Club Scrap


Tuesday, August 7, 2012

Retreat Projects On My Mind.

Here it is, already, the week of . . . . . August Retreat 2012!

As usual, I'm so excited to see everyone attending, to share the new workshops, and to actually spend a little time with other Club Scrap members. It's going to be soooo much fun!

With this retreat upon us, I also can't help but think back to past retreat workshops. I enjoy being able to look back at these projects all completed and arranged around my home, most of them holding some type of memory for me.

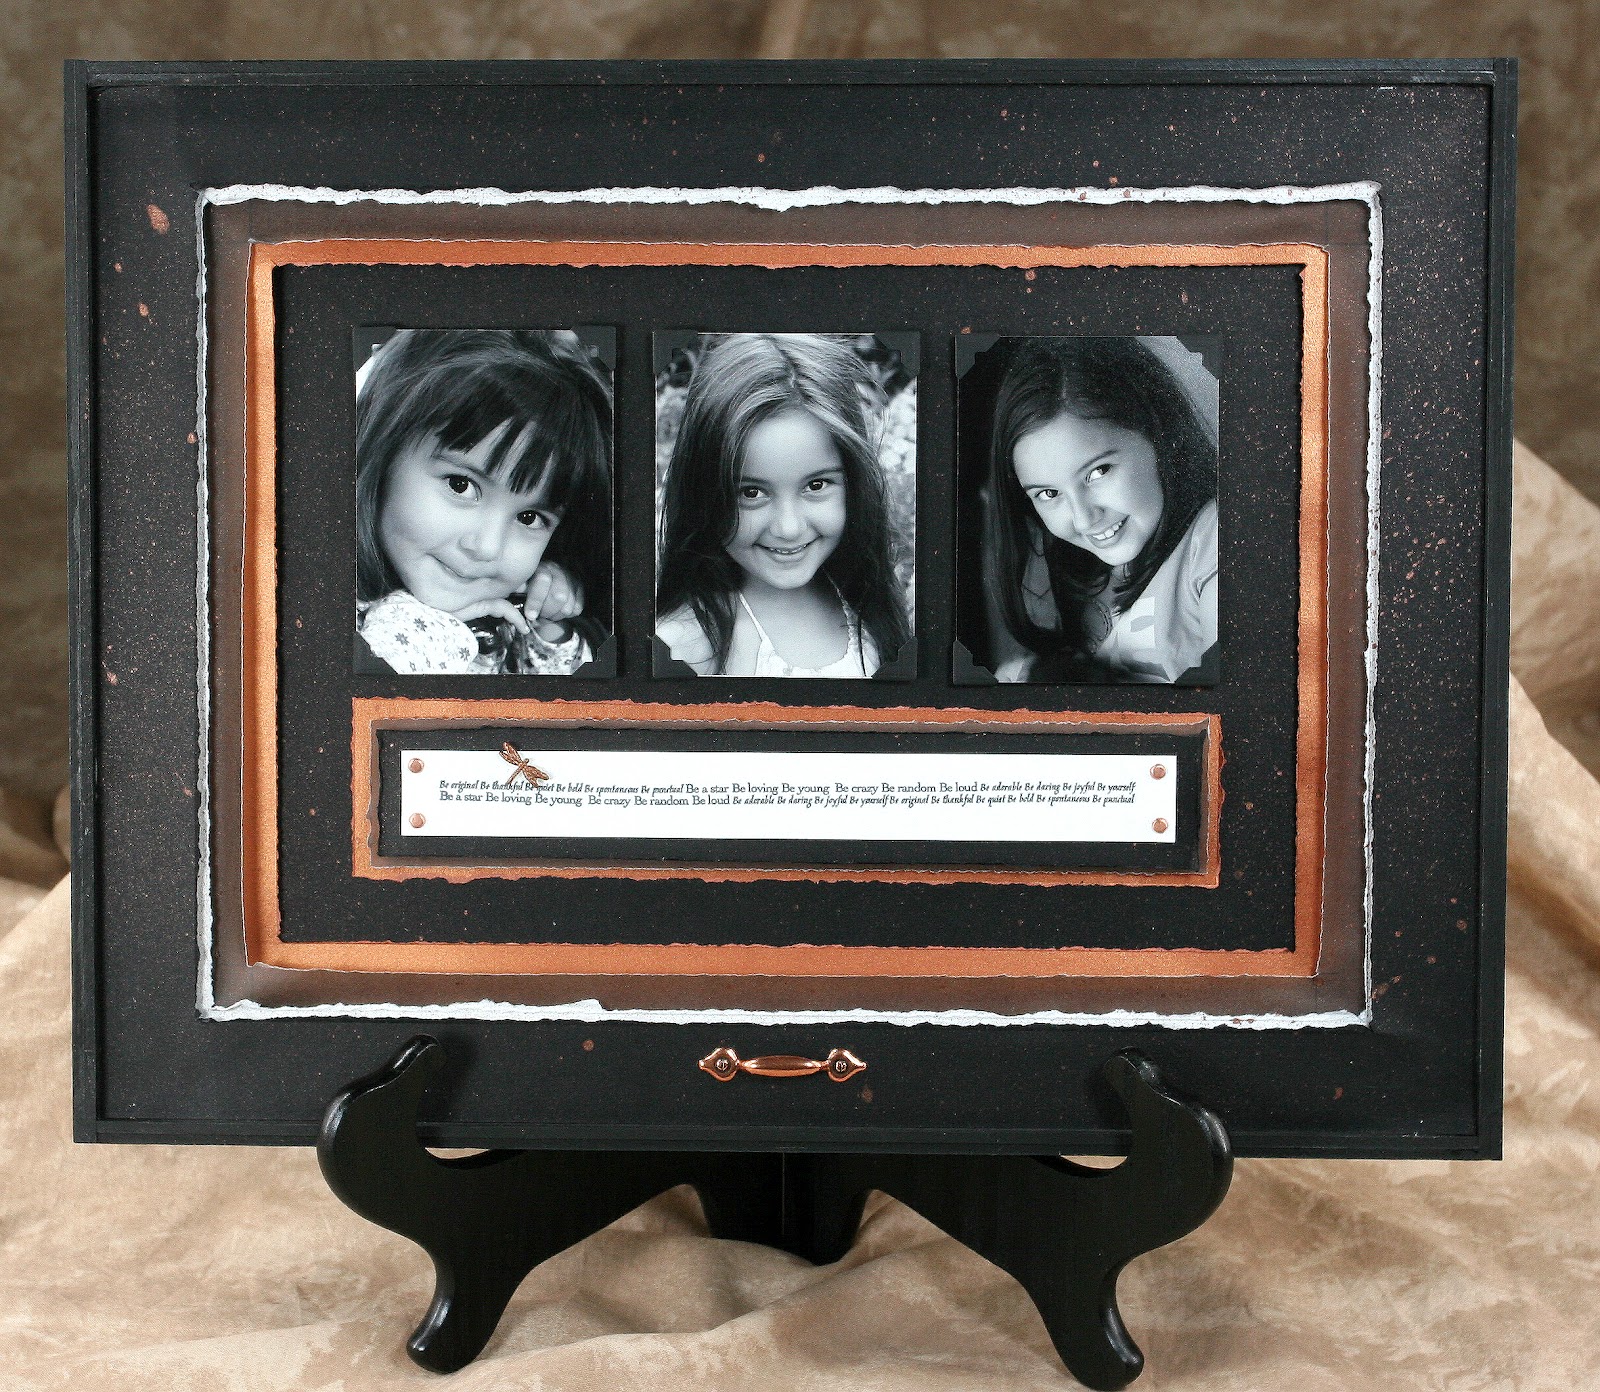
Remember the Frame It Up workshop? It makes a great wall hanging with the combination of my own photos and Club Scrap's artfully torn paper edges....so cool. The version with the Red and Blue paper is still available!

Same project, so many different looks.


And a favorite of mine, the Music Box, (the one that plays "Waltz Of The Flowers" and is deep purple, rust and cream is still available in GHM). I had so much fun with these music boxes and made several for gifts.


And how awesome it is to fill up your very own 12x12 album that you put together yourself in the D-Ring Album workshop! I know there is more than one color still available in this one so check out this workshop online!

The Podium Book Stand Workshop is also one of those fun retreat workshops that I'm happy is still available.

Now, since not all good things can last in GHM (but they can at your house), I'm just looking back at retreat workshops no longer available in GHM, but if you are a project hoarder and didn't Craft-A-Long To The Olympics, maybe you still have one of these in your stash to put together. No better time than this retreat week to do it!

Tricia always inspires me with the techniqes learned at retreat. I thought the chalk technique used on this little gem was so cool!

I had a lot of fun with this Memory Slider Frame, too. Does anyone still happen to have one sitting on their desk? It was great seeing the pics of the decorated frames posted online after retreat!


Every year I do seem to have a new favorite, and the Photo Butler was certainly a fav!


Does anyone remember the Album Case Workshop? Another project I was a bit crazy for :)
Talk about memories!


It's so fun to look forward to this week's retreat as well as look back at the past. Hope you enjoyed the stroll though the retreat projects on my mind!

Thanks for stopping!
Kay Williamson of Club Scrap